Love this? Save it for later!
Share the inspiration with your friends
My roommate asked why I couldn’t just use sugar cookie mix instead of cereal. It was a Tuesday night, and we were standing in my tiny kitchen, the one with the cracked linoleum and the oven that runs twenty degrees hot. I was about to make my standard Rice Krispie treats—the kind my grandmother taught me, the ones with the perfectly gooey marshmallow-to-cereal ratio. I started to explain why that wouldn’t work. Sugar cookies are for baking, not for no-bake bars. Different textures. Different purposes. Different worlds entirely. Then I stopped. Honestly, I had no good reason. I just assumed it wouldn’t work because I’d never seen anyone try it.
So I grabbed the box of sugar cookie mix from the back of the pantry—the one I’d bought on a whim for a baking project that never happened—and tossed it into the melted butter and marshmallows. My roommate watched with this look that said, “I told you so,” before I’d even proven her right or wrong. And let me tell you, I was ready to eat crow. But what came out of that 9×13 pan was something I still think about, weeks later. It wasn’t a cookie. It wasn’t a Rice Krispie treat. It was this gloriously chewy, buttery, cozy bar that tasted like someone took a sugar cookie and a classic marshmallow square and made them fall in love.
That first bite had this unexpected warmth—like the kind you get from a fresh batch of cookies, but without the fuss of scooping and baking. The sugar cookie mix added this subtle vanilla-cookie depth that plain cereal just doesn’t have. And when I topped them with cream cheese frosting? Forget it. I mean, maybe you’ve been there—standing over a pan with a spatula, telling yourself you’ll just have one bite, and then suddenly half the pan is gone. That was me. That night. I kept making them because they were the easiest thing I’d ever thrown together, and they made my apartment smell like a bakery in December. This recipe stayed with me because it proved I don’t know everything, and sometimes the best ideas come from someone who just asks a simple question.
Why You’ll Love This Recipe
These aren’t your average Rice Krispie treats. They’re softer, more buttery, and have that unmistakable sugar cookie flavor that makes you close your eyes after the first bite. I’ve tested this recipe six times now—tweaking the butter ratio, the marshmallow quantity, the frosting thickness—and every batch disappeared within hours. Here’s why you’re going to love them:
- Quick & Easy: From start to finish, you’re looking at about 20 minutes of active work. The hardest part is waiting for the frosting to set.
- Simple Ingredients: You need butter, marshmallows, sugar cookie mix, and Rice Krispies cereal. That’s it for the base. The frosting uses cream cheese, butter, powdered sugar, and vanilla—all pantry staples.
- Perfect for Cozy Nights: These are the kind of treats you make when it’s cold outside, you’re wearing your softest sweater, and you need something that feels like a hug.
- Crowd-Pleaser: I brought these to a potluck and watched a grown man eat three before anyone else got a turn. Kids love them. Adults love them. They just work.
- Unbelievably Delicious: The texture is what gets you. The sugar cookie mix creates this tender, almost shortbread-like chewiness that regular treats don’t have. And the cream cheese frosting? It’s tangy, sweet, and perfectly thick.
What makes this recipe different from every other Rice Krispie treat out there is the sugar cookie mix. It’s not just a gimmick—it fundamentally changes the texture. The dry mix absorbs some of the marshmallow moisture, creating a bar that’s denser and more satisfying. Plus, the cream cheese frosting isn’t just slapped on top. I’ve balanced it so it’s tangy enough to cut through the sweetness, but creamy enough to feel indulgent. This is comfort food reimagined—faster than baking cookies, but with the same soul-soothing satisfaction.
What Ingredients You Will Need
This recipe uses simple, wholesome ingredients to deliver bold flavor and satisfying texture without the fuss. Most of these are probably in your kitchen right now, which is exactly how I like my recipes.
For the Treat Base
- 6 tablespoons unsalted butter (salted works too, just skip the extra salt)
- 1 package (10 oz) marshmallows (regular size, not mini—though mini work fine)
- 1 cup sugar cookie mix (I prefer Betty Crocker’s, but any brand works. The dry mix straight from the box)
- 6 cups Rice Krispies cereal (or any crispy rice cereal. Generic brands are fine, but the name brand holds up better)
- 1/4 teaspoon salt (if using unsalted butter. This balances the sweetness)
For the Cream Cheese Frosting
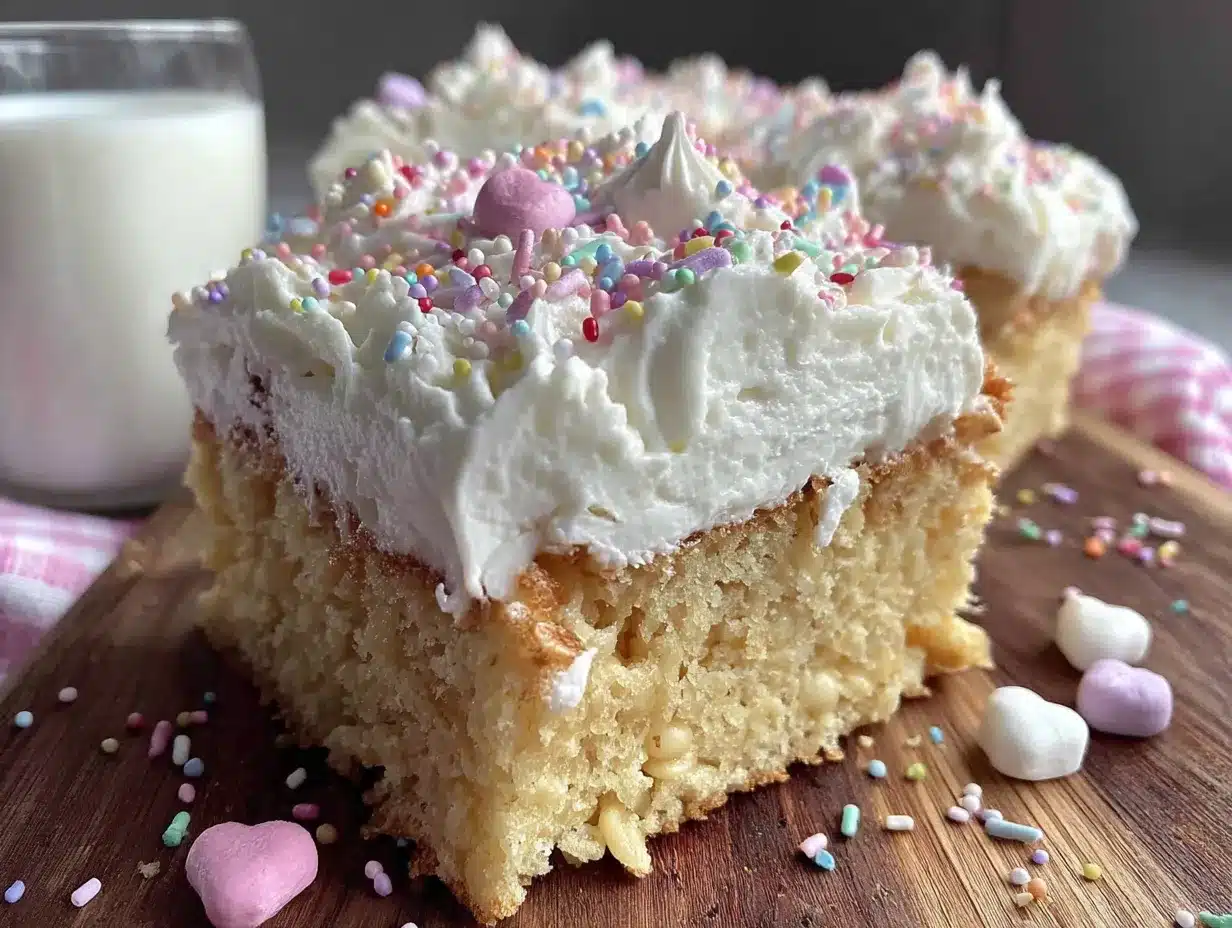
- 4 oz cream cheese, softened (full-fat is best for texture, but low-fat works in a pinch)
- 4 tablespoons unsalted butter, softened
- 2 cups powdered sugar (sift it if you want extra smooth frosting)
- 1 teaspoon vanilla extract (pure vanilla makes a difference here)
- 1-2 tablespoons milk (to thin the frosting as needed)
I recommend using a good quality cream cheese—Philadelphia is my go-to. The cheaper brands can be a bit watery, and you want that thick, spreadable texture. For the sugar cookie mix, I’ve tried a few brands, and they all work, but the Betty Crocker one has a slightly stronger vanilla flavor that I really like. If you’re feeling fancy, you could add a pinch of nutmeg or cinnamon to the treat base, but honestly, it’s perfect as is.
One thing I learned the hard way: don’t use stale marshmallows. Fresh marshmallows melt smoother and create a better texture. If your marshmallows are a little old, they’ll get grainy and won’t bind the cereal as well. Also, make sure your cream cheese is truly softened—not cold, not melted. Just leave it on the counter for about 30 minutes before you start.
Equipment Needed
You don’t need fancy equipment for this recipe, which is part of the charm. Here’s what you’ll need:
- 9×13-inch baking pan (glass or metal both work. I prefer glass because I can see the bottom layer)
- Large pot (at least 4 quarts. You need room to stir everything without making a mess)
- Spatula (silicone is best—it won’t scratch your pan and it’s easier to stir the sticky mixture)
- Parchment paper (this is non-negotiable. It makes lifting the bars out so much easier)
- Mixing bowl (for the frosting)
- Hand mixer or stand mixer (you can whisk the frosting by hand, but it takes forever and your arm will hurt)
- Measuring cups and spoons (accuracy matters here)
If you don’t have a 9×13 pan, you can use a 9×9 pan for thicker bars—just increase the cooking time by a few minutes. And if you don’t have a hand mixer, a wooden spoon and some elbow grease will work for the frosting. It just won’t be as fluffy. I’ve made these with a whisk before, and honestly, it’s doable. You’ll just feel it in your forearm the next day.
Preparation Method
Let me walk you through this step by step. I’ve made these enough times to know where things can go wrong, so I’ll point out the tricky parts as we go.
- Prep your pan. Line your 9×13 baking pan with parchment paper, leaving a little overhang on two sides. This is your lifeline later—trust me. Lightly grease the parchment with butter or non-stick spray. Set it aside.
- Melt the butter. In your large pot, melt the 6 tablespoons of butter over medium-low heat. Don’t rush this. If the butter gets too hot, it’ll brown, and while brown butter is delicious, it changes the flavor profile here. You want it just melted and beginning to bubble.
- Add the marshmallows. Pour in the entire bag of marshmallows. Stir constantly with your silicone spatula until they’re completely melted and smooth. This takes about 3-4 minutes. Keep the heat on low—medium if you’re impatient, but watch it carefully. Burnt marshmallows taste bitter and ruin the whole batch.
- Mix in the sugar cookie mix. Remove the pot from the heat. Add the 1 cup of sugar cookie mix and the 1/4 teaspoon salt (if using). Stir vigorously until the dry mix is fully incorporated. You’ll see the mixture thicken and become almost dough-like. This is normal. Don’t panic if it looks weird—it’s supposed to.
- Fold in the cereal. Add the 6 cups of Rice Krispies cereal. Fold gently but thoroughly. You want every piece of cereal coated, but you don’t want to crush the cereal into dust. Take your time here. I usually count to 30 folds, then check the bottom of the pot for any dry spots.
- Press into the pan. Scrape the mixture into your prepared pan. Here’s the trick: use a second piece of parchment paper or a lightly greased spatula to press it down evenly. Don’t press too hard—you want them tender, not compacted like a brick. Just gentle, even pressure until it’s flat.
- Make the frosting. While the treats cool slightly, make the frosting. In a mixing bowl, beat the softened cream cheese and 4 tablespoons softened butter together until smooth and fluffy—about 2 minutes with a hand mixer. Add the vanilla extract and beat again. Gradually add the powdered sugar, 1/2 cup at a time, beating on low speed to avoid a sugar cloud. Once all the sugar is in, add 1 tablespoon of milk and beat on medium-high for 2 minutes until light and fluffy. If it’s too thick, add another tablespoon of milk.
- Frost the treats. Let the treats cool for about 15-20 minutes—they should be warm but not hot. Spread the frosting evenly over the top. Use an offset spatula if you have one, but a butter knife works fine too. The warmth will help the frosting spread smoothly, but if the treats are too hot, the frosting will melt and slide off.
- Set and cut. Let the frosted treats sit at room temperature for about 30 minutes to set. Then refrigerate for 20 minutes for cleaner cuts. Lift the whole block out using the parchment overhang, and cut into squares. A sharp knife works best—wipe it clean between cuts for neat edges.
One thing I learned the hard way: don’t skip the cooling step before frosting. The first time I made these, I was impatient and frosted them while they were still hot. The frosting turned into a sweet, melty puddle. Delicious? Sure. Pretty? Absolutely not. Let them cool. Your patience will be rewarded.
Cooking Tips & Techniques
After making these more times than I care to admit, here are the things I wish someone had told me:
Don’t over-mix the cereal. This is the most common mistake. You want to fold the cereal in just until it’s coated. Over-mixing crushes the cereal, and you end up with dense, sad bars. I’ve done it. I’ve cried about it. Learn from my pain.
Use a light hand when pressing. I know it’s tempting to really pack them down so they hold together better, but that’s what makes them tough. Gentle pressure is all you need. They’ll set as they cool.
Watch your heat. Marshmallows burn faster than you think. Keep the heat on low once they start melting. If you see any brown spots forming, you’re too hot. Pull it off the heat immediately.
Room temperature ingredients matter for the frosting. Cold cream cheese creates lumpy frosting. I’ve tried to rush it by microwaving the cream cheese, and it always ends up uneven. Just let it sit out for 30 minutes. Set a timer if you have to.
Patience with setting. I know you want to eat them immediately. I get it. But if you cut them too soon, the frosting will smear and the bars will crumble. Give them the full 30 minutes at room temperature plus the fridge time. It’s worth the wait.
Double the recipe if you’re feeding a crowd. These go fast. I brought a single batch to a family gathering, and they were gone in 15 minutes. Next time, I’m making a double batch and hiding half in the freezer.
Variations & Adaptations
One of the best things about this recipe is how flexible it is. Here are some variations I’ve tried and loved:
Chocolate Chip Version: Fold in 1/2 cup of mini chocolate chips right after the cereal. The warmth will melt them slightly, creating little pockets of chocolate throughout. I did this on a whim one night, and it was incredible.
Springtime Lemon Version: Add the zest of one lemon to the marshmallow mixture, and add 1 tablespoon of lemon juice to the frosting. It’s bright, fresh, and perfect for Easter or spring brunches. My neighbor tried this version and now requests it every time we have a block party.
Holiday Spice Version: Add 1 teaspoon of cinnamon and 1/2 teaspoon of nutmeg to the sugar cookie mix before adding it to the marshmallows. Top with a sprinkle of cinnamon sugar instead of frosting for a simpler treat. These taste like Christmas morning.
Gluten-Free Option: Use a gluten-free sugar cookie mix (most major brands make one now) and check that your Rice Krispies are labeled gluten-free (the original recipe is, but some store brands aren’t). My gluten-free friend tried these and said they were the best treats she’d had in years.
Peppermint Bark Version: Crush 1/2 cup of peppermint candies and fold them into the cereal mixture. Add 1/4 teaspoon of peppermint extract to the frosting. Top with crushed candy canes. This one is dangerous—I ate an entire pan over two days during the holidays.
Serving & Storage Suggestions
These treats are best served at room temperature. The frosting is creamy and soft, and the bars have that perfect chewy texture. If you serve them straight from the fridge, the frosting will be firmer and the bars will be denser—still delicious, but different.
For a cozy presentation, cut them into generous squares and arrange them on a wooden board or a simple white plate. A dusting of powdered sugar on top makes them look extra special, or you can add sprinkles for a fun touch. They pair beautifully with a hot cup of coffee, a mug of tea, or a cold glass of milk. Honestly, I’ve eaten them with hot chocolate on a snowy day, and it was pure magic.
Storage: Store these in an airtight container at room temperature for up to 3 days. If your kitchen is warm, refrigerate them—the frosting can get a little soft. They’ll last in the fridge for up to a week, though they never last that long in my house.
Freezing: These freeze beautifully. Wrap individual bars in plastic wrap, then place them in a freezer bag. They’ll keep for up to 3 months. To thaw, just leave them at room temperature for about 30 minutes. The frosting might look a little different after freezing, but the taste is still perfect.
One thing I’ve noticed: the flavors actually develop overnight. The sugar cookie flavor becomes more pronounced, and the marshmallow and cereal meld together into this cohesive, almost cookie-like texture. So if you can resist eating them all on day one, day two is even better.
Nutritional Information & Benefits
Let’s be real—these are a treat, not a health food. But here’s the estimated nutritional breakdown per bar (assuming 12 servings):
| Nutrient | Amount per Serving |
|---|---|
| Calories | 320 |
| Total Fat | 14g |
| Saturated Fat | 8g |
| Cholesterol | 35mg |
| Sodium | 220mg |
| Total Carbohydrates | 48g |
| Dietary Fiber | 0g |
| Sugars | 32g |
| Protein | 2g |
The cream cheese does add a small amount of protein and calcium, and the butter provides vitamin A. But honestly, these are about joy, not nutrition. They’re the kind of treat you make when you need a little sweetness in your day. If you want to lighten them up, you can use low-fat cream cheese and reduce the butter in the frosting by half—but I’ve tried it, and it’s just not the same. Sometimes, you need the full-fat version.
These are not gluten-free unless you use certified gluten-free ingredients, and they contain dairy from the butter and cream cheese. If you have allergies, please check all your labels carefully.
Conclusion
These Cozy Sugar Cookie Rice Krispie Treats with Cream Cheese Frosting are the kind of recipe that makes you wonder why you didn’t think of it sooner. They’re simple enough for a Tuesday night, special enough for a holiday party, and delicious enough to become a regular request from everyone who tries them. The sugar cookie mix adds this unexpected warmth and tenderness, and the cream cheese frosting is the perfect tangy-sweet finish.
I love this recipe because it came from a place of being wrong—and being okay with that. My roommate’s simple question led to something I never would have discovered on my own. And now, every time I make these, I think about that night in my tiny kitchen, and I smile. That’s what good recipes do. They create memories.
I’d love to hear how yours turn out! Leave a comment below and let me know what variations you tried, or tag me in your photos on Pinterest. Did you add chocolate chips? Lemon zest? Something completely wild? Tell me all about it. And if you love these, try my classic brown butter Rice Krispie treats or my go-to cream cheese frosting recipe for other desserts. Happy baking, friends!
Frequently Asked Questions
Can I use mini marshmallows instead of regular ones?
Yes, absolutely. Mini marshmallows actually melt faster and more evenly. Just use the same weight—10 ounces. I’ve used both, and honestly, mini marshmallows are a little easier to work with because they don’t clump as much.
Why did my treats turn out hard?
This usually happens from over-packing the mixture into the pan or overcooking the marshmallows. Press them gently—just enough to flatten them—and keep the heat low when melting the marshmallows. Also, make sure you’re using fresh marshmallows. Old ones can make the treats harder.
Can I make these without the frosting?
You can! The treats are delicious on their own—the sugar cookie mix gives them plenty of flavor. If you skip the frosting, they’ll be less sweet and more like a traditional Rice Krispie treat with a cookie twist. They’ll also keep longer without the frosting.
How do I get clean cuts?
Chill the frosted treats in the refrigerator for at least 20 minutes before cutting. Use a sharp knife and wipe it clean between each cut with a damp paper towel. For the cleanest edges, you can also run the knife under hot water and dry it before cutting.
Can I use a different cereal?
Absolutely. Cocoa Krispies would make a chocolate version, Fruity Pebbles would be fun and colorful, or you could use a puffed rice cereal from the health food store. Just keep the ratio the same—6 cups of cereal to the rest of the ingredients. Each cereal will give a slightly different texture, so experiment and see what you like best.
Pin This Recipe!
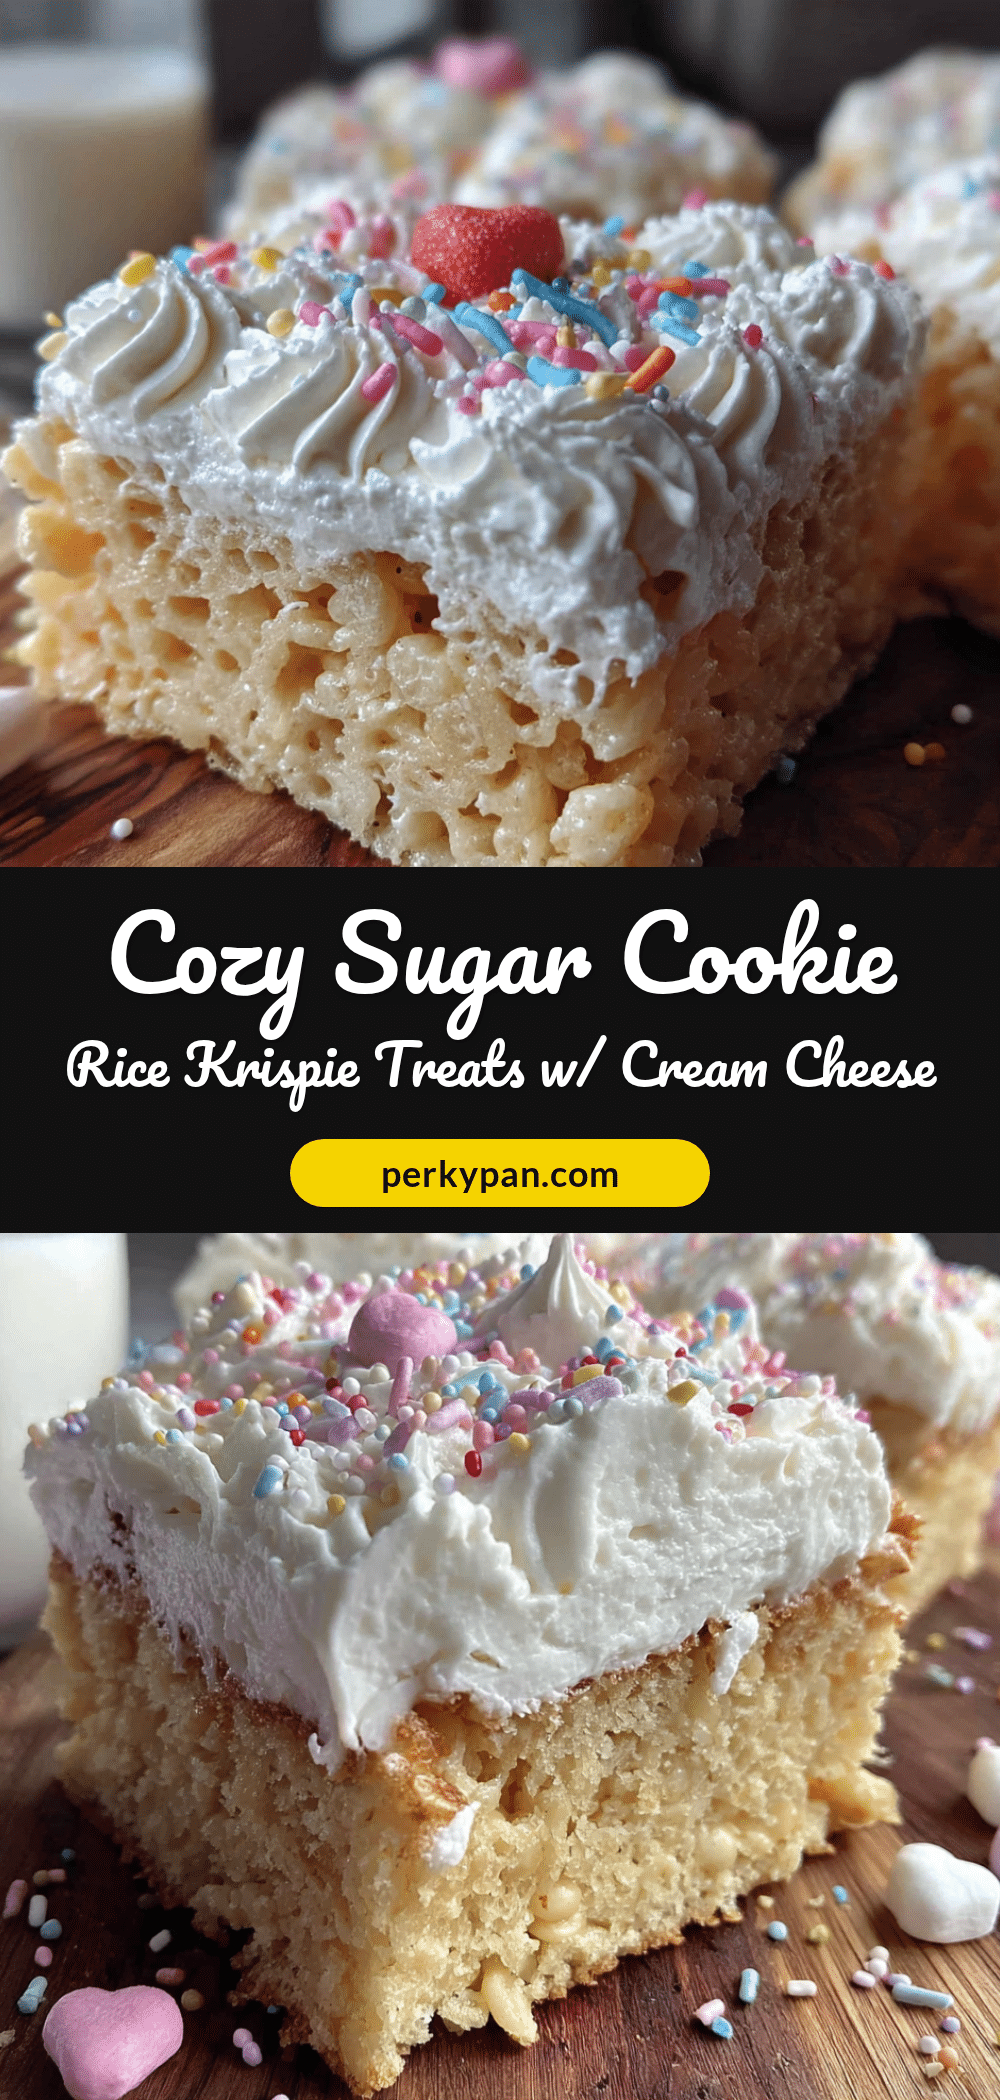
Cozy Sugar Cookie Rice Krispie Treats with Cream Cheese Frosting

These chewy, buttery bars combine the classic marshmallow treat with sugar cookie mix for a cozy, no-bake dessert topped with tangy cream cheese frosting. Perfect for a quick, crowd-pleasing sweet fix.
- Prep Time: 20 minutes
- Cook Time: 10 minutes
- Total Time: 1 hour 20 minutes (includes cooling and setting)
- Yield: 12 servings 1x
- Category: Dessert
- Cuisine: American
Ingredients
- 6 tablespoons unsalted butter (or salted, skip extra salt)
- 1 package (10 oz) marshmallows (regular or mini)
- 1 cup sugar cookie mix (e.g., Betty Crocker)
- 6 cups Rice Krispies cereal
- 1/4 teaspoon salt (if using unsalted butter)
- 4 oz cream cheese, softened
- 4 tablespoons unsalted butter, softened
- 2 cups powdered sugar
- 1 teaspoon vanilla extract
- 1–2 tablespoons milk
Instructions
- Line a 9×13-inch baking pan with parchment paper, leaving overhang on two sides. Lightly grease with butter or non-stick spray.
- In a large pot, melt 6 tablespoons butter over medium-low heat until just melted and beginning to bubble.
- Add marshmallows and stir constantly with a silicone spatula until completely melted and smooth (about 3-4 minutes). Keep heat low to avoid burning.
- Remove pot from heat. Stir in 1 cup sugar cookie mix and 1/4 teaspoon salt (if using) until fully incorporated. Mixture will thicken.
- Fold in 6 cups Rice Krispies cereal gently but thoroughly, ensuring all cereal is coated without crushing it.
- Scrape mixture into prepared pan. Use a second piece of parchment or a lightly greased spatula to press evenly and gently.
- While treats cool slightly, make frosting: In a mixing bowl, beat softened cream cheese and 4 tablespoons softened butter until smooth and fluffy (about 2 minutes). Add vanilla and beat again.
- Gradually add powdered sugar, 1/2 cup at a time, beating on low speed. Add 1 tablespoon milk and beat on medium-high for 2 minutes until light and fluffy. Add more milk if needed.
- Let treats cool for 15-20 minutes (warm but not hot). Spread frosting evenly over top.
- Let frosted treats sit at room temperature for 30 minutes to set, then refrigerate for 20 minutes for cleaner cuts. Lift out using parchment overhang and cut into squares.
Notes
Use fresh marshmallows for best texture. Let cream cheese soften at room temperature for 30 minutes. Don’t over-mix cereal or press too firmly. For cleaner cuts, chill before slicing. Flavors develop overnight.
Nutrition
- Serving Size: 1 bar
- Calories: 320
- Sugar: 32
- Sodium: 220
- Fat: 14
- Saturated Fat: 8
- Carbohydrates: 48
- Protein: 2
Keywords: sugar cookie rice krispie treats, cream cheese frosting, no-bake dessert, easy dessert, marshmallow treats


