Love this? Save it for later!
Share the inspiration with your friends
I was folding laundry last Tuesday — a truly thrilling activity, I know — when a faint whiff of almond extract drifted from somewhere. Maybe the neighbor was baking. Maybe it was just my brain playing tricks. But suddenly I was seven years old, sitting on a cracked vinyl stool in my Aunt Lou’s kitchen, watching her press perfect little dimples into rounds of dough with her thumb. She’d let me spoon the jam into each one, and I always overfilled them, because more jam seemed obviously better. She never corrected me. She just wiped the sticky mess off my fingers with a dish towel and said, “That’s the way, honey.”
Aunt Lou passed when I was in high school, and I haven’t thought about those cookies in years. But that almond hit — sharp and sweet and specific — sent me straight back to that tiny kitchen with the yellow linoleum and the radio playing static-y country music. I had to make them. I had to try.
Now, I’m not gonna pretend my first batch was a success. I used the wrong flour, the dough was too sticky, and my thumbprints looked more like sad craters than neat little wells. Honestly, it was a mess. But I kept at it, because that memory was too good to let go of. After a few tries (and a few flour explosions), I landed on this version. It’s not Aunt Lou’s recipe exactly, but it feels like it. Maybe you’ve been there — chasing a taste you can barely remember, hoping to find it again. That’s what these wholesome almond raspberry thumbprint cookies are for me. They’re a little bit of her kitchen, right in mine.
Why You’ll Love This Recipe
Let me tell you why these cookies have earned a permanent spot in my baking rotation. I’ve tested them for friends, for picky kids, and for my neighbor who claims she “doesn’t do dessert.” She did dessert that day.
- Quick & Easy : From start to finish, these come together in about 35 minutes. The dough chills briefly, but there’s no fussy rolling or cutting involved.
- Simple Ingredients : You likely have most of these in your pantry already. No weird specialty items, just real food.
- Perfect for Afternoon Tea or a Guilt-Free Treat : They’re sweet enough to feel indulgent but made with wholesome ingredients that won’t leave you crashing.
- Crowd-Pleaser : I’ve brought these to three different gatherings now, and the cookie plate is always empty first. Kids love the jam center, adults love the almond flavor.
- Unbelievably Delicious : The texture is this perfect balance — slightly crisp on the outside, tender in the middle, with that burst of raspberry in every bite. The vanilla glaze on top? Honestly, it takes them over the edge.
What makes this recipe different from the rest is the almond flour base. It gives these cookies a naturally nutty flavor and a tender crumb that all-purpose flour just can’t match. Plus, it adds a little protein and healthy fat, so you can feel good about having two. Or three. I’m not judging.
This recipe isn’t just good — it’s the kind that makes you close your eyes after the first bite. It’s comfort food reimagined: healthier, faster, but with the same soul-soothing satisfaction. Perfect for impressing guests without stress, or turning a simple Tuesday into something memorable.
What Ingredients You Will Need
This recipe uses simple, wholesome ingredients to deliver bold flavor and satisfying texture without the fuss. Most are pantry staples, and the few that aren’t are easy to find.
- Almond flour, blanched (2 cups / 200g) — This is the star of the show. It creates that tender, slightly nutty texture. I prefer Bob’s Red Mill for consistent results. Don’t substitute with almond meal, which has the skins and is coarser.
- Unsalted butter, softened (1/2 cup / 113g) — Make sure it’s truly softened to room temp, not melted. This helps the dough come together smoothly.
- Granulated sugar (1/3 cup / 65g) — Just enough to sweeten without overwhelming the almond flavor. You could use coconut sugar for a deeper flavor, but the color will be darker.
- Honey (2 tablespoons / 30ml) — Adds moisture and a gentle floral sweetness. Maple syrup works too, but the flavor will shift slightly.
- Large egg, room temperature (1) — Helps bind the dough. If you’re vegan, a flax egg (1 tablespoon flaxseed meal + 3 tablespoons water) works beautifully here.
- Almond extract (1 teaspoon) — This is non-negotiable for that classic thumbprint cookie flavor. Use pure extract if you can find it — it makes a difference.
- Vanilla extract (1/2 teaspoon) — Rounds out the almond flavor.
- Salt (1/4 teaspoon) — Just a pinch to balance the sweetness.
- Raspberry jam, seedless (1/3 cup / 100g) — I like Bonne Maman for its bright, true raspberry flavor. Seedless is preferable so you don’t get little bits stuck in your teeth, but with seeds works too if that’s what you have.
- For the vanilla glaze:
- Powdered sugar (1/2 cup / 60g) — Sift it first to avoid lumps.
- Milk or heavy cream (1-2 tablespoons / 15-30ml) — Heavy cream makes a richer glaze. Use dairy-free milk if needed.
- Vanilla extract (1/4 teaspoon) — For that final flavor boost.
Equipment Needed
You don’t need a fancy kitchen for these cookies. Here’s what I use:
- Mixing bowls — One large, one small. I like glass or stainless steel.
- Electric hand mixer or stand mixer — A hand mixer works fine. You can even do this by hand with a wooden spoon if you’re feeling strong.
- Baking sheet — A standard half-sheet pan works perfectly. Line it with parchment paper for easy cleanup.
- Parchment paper — Non-negotiable. The cookies won’t stick, and the bottoms brown evenly.
- Measuring cups and spoons — For accuracy, especially with the almond flour.
- Small cookie scoop — I use a 1-tablespoon scoop for uniform cookies. You can also just roll them by hand.
- Thumb or the back of a 1/2 teaspoon measure — To make the indentations. The spoon handle is actually easier and creates a more uniform well.
- Cooling rack — For letting the glaze set without getting soggy on the bottom.
If you don’t have a cooling rack, just let them cool on the baking sheet for a few extra minutes before glazing. It’ll be fine.
Preparation Method
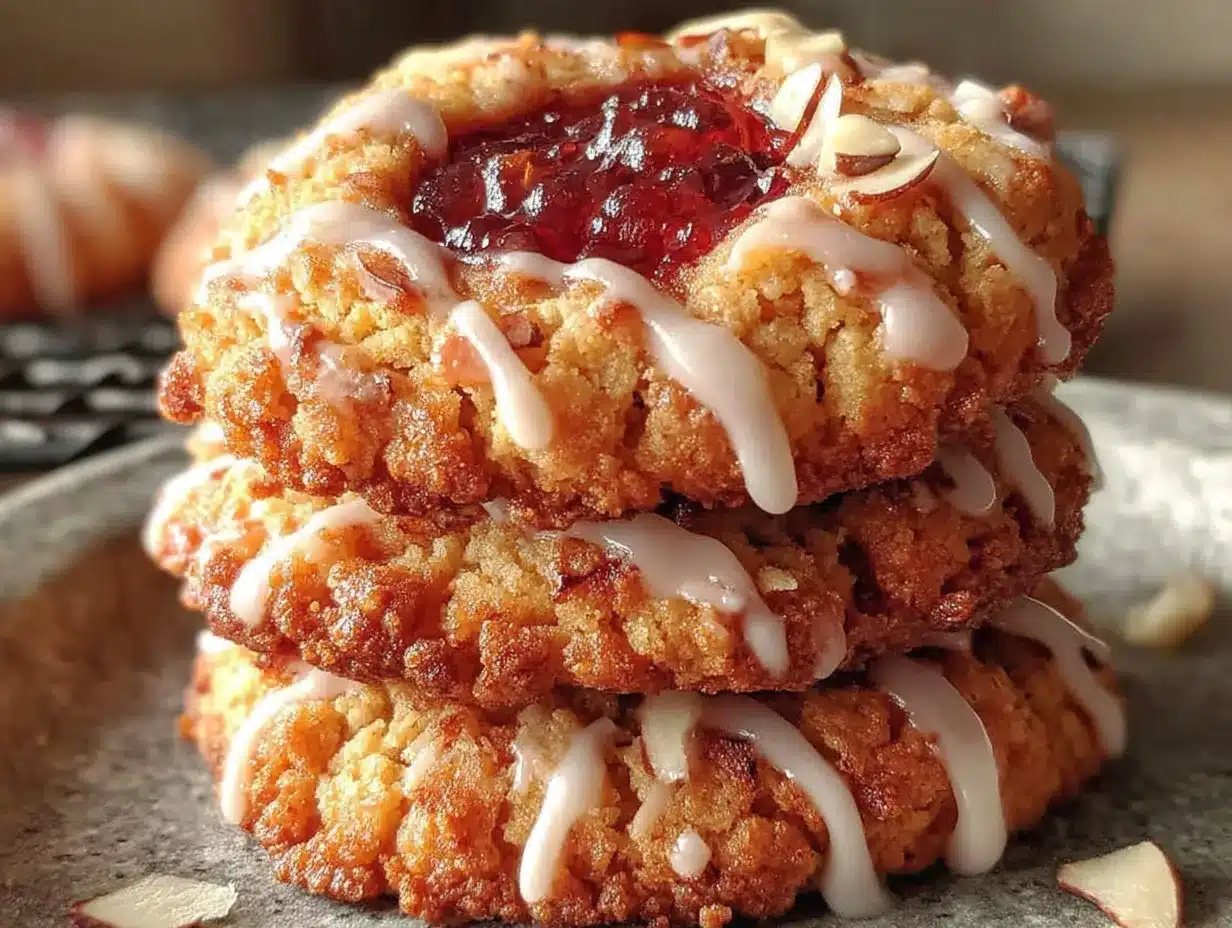
Alright, let’s get baking. Here’s exactly how I make these wholesome almond raspberry thumbprint cookies.
- Preheat your oven to 350°F (175°C). Line a baking sheet with parchment paper. This is a small step that makes a big difference — no stuck cookies, no scrubbing pans.
- Cream the butter and sugar together. In a large mixing bowl, beat the softened butter and granulated sugar together with an electric mixer on medium speed until light and fluffy, about 2 minutes. It should look pale and airy. Add the honey and beat for another 30 seconds.
- Add the egg and extracts. Crack in the room-temperature egg, then add the almond extract and vanilla extract. Beat on low until just combined. The mixture might look slightly separated — that’s okay. Don’t overmix.
- Mix the dry ingredients. In a separate small bowl, whisk together the almond flour and salt. Add this to the wet mixture and mix on low until a soft dough forms. It will be slightly sticky but should hold together when pressed. If it seems too wet, add a tablespoon more almond flour.
- Chill the dough (optional but helpful). Cover the bowl and pop it in the fridge for 15-20 minutes. This makes the dough easier to handle and helps the cookies hold their shape better. If you’re in a hurry, you can skip this, but your thumbprints might spread a bit more.
- Shape the cookies. Scoop out rounded tablespoons of dough (about 1.5 tablespoons each) and roll them into smooth balls between your palms. Place them on the prepared baking sheet, spacing them about 2 inches apart. They don’t spread much, so you can fit 12 on a standard sheet.
- Make the indentations. Here’s the trick: use the back of a 1/2 teaspoon measure or your thumb to press a deep well into the center of each cookie. Press almost to the bottom, but don’t go all the way through. The edges might crack a little — that’s part of the charm. Gently pinch any major cracks back together.
- Fill with jam. Spoon the raspberry jam into a small zip-top bag and snip off a tiny corner. Pipe about 1/2 teaspoon of jam into each indentation. Don’t overfill — the jam will bubble and spread as it bakes. A little goes a long way.
- Bake. Slide the baking sheet into the preheated oven and bake for 10-12 minutes, or until the edges are lightly golden and the tops are set. The jam will be bubbly and fragrant. Let them cool on the baking sheet for 5 minutes, then transfer to a cooling rack.
- Make the vanilla glaze. While the cookies cool, whisk together the powdered sugar, 1 tablespoon of milk or cream, and vanilla extract in a small bowl. Add more liquid a teaspoon at a time until you get a smooth, drizzle-able consistency. It should fall off the whisk in a thick ribbon.
- Glaze the cookies. Once the cookies are completely cool (this is important — warm cookies will make the glaze run right off), drizzle the glaze over the tops in a zigzag pattern. Let the glaze set for about 15 minutes before serving.
Cooking Tips & Techniques
I’ve made these cookies probably a dozen times now, and I’ve learned a few things the hard way. Here’s what I wish someone had told me:
Don’t skip chilling the dough. I know, I know, you’re impatient. I am too. But the first time I skipped this step, my cookies spread into flat little pancakes and the jam ran all over the place. The chill time lets the almond flour absorb some moisture and helps the cookies hold their shape. It’s only 15 minutes. You can do this.
Make the indentations deep enough. The jam needs a real home. If you just press a shallow dent, the jam will bubble over the sides and you’ll end up with sticky, caramelized patches on your baking sheet. Not the end of the world, but not as pretty. Press firmly and confidently.
Use a piping bag for the jam. I used to use a spoon, and let me tell you, it was a mess. Jam everywhere, uneven amounts, and I always ended up with jam on my fingers. A zip-top bag with a tiny corner snipped off gives you so much more control. You can fill each well neatly and quickly.
Watch the bake time carefully. These cookies go from perfectly golden to overdone very quickly. Start checking at 10 minutes. The edges should be just barely browned, and the tops should look set but not dark. Remember they’ll continue to firm up as they cool on the sheet.
Let them cool completely before glazing. I learned this one the hard way. I was impatient, glazed a warm cookie, and watched the glaze slide right off onto the cooling rack. It was heartbreaking. Wait until they’re fully cool to the touch — about 20 minutes — before you drizzle.
Variations & Adaptations
One of the best things about this recipe is how flexible it is. Here are some ways I’ve adapted it:
Gluten-Free Friendly: These cookies are naturally gluten-free since they use almond flour instead of wheat flour. Just double-check that your jam and extracts are certified gluten-free if that’s a concern for you.
Vegan Version: Swap the butter for vegan butter (I like Miyoko’s), use a flax egg (1 tablespoon flaxseed meal + 3 tablespoons water, let sit for 5 minutes), and use maple syrup instead of honey. The texture will be slightly more delicate, but they’re still delicious.
Flavor Twists: Try swapping the raspberry jam for strawberry, apricot, or even fig preserves. For the glaze, you can add a drop of lemon or orange extract for a citrusy kick. I made a batch with blood orange jam once, and it was absolutely gorgeous.
Nut-Free Option: If you need these to be nut-free, substitute the almond flour with an equal amount of oat flour or a gluten-free all-purpose blend. The texture will be different — more cake-like and less tender — but still tasty.
Lower Sugar: You can reduce the sugar in the dough to 1/4 cup and use a sugar-free jam. The cookies will be less sweet, but the almond flavor will shine through more. Just don’t reduce the honey — it’s needed for moisture.
Serving & Storage Suggestions
These cookies are best served at room temperature, fresh from the cooling rack. The glaze should be set but still soft, and the jam center should be slightly warm and gooey. I love them with a cup of black tea or a cold glass of milk.
If you’re serving them at a gathering, arrange them on a pretty plate and watch them disappear. They also make lovely gifts — just layer them in a tin with parchment paper between the layers.
Storage: Store these cookies in an airtight container at room temperature for up to 5 days. The texture will soften slightly over time as the jam and glaze settle, but they’ll still be delicious. If you stack them, put a piece of wax paper between the layers to prevent sticking.
Freezing: You can freeze the baked, un-glazed cookies for up to 3 months. Just place them in a single layer on a baking sheet, freeze until solid, then transfer to a freezer bag. When you’re ready to serve, thaw them at room temperature, then glaze them fresh. The glaze doesn’t freeze well, so always add it after thawing.
I’ve also frozen the unbaked dough balls (without the jam) for up to 2 months. Just scoop and roll them, place them on a parchment-lined baking sheet, freeze until solid, then transfer to a freezer bag. When you’re ready to bake, let them thaw in the fridge for 30 minutes, then proceed with the indentation and jam steps. Fresh cookies anytime!
Nutritional Information & Benefits
Here’s the approximate nutritional breakdown for one cookie (based on 18 cookies):
| Nutrient | Amount per Cookie |
|---|---|
| Calories | 145 |
| Total Fat | 9g |
| Saturated Fat | 3.5g |
| Carbohydrates | 15g |
| Fiber | 2g |
| Sugar | 10g |
| Protein | 4g |
These cookies are a great source of healthy fats and protein thanks to the almond flour. Almonds are rich in vitamin E, magnesium, and antioxidants. The raspberry jam adds a small amount of vitamin C and fiber. Compared to traditional thumbprint cookies made with white flour, these have more staying power and won’t spike your blood sugar as much.
If you’re watching your sugar intake, you can cut the glaze or use a sugar-free alternative. But honestly, life is short. Have a cookie.
Conclusion
These wholesome almond raspberry thumbprint cookies with vanilla glaze have become my go-to when I want something that feels special but doesn’t require a whole afternoon in the kitchen. They’re the kind of cookie that makes you slow down and actually taste what you’re eating — the nutty almond, the bright raspberry, the sweet vanilla finish.
I hope you’ll try them. And I hope they bring back a good memory, or help you make a new one. That’s the thing about baking — it’s never just about the food. It’s about the feeling you get when you share it.
If you make these, I’d love to hear about it. Leave a comment below and tell me how they turned out, or share your own variation. Did you use a different jam? Add a sprinkle of flaky salt on top? I’m always looking for new ideas.
Happy baking, friend. Aunt Lou would be proud.
Frequently Asked Questions
Can I use all-purpose flour instead of almond flour?
You can, but the texture will be completely different. Almond flour gives these cookies their signature tender, nutty crumb. If you use all-purpose flour, you’ll need to adjust the liquid — start with 1 1/4 cups and add more if the dough seems too dry. The cookies will be more cake-like and less delicate.
Why did my cookies spread too much?
This usually happens if the dough wasn’t chilled long enough or if the butter was too soft. Next time, chill the dough for at least 20 minutes before shaping. Also, make sure your baking sheet isn’t too warm — if you’re reusing the same sheet for multiple batches, let it cool completely between rounds.
Can I use a different jam?
Absolutely! Strawberry, apricot, blackberry, or even fig preserves work beautifully. Just make sure it’s a seedless jam if you want a smooth texture. Avoid very runny jams, as they’ll bubble over during baking.
How do I keep the jam from burning?
Don’t overfill the indentations — about 1/2 teaspoon is plenty. Also, make sure the jam is centered in the well and not touching the edges of the cookie. If you’re concerned, you can bake the cookies without the jam for 8 minutes, then add the jam and bake for the remaining 2-4 minutes.
Can I make these cookies dairy-free?
Yes! Use vegan butter in place of regular butter, and use a dairy-free milk alternative (like oat or almond milk) in the glaze. The cookies will still be tender and delicious. Just make sure your vegan butter is well-chilled before using.
Pin This Recipe!
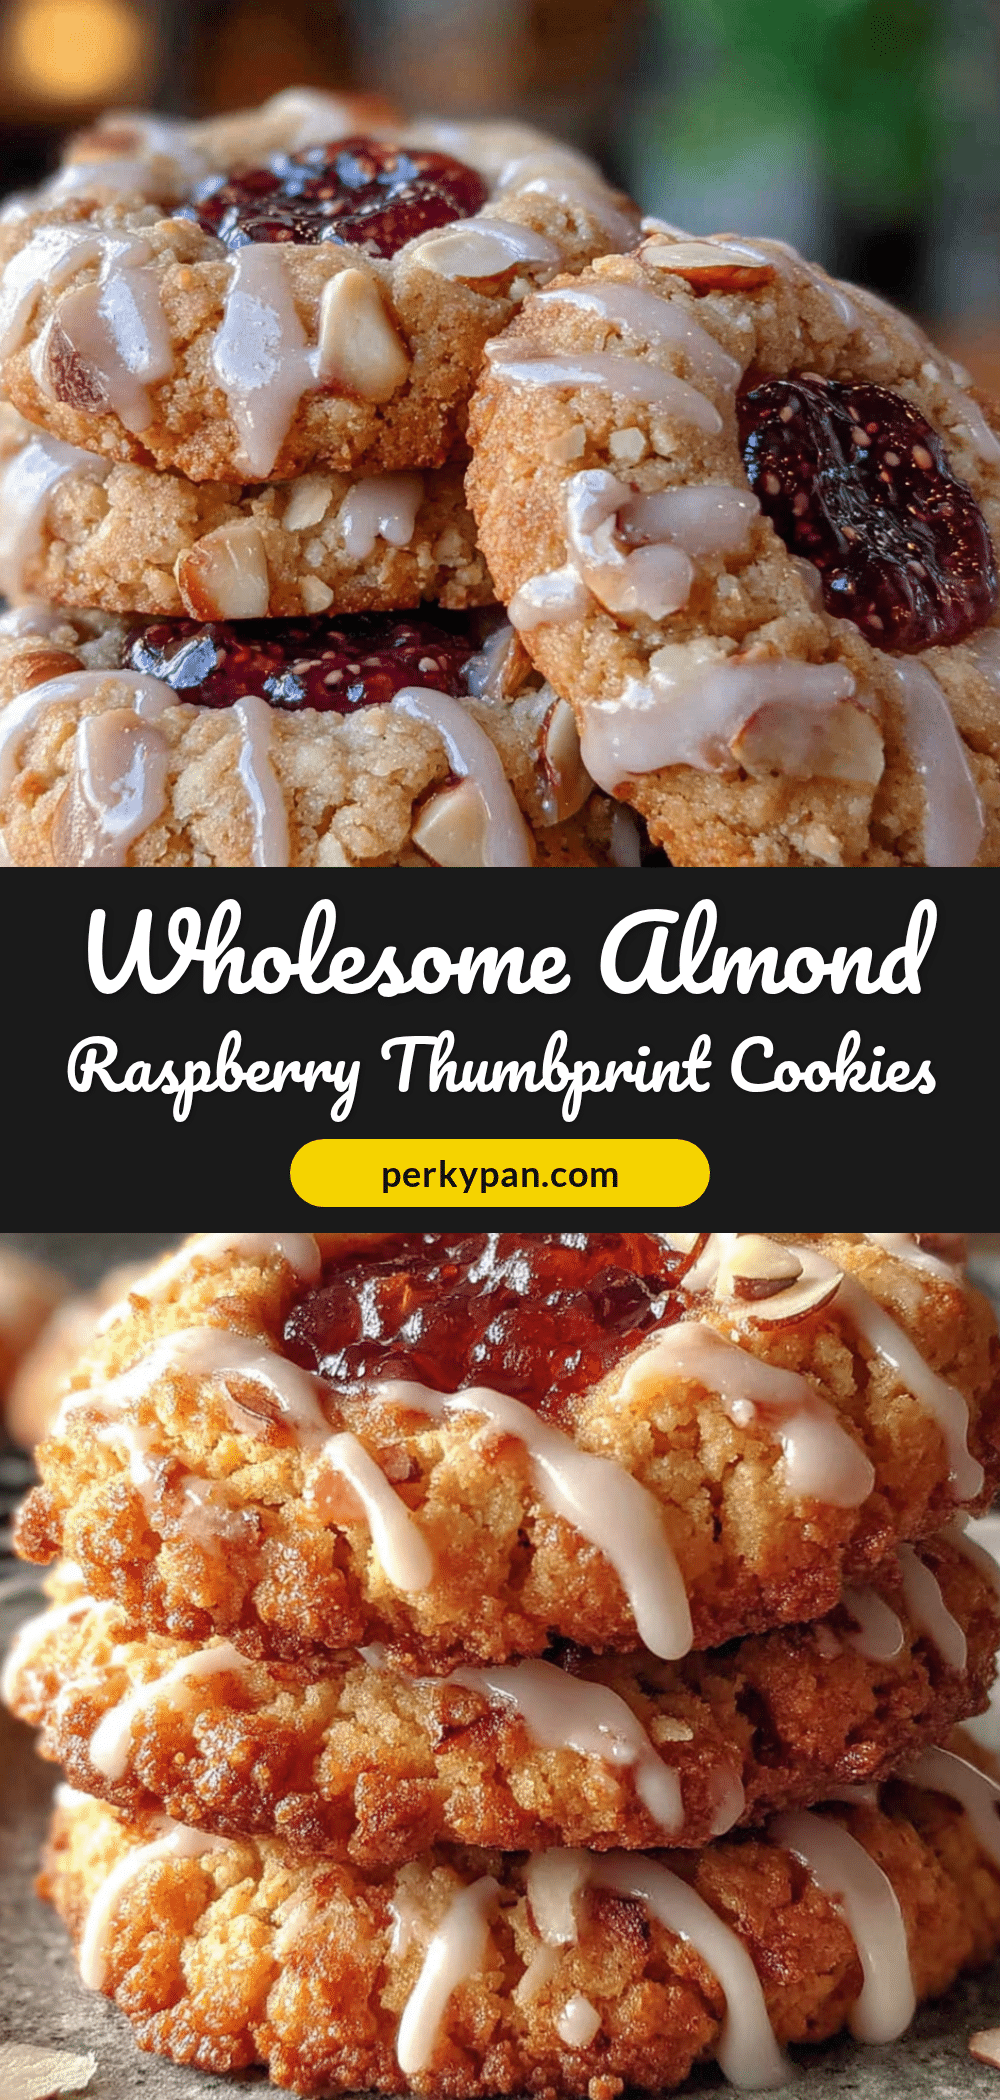
Wholesome Almond Raspberry Thumbprint Cookies with Vanilla Glaze

These wholesome almond raspberry thumbprint cookies are made with almond flour for a tender, nutty crumb and filled with bright raspberry jam, then drizzled with a sweet vanilla glaze. They’re a quick and easy treat that feels indulgent but uses simple, wholesome ingredients.
- Prep Time: 15 minutes
- Cook Time: 12 minutes
- Total Time: 35 minutes
- Yield: 18 cookies 1x
- Category: Dessert
- Cuisine: American
Ingredients
- 2 cups (200g) blanched almond flour
- 1/2 cup (113g) unsalted butter, softened
- 1/3 cup (65g) granulated sugar
- 2 tablespoons (30ml) honey
- 1 large egg, room temperature
- 1 teaspoon almond extract
- 1/2 teaspoon vanilla extract
- 1/4 teaspoon salt
- 1/3 cup (100g) seedless raspberry jam
- 1/2 cup (60g) powdered sugar
- 1–2 tablespoons (15-30ml) milk or heavy cream
- 1/4 teaspoon vanilla extract (for glaze)
Instructions
- Preheat your oven to 350°F (175°C). Line a baking sheet with parchment paper.
- In a large mixing bowl, beat the softened butter and granulated sugar together with an electric mixer on medium speed until light and fluffy, about 2 minutes. Add the honey and beat for another 30 seconds.
- Add the room-temperature egg, almond extract, and vanilla extract. Beat on low until just combined.
- In a separate small bowl, whisk together the almond flour and salt. Add to the wet mixture and mix on low until a soft dough forms.
- Cover the bowl and chill the dough in the fridge for 15-20 minutes (optional but recommended).
- Scoop rounded tablespoons of dough (about 1.5 tablespoons each) and roll into smooth balls. Place on the prepared baking sheet, spacing them about 2 inches apart.
- Use the back of a 1/2 teaspoon measure or your thumb to press a deep well into the center of each cookie. Gently pinch any major cracks back together.
- Spoon the raspberry jam into a small zip-top bag, snip off a tiny corner, and pipe about 1/2 teaspoon of jam into each indentation.
- Bake for 10-12 minutes, or until the edges are lightly golden and the tops are set. Let cool on the baking sheet for 5 minutes, then transfer to a cooling rack.
- While the cookies cool, whisk together the powdered sugar, 1 tablespoon of milk or cream, and 1/4 teaspoon vanilla extract in a small bowl. Add more liquid a teaspoon at a time until you get a smooth, drizzle-able consistency.
- Once the cookies are completely cool, drizzle the glaze over the tops in a zigzag pattern. Let the glaze set for about 15 minutes before serving.
Notes
Chilling the dough helps prevent spreading. Use a piping bag for the jam to avoid mess. Let cookies cool completely before glazing. Store in an airtight container at room temperature for up to 5 days. Freeze unglazed cookies for up to 3 months.
Nutrition
- Serving Size: 1 cookie
- Calories: 145
- Sugar: 10
- Sodium: 40
- Fat: 9
- Saturated Fat: 3.5
- Carbohydrates: 15
- Fiber: 2
- Protein: 4
Keywords: almond flour cookies, thumbprint cookies, raspberry jam cookies, gluten-free cookies, healthy cookies, easy cookie recipe


