Love this? Save it for later!
Share the inspiration with your friends
It was 11:47 PM on a random Thursday, and I had this ridiculous craving for something cold, creamy, and a little bit sweet. You know that feeling when your brain just *needs* a specific texture? I didn’t have the ingredients for the fancy layered dessert I was dreaming about—you know, the one with the custard and the whipped cream from scratch. But I had a can of cherry pie filling, a block of cream cheese, and a bag of mini marshmallows that were staring at me from the pantry. And honestly? The idea that hit me felt a little crazy at first. I mean, cream cheese and cherry pie filling? That sounded like something my grandma would whip up for a potluck in 1972.
But here’s the thing about late-night cooking—the rules go out the window. There’s no one watching, no one to impress, just you and the fridge. So I tossed the cream cheese in the mixer, added a splash of vanilla, and folded in those tiny marshmallows until the whole thing looked like a cloud. Then I swirled in the cherries. The first bite was cold, sweet, tangy, and so ridiculously good that I actually laughed out loud. I stood there in my pajamas, eating it straight from the bowl with a spoon, and thought, “This is the kind of thing I’d bring to a party and pretend I spent hours on.”
And that’s exactly what happened. I brought it to a backyard barbecue the next weekend, and people lost their minds. Someone actually asked for the recipe before they’d even finished their first serving. That’s the magic of this Crowd-Pleasing Cherries in the Snow Dessert Salad—it looks like you fussed, but really, it’s a 10-minute miracle. Maybe you’ve been there, staring into your fridge at 11 PM, wondering what to make. This is the answer.
Why You’ll Love This Recipe
I’ve tested this recipe about seven times now—not because it’s hard, but because I kept finding ways to make it even better. The first time, I used low-fat cream cheese, and honestly, it was a mistake. The texture was off, and the flavor felt flat. The second time, I went all in with full-fat cream cheese and a splash of heavy cream, and bam—that was the magic. So trust me when I say this version is the one.
- Quick & Easy : Comes together in under 10 minutes with zero baking required. Perfect for last-minute hosting.
- Simple Ingredients : You only need 5-6 ingredients, and most of them are probably in your fridge or pantry right now.
- Perfect for Gatherings : This is the dessert salad that disappears at potlucks, barbecues, and holiday dinners. People go back for seconds (and thirds).
- Crowd-Pleaser : Kids love the marshmallows and cherries. Adults love the creamy, not-too-sweet vibe. Everyone wins.
- Unbelievably Delicious : The contrast between the tangy cream cheese, the sweet cherries, and the pillowy marshmallows is pure comfort food magic.
What makes this different from every other cherry dessert salad out there? It’s the ratio. I spent an embarrassing amount of time tweaking the cream cheese to marshmallow ratio. Too much marshmallow, and it’s cloying. Too little, and it’s just sweetened cream cheese. This version is perfectly balanced—creamy, fluffy, and just sweet enough. It’s the kind of dessert that makes you close your eyes after the first bite. And for hosting? It’s a lifesaver. You can make it the night before, let the flavors meld in the fridge, and pull it out right before guests arrive. No stress, no oven, just pure dessert glory.
What Ingredients You Will Need
This recipe uses simple, wholesome ingredients to deliver a bold, creamy, and fruity flavor without any fuss. Most of these are pantry staples, so you might not even need a grocery run.
- 8 oz cream cheese, softened to room temperature (full-fat is best for texture; I prefer Philadelphia brand)
- 1 cup powdered sugar, sifted if you want to avoid lumps (but honestly, I rarely sift and it’s fine)
- 1 teaspoon vanilla extract (pure vanilla extract adds a warmer flavor than imitation)
- 2 cups frozen whipped topping, thawed (like Cool Whip; or make your own stabilized whipped cream if you’re fancy)
- 1 can (21 oz) cherry pie filling (I like Lucky Leaf or Comstock; look for one with whole cherries)
- 2 cups mini marshmallows (the mini ones distribute better than the big ones)
- Optional: 1/2 cup chopped pecans or walnuts for crunch (I add these when I’m serving it at a fall gathering)
A quick note on substitutions: If you’re dairy-free, you can use a plant-based cream cheese and coconut-based whipped topping. Just know the texture will be slightly less creamy. For a lower-sugar version, use a sugar-free powdered sweetener and sugar-free cherry pie filling. I’ve tried both, and they work, but the full-sugar version really is the most satisfying. Also, if you’re not a fan of cherries (are you okay?), you can swap in blueberry or strawberry pie filling instead. The recipe is forgiving like that.
One more thing—make sure your cream cheese is truly softened. If it’s cold, you’ll end up with lumps, and nobody wants lumpy dessert salad. Leave it on the counter for about 30 minutes before you start. Or, if you’re like me and forget, microwave it in 10-second bursts until it’s soft but not melted.
Equipment Needed
You don’t need much for this one, which is part of the beauty. Here’s what I use:
- Large mixing bowl (any size works, but you want room to fold everything together)
- Hand mixer or stand mixer (a whisk and some elbow grease will work, but a mixer makes it fluffy)
- Rubber spatula (for folding in the marshmallows and cherries without crushing them)
- Measuring cups and spoons (eyeballing works, but measuring keeps it consistent)
- Serving bowl (a clear glass bowl shows off the beautiful layers—great for presentation)
- Plastic wrap or lid (for storing in the fridge overnight)
If you don’t have a hand mixer, you can absolutely do this by hand. Just beat the cream cheese with a wooden spoon until it’s smooth, then whisk in the powdered sugar. It’ll take a few extra minutes, but it builds character (and arm strength). I’ve done it both ways, and honestly, the hand-whipped version tastes just as good—it’s a little more rustic, which I kind of love.
Preparation Method
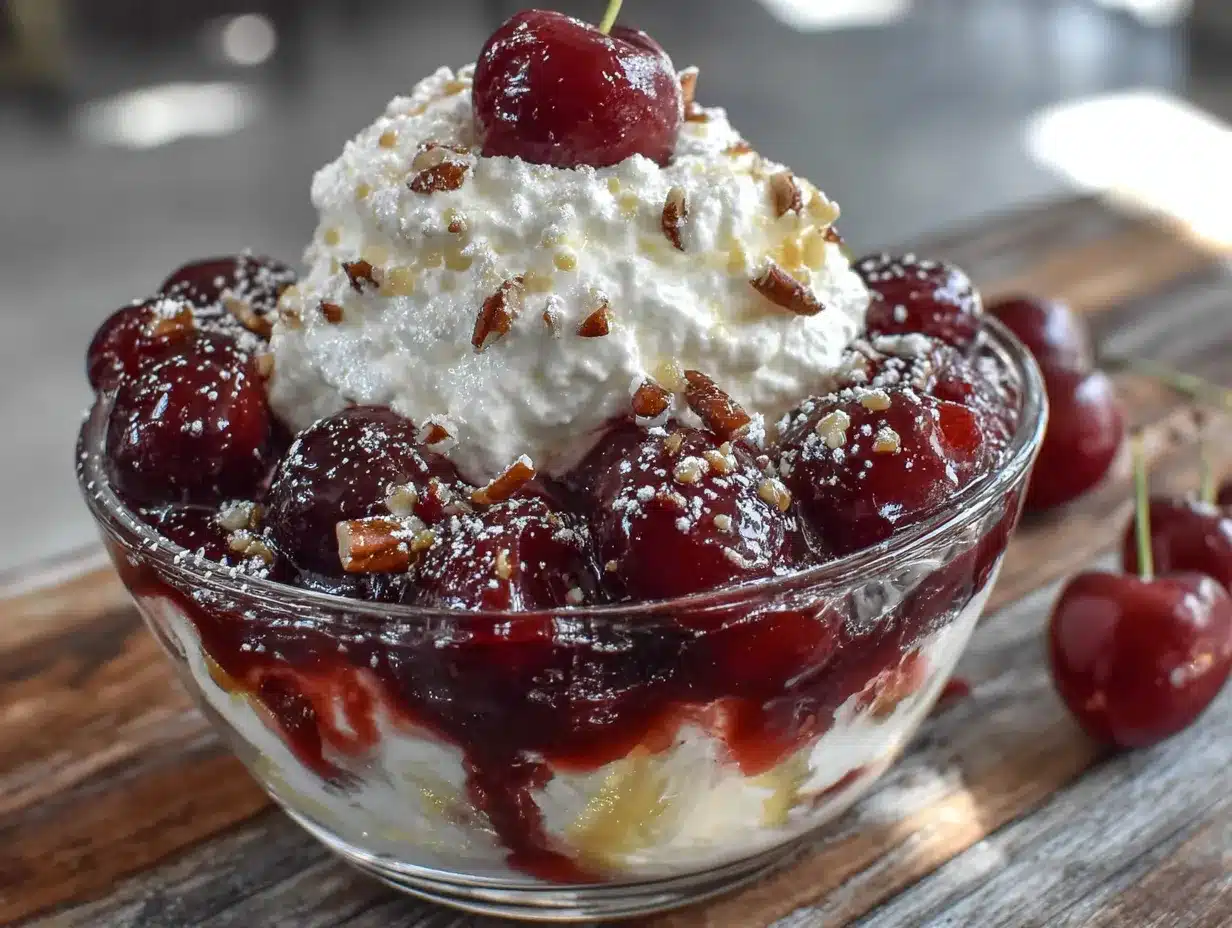
- Soften the cream cheese. Take your 8 oz block of cream cheese out of the fridge and let it sit on the counter for 30 minutes. If you’re in a rush, unwrap it and microwave on low power for 15-20 seconds. It should be soft to the touch but not hot or runny. I’ve made the mistake of microwaving it too long, and then you get melted cream cheese soup—not ideal.
- Beat the cream cheese. In a large mixing bowl, beat the softened cream cheese with a hand mixer on medium speed until it’s smooth and fluffy—about 2 minutes. Scrape down the sides of the bowl with a spatula halfway through. You want zero lumps here. This is the foundation of your “snow.”
- Add the powdered sugar and vanilla. With the mixer on low speed, gradually add the 1 cup of powdered sugar and 1 teaspoon of vanilla extract. Start slow, or you’ll get a sugar cloud all over your counter (speaking from experience). Once it’s incorporated, increase the speed to medium and beat for another minute until the mixture is light and creamy.
- Fold in the whipped topping. Gently fold in the 2 cups of thawed whipped topping using a rubber spatula. Use a cutting motion and then a folding motion—don’t stir, or you’ll deflate all the air. The mixture should look like fluffy clouds at this point. It’s okay if there are a few streaks of white and cream cheese; it all comes together.
- Add the marshmallows. Fold in the 2 cups of mini marshmallows until they’re evenly distributed. This is where the texture really shines—those little pockets of marshmallow sweetness are what make people go back for seconds.
- Swirl in the cherry pie filling. Add the entire can of cherry pie filling (don’t drain it—the syrup is part of the magic). Gently fold it in just 3-4 times. You want beautiful streaks of red and cherry clusters throughout the white “snow,” not a fully mixed pink mess. Less is more here.
- Chill (optional but recommended). Cover the bowl with plastic wrap and refrigerate for at least 2 hours, or overnight. This allows the flavors to meld and the texture to set. I’ve served it immediately, and it’s still delicious, but the chilled version is next-level. The marshmallows soften slightly, and the cherry syrup mingles with the cream cheese—chef’s kiss.
- Serve and garnish. Before serving, give it a gentle stir. If you want to get fancy, top with a few extra cherries from the can, a sprinkle of chopped nuts, or a dusting of cinnamon. I like to serve it in a clear glass bowl so everyone can see the beautiful red and white swirls.
Cooking Tips & Techniques
Here’s the thing I learned the hard way—don’t overmix. The first time I made this, I got excited and kept stirring until the whole thing turned pink. It tasted fine, but it looked like bubblegum instead of elegant dessert salad. You want those distinct pockets of cherry and cream. So fold gently, and stop while it’s still streaky.
Another tip: let your whipped topping thaw in the fridge, not on the counter. If it gets too warm, it deflates and turns watery. I keep a tub of Cool Whip in the fridge at all times for exactly this reason. And if you’re using homemade whipped cream, make sure it’s stiff peaks before folding it in.
Temperature matters more than you’d think. Cold cream cheese = lumpy disaster. Warm cream cheese = silky perfection. I once tried to rush this by using cold cream cheese and a hand mixer, and I ended up with little white lumps floating in a sea of cherries. Not my finest moment. So take the extra 30 minutes to let it soften. Your future self will thank you.
For consistency, I always use the same brand of cherry pie filling. Different brands have different syrup thicknesses, and I’ve found that Lucky Leaf has the perfect balance of syrup-to-cherry ratio. If your pie filling is extra syrupy, you might want to drain off a tablespoon or two so the salad isn’t runny.
Variations & Adaptations
One of my favorite things about this recipe is how flexible it is. I’ve made it for Christmas brunch with cranberry sauce instead of cherries, and it was a hit. Here are a few variations I’ve tried and loved:
- Berry Bliss Version: Swap the cherry pie filling for a mixed berry pie filling. Add a handful of fresh blueberries on top for color. This is my go-to for summer picnics.
- Chocolate Cherry Dream: Fold in 1/2 cup of mini chocolate chips along with the marshmallows. The chocolate and cherry combo is dangerously good. I made this for a potluck, and someone asked if I was a professional pastry chef (I am not).
- Nutty Crunch: Add 1/2 cup of toasted chopped pecans or walnuts. Toast them in a dry skillet for 3-4 minutes until fragrant, then let them cool completely before folding in. The crunch adds a lovely contrast to the creamy texture.
- Lighter Version: Use reduced-fat cream cheese, sugar-free powdered sweetener, and light whipped topping. It’s not quite as luxurious, but it scratches the itch when you’re watching your waistline.
- Citrus Twist: Add 1 teaspoon of lemon zest and 1 tablespoon of lemon juice to the cream cheese mixture. The brightness cuts through the sweetness beautifully. I tried this on a whim and now it’s my secret weapon for spring gatherings.
Serving & Storage Suggestions
This dessert salad is best served chilled, straight from the fridge. I like to let it sit out for about 5 minutes before serving—just enough to take the chill off but not long enough to get watery. Spoon it into individual dessert cups for a fancy presentation, or set out a big bowl and let people help themselves (which is what I do for barbecues—less fuss).
For a dinner party, I serve it alongside a slice of pound cake or a buttery shortbread cookie. The creamy texture pairs beautifully with something crunchy. And if you’re doing a full spread, this salad goes perfectly with grilled meats, baked ham, or even a simple roast chicken. It’s sweet enough to be dessert but light enough to sit alongside savory dishes.
Storage-wise, this keeps beautifully in the fridge for up to 3 days. Just cover it tightly with plastic wrap or transfer it to an airtight container. The marshmallows will soften over time, which some people actually prefer. Don’t freeze it—the texture gets weird and watery when thawed. If you’re making it ahead for a party, I recommend making it the night before and letting it chill overnight. The flavors meld together, and it somehow tastes even better the next day.
Leftovers? I’ve been known to eat this for breakfast with a spoon, standing in front of the open fridge. No judgment here.
Nutritional Information & Benefits
Let’s be real—this is a dessert, not a health food. But it does have a few redeeming qualities. Cherries are packed with antioxidants and anti-inflammatory compounds, and they’re a good source of vitamin C. The cream cheese provides a bit of calcium and protein, and the marshmallows… well, they bring joy. Sometimes that’s enough.
Here are the approximate nutritional values per serving (based on 12 servings):
| Nutrient | Amount per Serving |
|---|---|
| Calories | 245 |
| Total Fat | 12g |
| Saturated Fat | 8g |
| Carbohydrates | 34g |
| Sugar | 26g |
| Protein | 3g |
| Calcium | 40mg |
If you’re looking for a lighter option, you can cut the sugar by using a sugar substitute and reduced-fat cream cheese. But honestly? This is a once-in-a-while treat, and I say go for the real deal. Life’s too short for sad dessert salad.
Conclusion
This Crowd-Pleasing Cherries in the Snow Dessert Salad is the kind of recipe that makes you look like a hero with almost zero effort. It’s creamy, fruity, marshmallowy, and absolutely irresistible. Whether you’re bringing it to a potluck, serving it at a holiday dinner, or just making it for yourself on a random Thursday night (no judgment), it delivers every single time.
I love this recipe because it reminds me that the best food doesn’t have to be complicated. It just has to be made with a little love and a whole lot of cream cheese. So go ahead—customize it, make it your own, and watch it disappear. And when someone asks for the recipe, send them my way. I’d love to hear how it turned out for you. Drop a comment below or tag me in your photos—I’m always looking for my next late-night inspiration.
Happy cooking, friends. You’ve got this.
Frequently Asked Questions
Can I make this dessert salad ahead of time?
Absolutely! In fact, I recommend it. Make it the night before, cover it tightly, and let it chill in the fridge overnight. The flavors meld beautifully, and the texture sets up perfectly. Just give it a gentle stir before serving.
Can I use fresh cherries instead of canned pie filling?
You can, but it changes the recipe quite a bit. Fresh cherries are less sweet and have less syrup, so you’d need to cook them down with some sugar and cornstarch to create a similar consistency. I’ve done it, and it’s lovely, but for ease and reliability, canned pie filling is the way to go.
How long does this keep in the fridge?
It stays fresh for up to 3 days in an airtight container in the refrigerator. The marshmallows will soften over time, which some people prefer. I don’t recommend freezing it, as the texture becomes watery and grainy when thawed.
Can I use homemade whipped cream instead of Cool Whip?
Yes, you can! Whip 1 cup of heavy cream with 2 tablespoons of powdered sugar until stiff peaks form, then fold it in. Homemade whipped cream is less stable than Cool Whip, so the salad might be slightly softer, but it tastes incredible. Just serve it the same day for best results.
What can I serve with this dessert salad?
This salad is incredibly versatile. It pairs beautifully with pound cake, angel food cake, shortbread cookies, or even a simple vanilla wafer. For a full dessert spread, serve it alongside brownies or a fruit tart. It also works as a side dish for brunch alongside quiche or breakfast casserole.
Pin This Recipe!
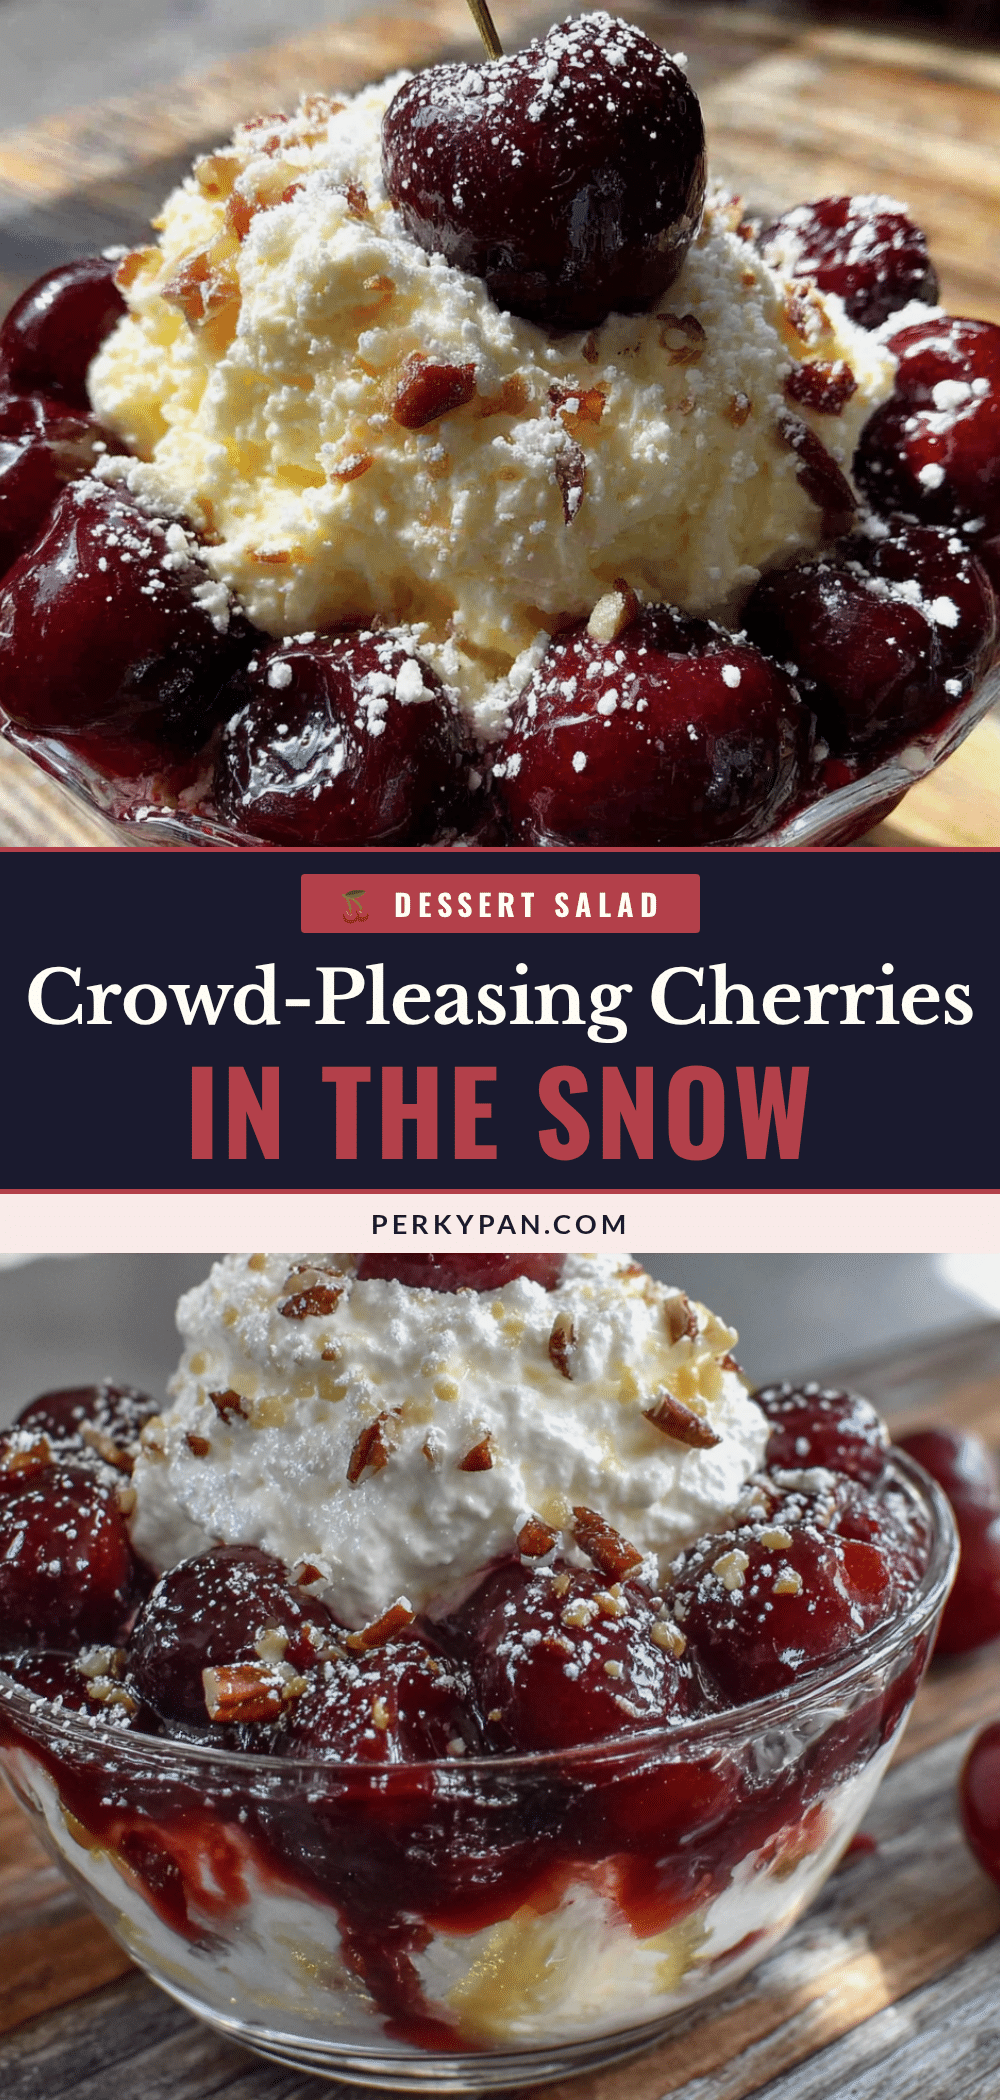
Crowd-Pleasing Cherries in the Snow Dessert Salad

A quick and easy 10-minute dessert salad made with cream cheese, cherry pie filling, and mini marshmallows. Perfect for potlucks, barbecues, and holiday gatherings.
- Prep Time: 10 minutes
- Cook Time: 0 minutes
- Total Time: 10 minutes (plus chilling time)
- Yield: 12 servings 1x
- Category: Dessert
- Cuisine: American
Ingredients
- 8 oz cream cheese, softened to room temperature
- 1 cup powdered sugar
- 1 teaspoon vanilla extract
- 2 cups frozen whipped topping, thawed
- 1 can (21 oz) cherry pie filling
- 2 cups mini marshmallows
- Optional: 1/2 cup chopped pecans or walnuts
Instructions
- Soften the cream cheese by letting it sit at room temperature for 30 minutes or microwaving on low for 15-20 seconds.
- In a large mixing bowl, beat the softened cream cheese with a hand mixer on medium speed until smooth and fluffy, about 2 minutes. Scrape down the sides.
- With the mixer on low speed, gradually add the powdered sugar and vanilla extract. Increase speed to medium and beat for another minute until light and creamy.
- Gently fold in the thawed whipped topping using a rubber spatula with a cutting and folding motion until the mixture is fluffy.
- Fold in the mini marshmallows until evenly distributed.
- Add the entire can of cherry pie filling (do not drain). Gently fold 3-4 times to create streaks of red and white; do not overmix.
- Cover the bowl with plastic wrap and refrigerate for at least 2 hours or overnight for best flavor and texture.
- Before serving, give a gentle stir. Garnish with extra cherries, chopped nuts, or a dusting of cinnamon if desired.
Notes
For best results, use full-fat cream cheese and let it soften properly. Do not overmix the cherry pie filling to keep beautiful red streaks. The salad can be made a day ahead and stored in the fridge for up to 3 days. Do not freeze.
Nutrition
- Serving Size: 1 serving
- Calories: 245
- Sugar: 26
- Fat: 12
- Saturated Fat: 8
- Carbohydrates: 34
- Protein: 3
Keywords: cherry dessert salad, cherries in the snow, no-bake dessert, easy dessert, potluck dessert, cream cheese dessert


