Love this? Save it for later!
Share the inspiration with your friends
My brother-in-law Mark had refused to eat anything pumpkin-flavored for as long as anyone could remember. A solid decade, at least. He’d scrunch up his nose at pumpkin pie every Thanksgiving, push aside pumpkin muffins at brunch, and politely decline the pumpkin spice latte trend with a level of disdain that almost impressed me. Then last October, I caught him standing alone in my kitchen, fork in hand, staring at the remains of a pan of these pumpkin cheesecake bars. He had just scraped the last bit of gingersnap crust from the corner, and the look on his face was something between triumph and embarrassment. I didn’t say a word. I just handed him a napkin.
The thing is, I get the skepticism. Pumpkin desserts can be tricky. They can turn out watery, or overly spiced, or just… sad. Honestly, I’ve made plenty of disappointing pumpkin recipes in my time. But these cheesecake bars? They’re different. The creamy, tangy cheesecake layer balances the sweet, earthy pumpkin perfectly, and that gingersnap crust adds this warm, spicy crunch that just works. It’s the kind of dessert that makes you close your eyes after the first bite, even if you swore you weren’t a pumpkin person.
I remember making them for the first time on a rainy Tuesday, just because I had a can of pumpkin puree and a pack of gingersnaps staring at me from the pantry. I wasn’t even sure it would work. The kitchen was a mess, I had gingersnap crumbs all over the counter, and I may have forgotten to soften the cream cheese properly. But when I pulled that pan out of the oven, the whole house smelled like fall. And when I tasted one the next morning with my coffee, I knew I had something special. Maybe you’ve been there, too — the accidental recipe that becomes your go-to. That’s what these bars are for me.
Why You’ll Love This Recipe
Let me tell you why these pumpkin cheesecake bars have earned a permanent spot in my fall baking rotation. It’s not just because they taste incredible — though they absolutely do. It’s because they solve so many of the little problems that come with baking from scratch. I’ve tested this recipe about half a dozen times, tweaking the ratios and the baking time until everything felt just right. And now, I can say with confidence that this is the version you’ll want to make again and again.
- Quick & Easy : You can have these in the oven in about 20 minutes. No water bath, no complicated techniques. Just mix, layer, and bake.
- Simple Ingredients : You probably already have most of these in your kitchen. Cream cheese, sugar, eggs, pumpkin puree — the usual suspects. The gingersnaps are the only special item, and they’re easy to find this time of year.
- Perfect for Fall Gatherings : These bars are ideal for Thanksgiving, Friendsgiving, or just a cozy weekend at home. They travel well, they slice cleanly, and they look impressive on a plate without any fuss.
- Crowd-Pleaser : Even people who think they don’t like pumpkin desserts end up reaching for seconds. I’ve seen it happen. Mark is living proof.
- Unbelievably Delicious : The combination of creamy cheesecake, spiced pumpkin, and crunchy gingersnap crust is next-level comfort food. It’s the kind of dessert that makes you forget about your troubles for a few minutes.
What makes this recipe different from the rest? It’s the crust, honestly. Most pumpkin cheesecake bars use a graham cracker crust, which is fine, but the gingersnaps add a depth of flavor that graham crackers just can’t match. The molasses and ginger in the cookies complement the pumpkin spice perfectly. I also use a slightly higher ratio of cream cheese to pumpkin, which gives the bars a richer, creamier texture. They’re not too dense, not too light — just perfect.
This recipe isn’t just good. It’s the kind that makes you close your eyes after the first bite. It’s comfort food reimagined — familiar enough to feel nostalgic, but with a little twist that makes it feel new. Perfect for impressing guests without stress, or turning a simple evening into something memorable.
What Ingredients You Will Need
This recipe uses simple, wholesome ingredients that come together to create something truly special. Most of these are pantry staples, especially if you do any fall baking. Let me walk you through each one and share a few tips I’ve picked up along the way.
For the Gingersnap Crust
- Gingersnap cookies, finely crushed — About 2 cups of crumbs. I prefer Nabisco brand gingersnaps for their consistent texture and strong ginger flavor. You can crush them in a food processor or by hand in a zip-top bag with a rolling pin. Just make sure the crumbs are fine and even.
- Unsalted butter, melted — 6 tablespoons (85 grams). The butter binds the crumbs together and adds richness. I use salted butter in a pinch, but I reduce the added salt in the crust slightly.
- Granulated sugar — 2 tablespoons (25 grams). Just a touch to balance the spice of the gingersnaps.
- Pinch of salt — Optional, but it helps balance the sweetness.
For the Cheesecake Layer
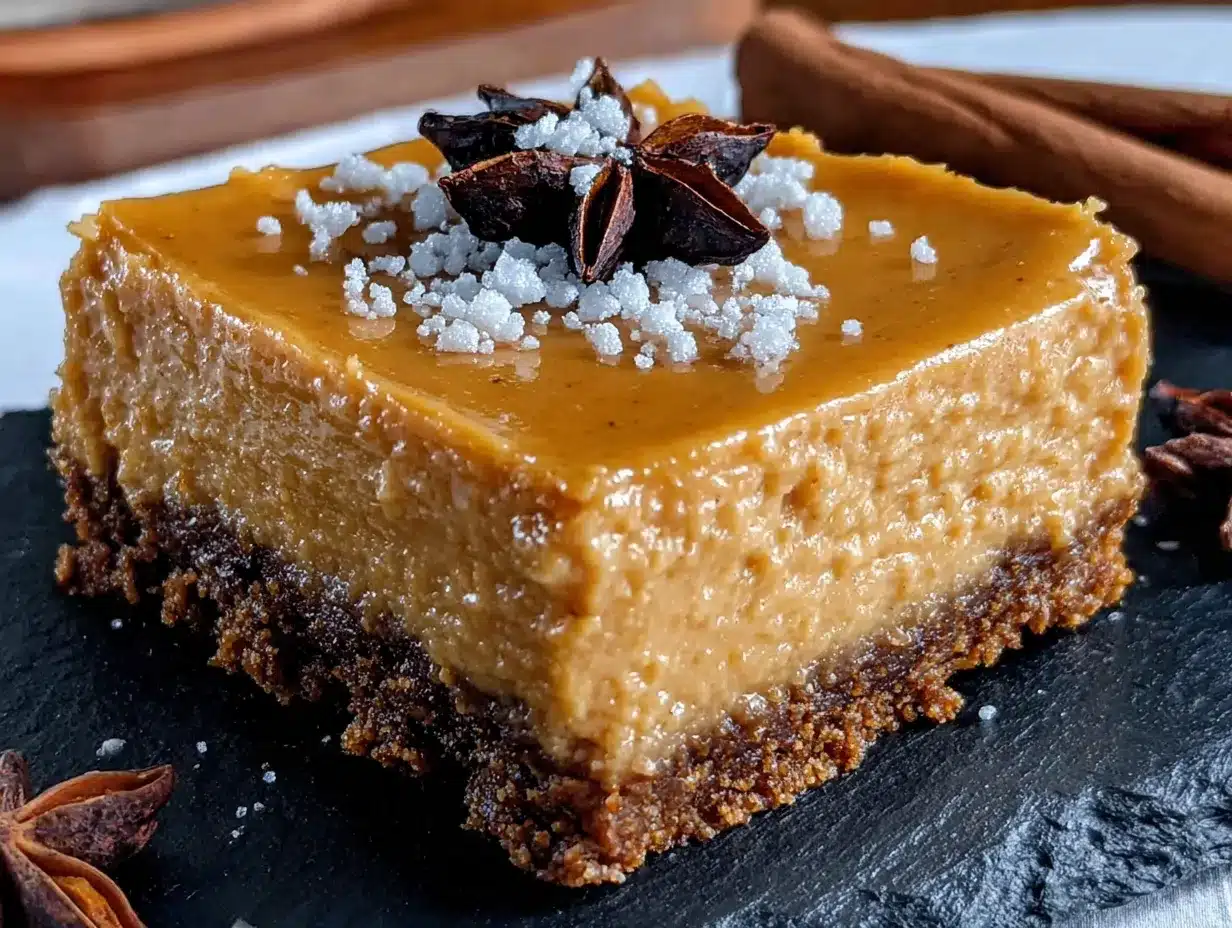
- Cream cheese, softened — 16 ounces (450 grams), or two standard blocks. Full-fat cream cheese is best for that rich, creamy texture. I use Philadelphia brand. Make sure it’s at room temperature, or you’ll end up with lumps.
- Granulated sugar — 1/2 cup (100 grams). This sweetens the cheesecake without making it overly sugary.
- Large eggs — 2 eggs, at room temperature. Cold eggs can cause the batter to seize up. If you forget to take them out, place them in a bowl of warm water for 5 minutes.
- Vanilla extract — 1 teaspoon (5 ml). Pure vanilla extract adds a warm, aromatic flavor. Imitation vanilla works, but the real stuff is worth it here.
- Sour cream — 1/4 cup (60 grams). This adds tanginess and helps keep the cheesecake layer silky. Greek yogurt works as a substitute.
For the Pumpkin Layer
- Pumpkin puree — 1 cup (240 grams). Use 100% pure pumpkin puree, not pumpkin pie filling. Libby’s is my go-to brand. The filling has added sugar and spices that will throw off the balance.
- Granulated sugar — 1/4 cup (50 grams).
- Light brown sugar, packed — 1/4 cup (50 grams). Brown sugar adds moisture and a subtle molasses flavor that pairs beautifully with the gingersnap crust.
- Large egg — 1 egg, at room temperature.
- Pumpkin pie spice — 1 1/2 teaspoons. You can use store-bought or make your own with cinnamon, ginger, nutmeg, and cloves. I prefer a homemade blend for a fresher flavor.
- Cinnamon — 1/2 teaspoon. Just a little extra warmth.
- Vanilla extract — 1/2 teaspoon (2.5 ml).
A quick note on substitutions: You can use a gluten-free gingersnap cookie for a gluten-free version. For a dairy-free option, use a plant-based cream cheese and butter substitute, though the texture will be slightly different. I haven’t tried a sugar-free version, but a granulated monk fruit sweetener should work in both the crust and the filling.
Equipment Needed
You don’t need a professional kitchen to make these bars, but having the right tools makes the process much smoother. Here’s what you’ll need:
- 9×9-inch baking pan — This is the perfect size for these bars. An 8×8-inch pan will work, but the bars will be slightly thicker and may need a few extra minutes of baking time. A metal pan is best for even baking.
- Parchment paper — Line the pan with parchment paper, leaving some overhang on two sides. This makes it much easier to lift the bars out after they’ve chilled. Trust me, you don’t want to struggle with a stuck pan.
- Food processor or zip-top bag and rolling pin — For crushing the gingersnaps. A food processor gives you a more consistent crumb, but the bag-and-rolling-pin method works fine if you’re patient.
- Mixing bowls — You’ll need at least two medium bowls, one for the crust and one for the cheesecake layer. A third bowl for the pumpkin layer is helpful.
- Electric hand mixer or stand mixer — A hand mixer works perfectly for this recipe. A stand mixer is nice, but not necessary. You can also mix by hand with a whisk, but it takes more elbow grease to get the cream cheese smooth.
- Spatula — A rubber spatula is essential for scraping down the sides of the bowl and spreading the layers evenly.
- Measuring cups and spoons — Accurate measurements matter in baking. I use dry measuring cups for the crumbs and sugar, and a liquid measuring cup for the pumpkin puree.
- Offset spatula (optional) — This makes spreading the cheesecake and pumpkin layers much easier, but a regular spatula works too.
I bought my 9×9-inch pan at a discount store for about 10 dollars, and it’s been going strong for years. You don’t need fancy equipment. Just make sure your pan is in good condition and your mixing bowls are large enough to prevent splatters.
Preparation Method
Let’s get to the fun part. I’ve broken this down into clear steps, with all the little details that make a difference. Take your time, and don’t rush the chilling step — it’s crucial for clean slices.
- Preheat your oven to 350°F (175°C). Line a 9×9-inch baking pan with parchment paper, leaving about 2 inches of overhang on two opposite sides. This will be your handle to lift the bars out later.
- Make the crust. Place 2 cups of finely crushed gingersnap crumbs in a medium bowl. Add 2 tablespoons of granulated sugar and a pinch of salt. Pour in 6 tablespoons of melted butter and stir with a fork until the crumbs are evenly moistened. The mixture should look like wet sand and hold together when pressed in your fist.
- Press the crust into the pan. Transfer the crumb mixture to your prepared pan. Use the bottom of a measuring cup or a flat glass to press it down firmly and evenly. Don’t skip this step — a tightly packed crust holds together better after baking. Bake for 10 minutes, then set aside to cool slightly while you make the fillings.
- Make the cheesecake layer. In a large bowl, beat 16 ounces of softened cream cheese with a hand mixer on medium speed until smooth and creamy, about 2 minutes. Scrape down the sides of the bowl with a spatula. Add 1/2 cup of granulated sugar and beat until combined, about 1 minute. Add 2 eggs, one at a time, beating on low after each addition just until incorporated. Mix in 1 teaspoon of vanilla extract and 1/4 cup of sour cream. Stop mixing as soon as everything is combined — overmixing can cause the cheesecake to crack.
- Make the pumpkin layer. In a separate bowl, whisk together 1 cup of pumpkin puree, 1/4 cup of granulated sugar, 1/4 cup of packed light brown sugar, 1 egg, 1 1/2 teaspoons of pumpkin pie spice, 1/2 teaspoon of cinnamon, and 1/2 teaspoon of vanilla extract. Whisk until smooth. The mixture should be thick but pourable.
- Layer the fillings. Pour the cheesecake mixture over the warm crust and spread it evenly with a spatula. Then, carefully spoon the pumpkin mixture over the cheesecake layer. Use the back of a spoon to gently spread it, being careful not to disturb the cheesecake layer too much. You want a distinct pumpkin layer on top.
- Create the swirl effect (optional but pretty). If you want a marbled look, drop small dollops of the cheesecake mixture onto the pumpkin layer and use a knife or toothpick to swirl them together. I usually leave the layers separate for a cleaner look, but the swirl is lovely for a more rustic presentation.
- Bake the bars. Place the pan in the preheated oven and bake for 35 to 40 minutes. The edges should be set and slightly puffed, but the center should still jiggle slightly when you gently shake the pan. Don’t overbake, or the cheesecake can become dry.
- Cool completely. Remove the pan from the oven and place it on a wire rack. Let the bars cool to room temperature, about 1 hour. The center will continue to set as it cools.
- Chill for at least 4 hours. Once the bars are at room temperature, cover the pan with plastic wrap and refrigerate for at least 4 hours, or overnight. This is the hardest step, I know, but it’s essential. The bars need time to firm up so you can slice them cleanly. I usually make them the day before I plan to serve them.
- Slice and serve. Use the parchment paper overhang to lift the bars out of the pan. Place them on a cutting board and use a sharp knife to slice them into squares. For clean cuts, wipe the knife clean between slices. I like to cut them into 16 bars, but you can make them larger or smaller depending on your crowd.
A few things I’ve learned the hard way: Don’t skip the parchment paper. I did that once, and I spent 20 minutes trying to pry the bars out of the pan. Also, if you notice the top of the bars browning too quickly, tent the pan loosely with foil for the last 10 minutes of baking.
Cooking Tips & Techniques
Over the years, I’ve made plenty of mistakes with cheesecake bars. Here are the lessons I’ve learned so you don’t have to repeat them.
Room temperature ingredients are non-negotiable. Cold cream cheese creates lumps that are nearly impossible to smooth out. Cold eggs can cause the batter to curdle. Set everything out on the counter at least 30 minutes before you start baking. If you’re in a hurry, you can microwave the cream cheese in 10-second bursts, but be careful not to melt it.
Don’t overmix the cheesecake batter. Once you add the eggs, mix on low speed and stop as soon as the streaks disappear. Overmixing incorporates too much air, which can cause the cheesecake to puff up during baking and then collapse, leaving cracks on the surface. A few tiny lumps are fine — they’ll smooth out during baking.
Use a water bath for extra insurance against cracks. I know I said no water bath earlier, and honestly, these bars are forgiving enough that you don’t need one. But if you’re nervous about cracking, you can place the baking pan inside a larger roasting pan and pour hot water halfway up the sides. Just make sure your pan is tightly wrapped in foil to prevent water from seeping in.
Let the bars cool gradually. Sudden temperature changes can cause cheesecake to crack. After baking, turn off the oven and crack the door open for 15 minutes before removing the pan. Then let it cool on the counter before refrigerating. This gentle cooling helps the bars set evenly.
Chill overnight for the best texture. Four hours is the minimum, but overnight is better. The flavors meld together, and the texture becomes perfectly creamy. I once served these after only two hours of chilling, and they were a bit too soft. Patience pays off here.
I once forgot to add the sugar to the cheesecake layer. I realized it halfway through baking. The bars were edible, but they were definitely not my best work. Now I always double-check my ingredients before I start mixing.
Variations & Adaptations
One of the things I love about this recipe is how adaptable it is. Here are a few variations I’ve tried and loved.
Gluten-Free Version : Use gluten-free gingersnap cookies for the crust. Most major brands offer a gluten-free option, or you can make your own with almond flour and ginger. The filling is naturally gluten-free, so this is an easy swap.
Dairy-Free Version : Substitute the cream cheese with a high-quality vegan cream cheese, use a plant-based butter in the crust, and replace the sour cream with coconut yogurt. The texture will be slightly softer, but the flavor is still wonderful. I’ve made this for a friend with dairy allergies, and she couldn’t tell the difference.
Pumpkin Cheesecake Swirl Bars : Instead of layering the pumpkin and cheesecake mixtures, pour them both into the pan and use a knife to create a marbled swirl. This gives you a beautiful, artistic look and a bit of both flavors in every bite.
Spiced-Up Version : Add 1/4 teaspoon of ground cardamom or cloves to the pumpkin layer for a more complex spice profile. I tried this last Thanksgiving, and it added a lovely warmth that paired perfectly with the gingersnap crust.
Mini Version : Use a mini cheesecake pan or a muffin tin lined with paper liners. Press the crust into the bottom of each cup, then fill with the cheesecake and pumpkin mixtures. Bake for about 15 to 18 minutes. These are perfect for parties or portion control.
No-Bake Version : For a no-bake option, use a pre-made gingersnap crust and a no-bake cheesecake filling. I haven’t tested this myself, but I’ve seen versions online that use gelatin to set the filling. It’s a different texture, but it works in a pinch.
My favorite variation is adding a drizzle of salted caramel sauce on top just before serving. It takes these bars from delicious to completely irresistible. I make a quick stovetop caramel with brown sugar, butter, and a pinch of sea salt. It’s a game-changer.
Serving & Storage Suggestions
These pumpkin cheesecake bars are versatile when it comes to serving. Here’s how I like to enjoy them.
Serving Temperature : I prefer them cold, straight from the fridge. The texture is firmer and the flavors are more pronounced. But they’re also lovely at room temperature, especially if you want a softer, creamier bite. Let them sit out for about 15 minutes before serving if you go that route.
Presentation Ideas : For a simple but elegant look, dust the tops with a little cinnamon or pumpkin pie spice before serving. A dollop of whipped cream and a drizzle of caramel sauce make them feel extra special. For a fall-themed dessert board, arrange the bars alongside apple slices, candied pecans, and a few gingersnap cookies.
Complementary Dishes : These bars pair beautifully with a cup of hot coffee, spiced apple cider, or a warm chai latte. For a dessert spread, serve them alongside a pumpkin pie or apple crisp. They’re also wonderful after a hearty meal like roasted turkey or butternut squash soup.
Storage Instructions : Store the bars in an airtight container in the refrigerator for up to 5 days. Place a sheet of parchment paper between layers to prevent sticking. The flavors actually improve after a day or two, as the spices meld with the cheesecake.
Freezing Instructions : These bars freeze beautifully. Once they’re fully chilled and sliced, place the bars on a baking sheet and freeze until solid, about 2 hours. Then transfer them to a freezer-safe container or zip-top bag, with parchment paper between layers. They’ll keep for up to 3 months. To thaw, transfer them to the refrigerator overnight. I always keep a stash in my freezer for unexpected guests or late-night cravings.
Reheating Tips : I don’t recommend reheating these bars. They’re best enjoyed cold or at room temperature. If you want a warm dessert, try serving them with a warm caramel sauce or a hot cup of coffee.
Nutritional Information & Benefits
While these bars are definitely a treat, they do offer a few nutritional perks worth mentioning. Here’s a rough estimate per bar (based on 16 servings).
| Nutrient | Amount Per Bar |
|---|---|
| Calories | 285 |
| Total Fat | 18g |
| Saturated Fat | 10g |
| Cholesterol | 75mg |
| Sodium | 220mg |
| Total Carbohydrates | 28g |
| Dietary Fiber | 1g |
| Sugars | 19g |
| Protein | 5g |
| Vitamin A | 45% DV |
| Calcium | 4% DV |
| Iron | 6% DV |
The pumpkin puree is a great source of vitamin A, which supports eye health and immune function. The cream cheese provides calcium and protein, while the eggs add a good dose of B vitamins. The gingersnaps offer a bit of iron from the molasses. Of course, these bars are also high in sugar and saturated fat, so they’re best enjoyed in moderation. I like to think of them as a special-occasion dessert, not an everyday snack.
If you’re watching your sugar intake, you can reduce the sugar in the cheesecake and pumpkin layers by about 25%. The bars will be less sweet, but still delicious. For a lower-fat option, use reduced-fat cream cheese, though the texture won’t be as rich.
Conclusion
These pumpkin cheesecake bars with gingersnap crust are the kind of recipe that makes you look forward to fall all year long. They’re creamy, spiced, and just sweet enough, with a crust that adds the perfect crunch. They’ve become my go-to for Thanksgiving, cozy weekends, and any time I need a little comfort in dessert form.
I hope you give them a try and make them your own. Maybe you’ll add extra cinnamon, or swap the gingersnaps for chocolate wafers, or top them with a mountain of whipped cream. That’s the beauty of baking — you can always tweak things to suit your taste. And honestly, that’s where the real joy comes from.
If you make these bars, I’d love to hear how they turn out. Leave a comment below and let me know if you converted any pumpkin skeptics in your life. And if you’re looking for more cozy fall desserts, don’t miss my classic apple crisp recipe or these spiced pear muffins. Happy baking, friends. You’ve got this.
Frequently Asked Questions
Can I use a different type of cookie for the crust?
Absolutely. Graham crackers, vanilla wafers, or even shortbread cookies work well. The flavor will be different, but the texture will be similar. If you use a sweeter cookie, you can reduce the sugar in the crust slightly.
Do I have to use a water bath?
No, you don’t. These bars are forgiving enough that a water bath isn’t necessary. If you’re worried about cracks, you can use one, but I’ve made this recipe dozens of times without it and never had an issue.
Can I make these bars ahead of time?
Yes, and I actually recommend it. They need at least 4 hours to chill, but making them a day ahead is ideal. The flavors meld together beautifully overnight, and they slice more cleanly after a full chill.
How do I get clean slices?
Use a sharp knife and wipe it clean between each cut. For the cleanest slices, chill the bars for at least 4 hours, or overnight. You can also run the knife under hot water and dry it off before slicing.
Can I freeze these bars?
Yes, they freeze wonderfully. Slice them first, then freeze them on a baking sheet before transferring to a freezer-safe container. They’ll keep for up to 3 months. Thaw in the refrigerator overnight before serving.
Pin This Recipe!
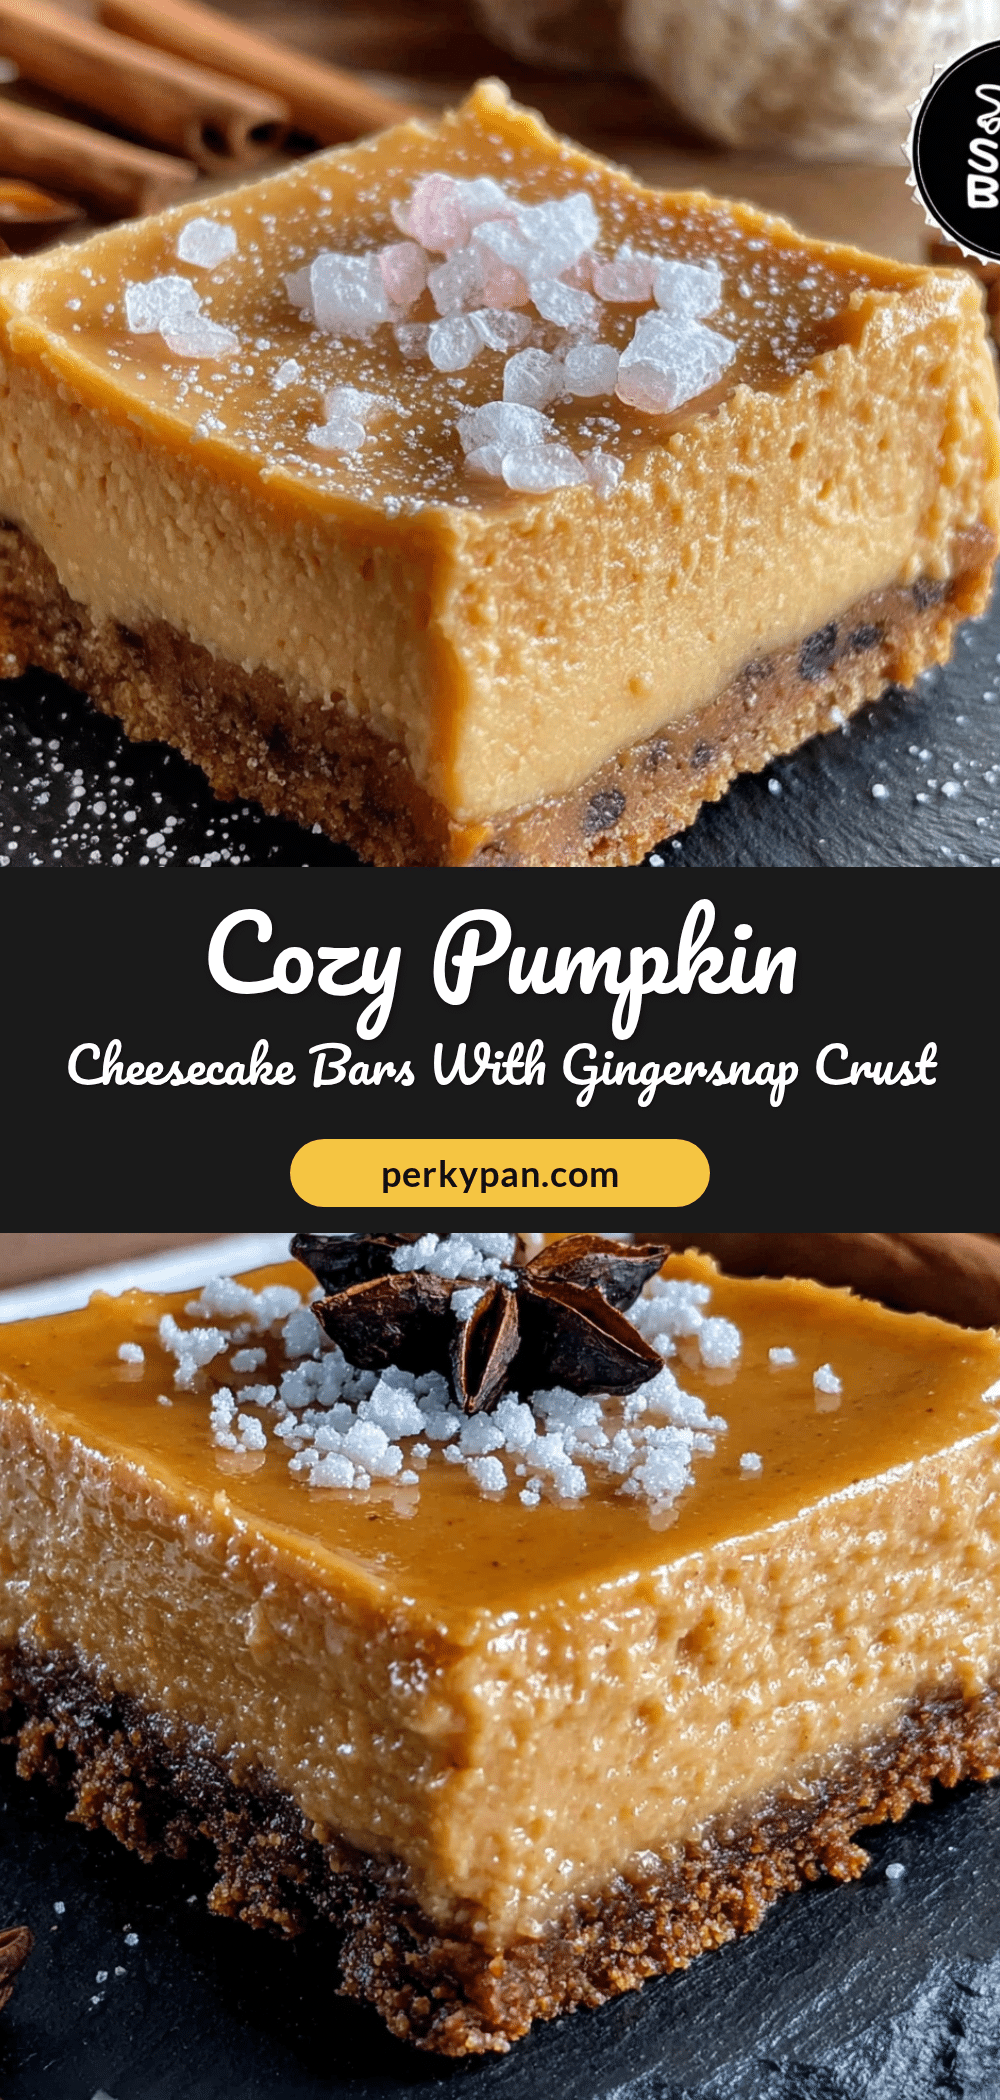
Easy Pumpkin Cheesecake Bars with Gingersnap Crust
These creamy pumpkin cheesecake bars feature a spiced gingersnap crust and a rich, tangy cheesecake layer. They’re the perfect fall dessert that even pumpkin skeptics will love.
- Prep Time: 20 minutes
- Cook Time: 40 minutes
- Total Time: 5 hours (includes chilling)
- Yield: 16 bars 1x
- Category: Dessert
- Cuisine: American
Ingredients
- 2 cups finely crushed gingersnap cookies (about 200g)
- 6 tablespoons unsalted butter, melted (85g)
- 2 tablespoons granulated sugar (25g)
- Pinch of salt
- 16 ounces cream cheese, softened (450g)
- 1/2 cup granulated sugar (100g)
- 2 large eggs, at room temperature
- 1 teaspoon vanilla extract (5ml)
- 1/4 cup sour cream (60g)
- 1 cup pumpkin puree (240g)
- 1/4 cup granulated sugar (50g)
- 1/4 cup packed light brown sugar (50g)
- 1 large egg, at room temperature
- 1 1/2 teaspoons pumpkin pie spice
- 1/2 teaspoon ground cinnamon
- 1/2 teaspoon vanilla extract (2.5ml)
Instructions
- Preheat oven to 350°F (175°C). Line a 9×9-inch baking pan with parchment paper, leaving overhang on two sides.
- Make the crust: In a medium bowl, combine crushed gingersnap crumbs, 2 tablespoons sugar, and a pinch of salt. Pour in melted butter and stir until evenly moistened. Press firmly into the prepared pan. Bake for 10 minutes, then set aside to cool slightly.
- Make the cheesecake layer: In a large bowl, beat softened cream cheese with a hand mixer on medium speed until smooth, about 2 minutes. Add 1/2 cup sugar and beat until combined. Add 2 eggs one at a time, beating on low after each. Mix in 1 teaspoon vanilla and sour cream until just combined.
- Make the pumpkin layer: In a separate bowl, whisk together pumpkin puree, 1/4 cup granulated sugar, brown sugar, 1 egg, pumpkin pie spice, cinnamon, and 1/2 teaspoon vanilla until smooth.
- Pour the cheesecake mixture over the warm crust and spread evenly. Carefully spoon the pumpkin mixture over the cheesecake layer and spread gently. For a swirl effect, drop small dollops of cheesecake mixture onto the pumpkin layer and swirl with a knife.
- Bake for 35 to 40 minutes, until edges are set and center jiggles slightly. Cool completely on a wire rack, about 1 hour.
- Cover and refrigerate for at least 4 hours, preferably overnight. Use parchment overhang to lift bars out, slice into squares, and serve.
Notes
Room temperature ingredients are crucial for a smooth batter. Don’t overmix the cheesecake batter to avoid cracks. Chilling overnight yields the best texture and cleanest slices. For a gluten-free version, use gluten-free gingersnaps. For dairy-free, use vegan cream cheese and butter.
Nutrition
- Serving Size: 1 bar
- Calories: 285
- Sugar: 19
- Sodium: 220
- Fat: 18
- Saturated Fat: 10
- Carbohydrates: 28
- Fiber: 1
- Protein: 5
Keywords: pumpkin cheesecake bars, gingersnap crust, fall dessert, Thanksgiving dessert, easy cheesecake bars


