Love this? Save it for later!
Share the inspiration with your friends
My neighbor, Carol, wasn’t trying to impress anyone. I’d stopped by to borrow a ladder on a random Tuesday afternoon in November, and the smell hit me before I even got to her front porch. It wasn’t the usual turkey-day chaos you’d expect—no frantic timer beeps or panicked phone calls to a mother-in-law. It was just this warm, savory, almost sweet aroma drifting out her kitchen window. She answered the door with flour on her cheek and a dish towel over her shoulder, completely nonchalant.
“Oh, that’s just the turkey,” she said when I asked. “For me and Ed. We don’t do the big dinner anymore.”
I stood there, ladder forgotten, as she casually walked me back to her kitchen. There it was—a single, beautiful turkey breast, golden brown and glistening, resting on a little wire rack. No 20-pound bird. No army of side dishes. Just a perfectly cooked meal for two, made like it was nothing. Honestly, it stopped me cold. I mean, here I was, stressing about a whole production for Thanksgiving, and Carol had cracked the code on something I’d never even considered: cooking for two without the waste, the cost, or the stress. She shrugged and said she’d soaked it in salt water the night before. “Keeps it from drying out,” she mumbled, handing me my ladder.
I went home that day with a borrowed ladder and an obsession. Maybe you’ve been there—standing in the grocery store, looking at a whole turkey and thinking, “Who in the world is going to eat all this?” It feels wasteful, expensive, and honestly, a little lonely if it’s just you and one other person. That’s the thing about big holiday recipes; they rarely account for small households. But that afternoon in Carol’s kitchen changed everything for me. This brined turkey breast recipe isn’t just good—it’s the kind of meal that makes a random Tuesday feel like a celebration, and it’s exactly what I’ve been making ever since.
Why You’ll Love This Recipe
Let’s face it—cooking a whole turkey for two people is a bit ridiculous. You end up with a mountain of leftovers that nobody wants by day three, and the cost of a big bird these days can make your wallet wince. This brined turkey breast flips all of that on its head. It’s designed for small households, tight budgets, and the simple joy of a home-cooked meal that doesn’t take over your entire day.
- Budget-Friendly & No Waste: A turkey breast costs a fraction of a whole bird. You get exactly what you need—no waste, no guilt, no turkey sandwiches for two weeks straight. Perfect for a couple or empty nesters.
- Juicy Every Single Time: The brine is the secret weapon here. It locks in moisture so the meat stays tender and flavorful, even if you accidentally leave it in the oven a few minutes too long (we’ve all been there).
- Quick & Easy for Weeknights: This isn’t just a holiday recipe. It roasts in under two hours, making it a realistic option for a Sunday dinner or even a special weeknight meal.
- Simple Ingredients, Big Flavor: You probably have salt, sugar, and a few pantry spices right now. No fancy trips to specialty stores—just honest, good cooking.
- Crowd-Pleaser for Small Gatherings: If you’re hosting a quiet Thanksgiving for two or a small dinner party, this is your hero. It feels special without the stress of a 20-pound bird.
What makes this recipe different from the rest is the brine itself. I’ve tested dozens of ratios over the years, and this one hits the sweet spot—literally. The touch of brown sugar in the brine balances the salt and helps the skin caramelize to a gorgeous golden brown. It’s not just another dry turkey breast recipe; it’s the one that makes you close your eyes after the first bite. Honestly, it’s comfort food reimagined for smaller tables.
What Ingredients You Will Need
This recipe uses simple, wholesome ingredients to deliver bold flavor and satisfying texture without the fuss. Most of these are pantry staples, which means you can pull this together without a last-minute grocery run. Here’s what you’ll need:
For the Brine
- 4 cups water – Use filtered or tap water. You’ll also need 2 cups of ice water later.
- 1/4 cup kosher salt – I prefer Diamond Crystal brand because it dissolves cleanly and isn’t too salty. Avoid table salt here; it can make the brine overly salty.
- 2 tablespoons brown sugar – Light or dark works. This adds a subtle sweetness and helps with browning.
- 2 cloves garlic, smashed – Just crush them with the flat side of your knife. No need to mince.
- 1 teaspoon black peppercorns – Whole peppercorns infuse the brine better than ground pepper.
- 2 sprigs fresh rosemary – Or 1 teaspoon dried rosemary if that’s what you have.
- 1 bay leaf – Adds a subtle herbal note that’s classic in poultry brine.
For the Turkey
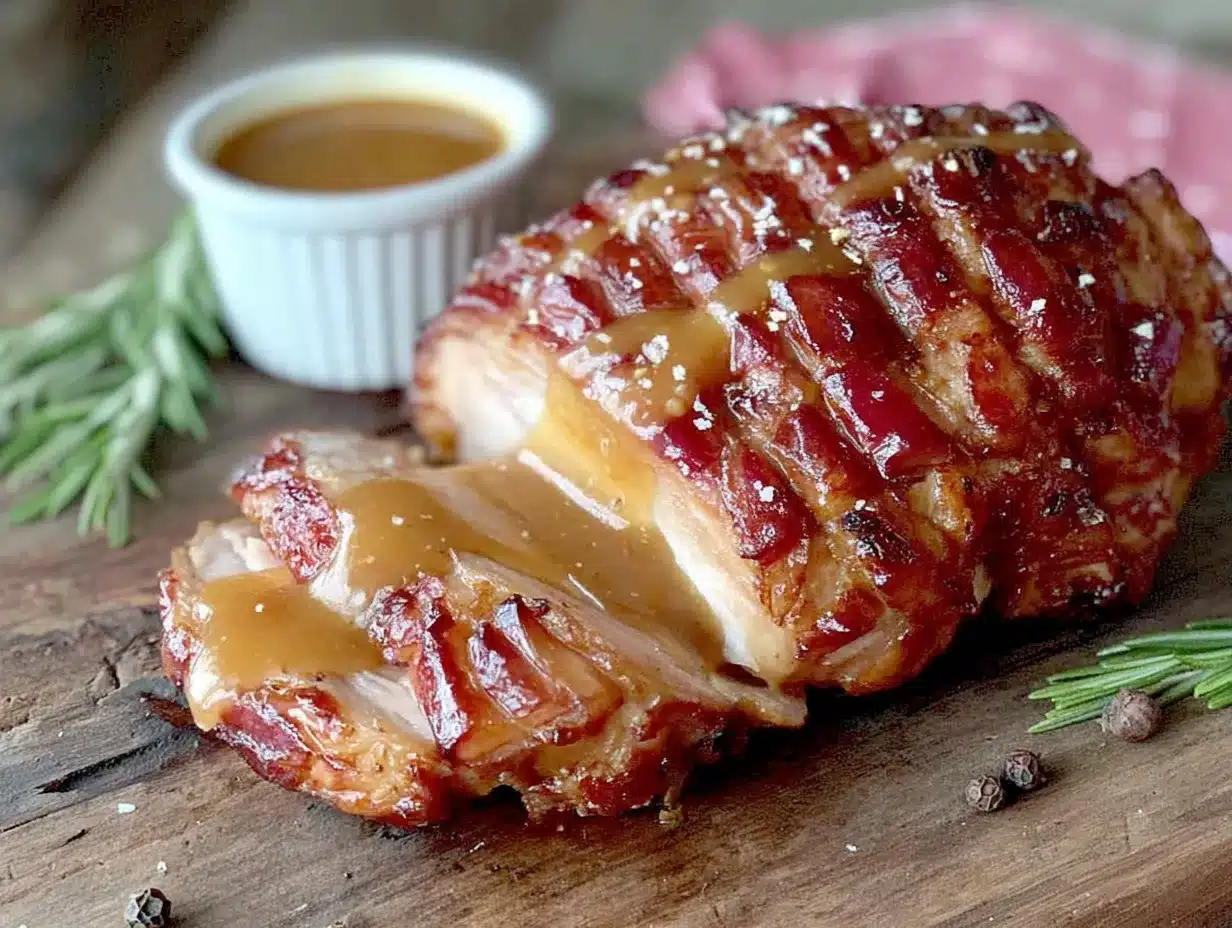
- 1 bone-in, skin-on turkey breast (2.5 to 3 pounds) – This is the perfect size for two people with a little leftover for sandwiches. Look for a breast that’s evenly shaped for even cooking. I usually grab mine from the frozen section at Aldi or Costco for the best price.
- 2 tablespoons olive oil or melted butter – Butter gives a richer flavor, but olive oil works beautifully if that’s what you have.
- 1/2 teaspoon garlic powder – Not the same as fresh garlic! This adds a gentle flavor without burning.
- 1/2 teaspoon onion powder – A classic poultry seasoning partner.
- 1/2 teaspoon dried thyme – You can substitute fresh thyme if you have it; just double the amount.
- 1/4 teaspoon black pepper – Freshly ground is best.
- 1/4 cup low-sodium chicken broth – For the roasting pan. This keeps the bottom of the pan from burning and adds moisture to the oven.
Ingredient Tips: If you’re watching your sodium, you can reduce the salt in the brine to 3 tablespoons, though I find 1/4 cup gives the best texture. For a butter-free option, use olive oil and skip the butter rub. And if you can’t find a bone-in breast, a boneless one works too—just reduce the cooking time by about 15-20 minutes and check the internal temperature early.
Equipment Needed
You don’t need a professional kitchen to pull this off. Here’s what you’ll need:
- Large pot or bowl – For making and cooling the brine. A 4-quart pot works great.
- Large resealable plastic bag or brining bag – I’ve used both. The bag is easier to store in the fridge because it fits around other items.
- Roasting pan or baking dish – A 9×13-inch baking dish works perfectly. No need for a fancy roasting pan.
- Wire rack – Optional but recommended. It lifts the turkey off the bottom of the pan so the heat circulates evenly. If you don’t have one, you can place the turkey on a few carrot or celery sticks to keep it elevated.
- Instant-read meat thermometer – This is non-negotiable. I’ve ruined too many turkeys by guessing. A simple digital thermometer costs about $10 and saves you every time.
- Aluminum foil – For tenting the turkey if the skin browns too quickly.
- Basting brush or spoon – For brushing the oil or butter over the skin.
Budget-Friendly Tip: If you don’t own a wire rack, just roll up a few strips of aluminum foil into coils and place them in the pan. It’s not fancy, but it works like a charm.
Preparation Method
This process is straightforward, but I’ll walk you through every step with the little tricks I’ve learned the hard way. Trust me on the timing and the temperature—it makes all the difference.
- Make the brine (day before or morning of): In a large pot, combine 4 cups of water, kosher salt, brown sugar, smashed garlic cloves, peppercorns, rosemary sprigs, and the bay leaf. Bring it to a boil over medium-high heat, stirring occasionally until the salt and sugar dissolve completely. This takes about 3-4 minutes. Remove from heat and add 2 cups of ice water to cool it down quickly. Let it cool to room temperature—you don’t want to put a warm brine on raw turkey. If you’re in a hurry, pop the pot in the fridge for 20 minutes.
- Brine the turkey: Place your turkey breast in a large resealable plastic bag. Pour the cooled brine over the turkey, seal the bag, and squish it around to make sure the brine covers all the meat. Place the bag in a bowl or baking dish (just in case it leaks) and refrigerate for 8 to 12 hours. I usually do this the night before and let it brine overnight. Don’t go over 24 hours or the meat can get too salty and mushy.
- Preheat and prep (30 minutes before roasting): Take the turkey out of the brine and discard the brine. Rinse the turkey breast under cold running water for about 30 seconds to remove excess salt from the surface. Pat it completely dry with paper towels—this is crucial for crispy skin. Let the turkey sit at room temperature for 30 minutes while you preheat your oven to 375°F (190°C). This helps it cook more evenly.
- Season the turkey: In a small bowl, mix the garlic powder, onion powder, dried thyme, and black pepper. Rub the olive oil or melted butter all over the turkey breast, getting under the skin if you can. Sprinkle the seasoning mixture evenly over the entire surface. Don’t add extra salt—the brine already took care of that.
- Set up the roasting pan: Place the turkey breast on a wire rack set inside your roasting pan or baking dish. Pour the 1/4 cup of chicken broth into the bottom of the pan (not over the turkey). This creates steam in the oven and keeps the drippings from burning.
- Roast the turkey: Place the pan in the preheated oven and roast for about 1 hour and 15 minutes to 1 hour and 30 minutes. The exact time depends on the size of your breast. Start checking the internal temperature at the 1-hour mark. Insert your meat thermometer into the thickest part of the breast, avoiding the bone. You’re looking for 150°F (65°C) if you plan to let it rest, or 155°F (68°C) if you’re serving immediately. The temperature will rise another 5-10 degrees during resting.
- Check for doneness and rest: When the turkey reaches your target temperature, remove it from the oven. If the skin is getting too dark before the meat is done, tent it loosely with aluminum foil. Let the turkey rest on the cutting board for 15-20 minutes. This is not optional—resting lets the juices redistribute so every slice is moist. Cover it loosely with foil to keep it warm.
- Slice and serve: After resting, carve the breast off the bone and slice it against the grain into even pieces. Drizzle a little of the pan juices over the slices for extra flavor.
My personal tip: I always set a timer for 15 minutes before I think it’s done. That way I can check the temperature without rushing or forgetting. I’ve learned the hard way that a dry turkey is a sad turkey, and a thermometer is your best friend.
Cooking Tips & Techniques
Over the years, I’ve made just about every mistake you can imagine with turkey. I’ve brined it too long, roasted it too hot, and once I even forgot to pat it dry (the skin was a sad, rubbery mess). Here’s what I’ve learned so you don’t have to repeat my failures.
- Pat it dry, then pat it again: This is the single most important step for crispy skin. After rinsing off the brine, use multiple paper towels and really press into the skin. Any moisture left on the surface will steam instead of crisp. I usually let it air-dry in the fridge for an hour if I have time—that extra step is magic.
- Don’t skip the rest: I know it’s tempting to slice right into that beautiful golden breast, but please wait. If you cut it too soon, all those juices you worked so hard to keep inside will end up on the cutting board. Fifteen minutes feels like forever, but it’s worth it.
- Use a thermometer, not a timer: Ovens vary wildly. My friend’s oven runs 25 degrees hot, and mine runs a little cool. The only way to know your turkey is done is to check the internal temperature. Aim for 150°F if you’re resting it, and never go above 160°F or you’re entering dry territory.
- Multitask like a pro: While the turkey rests, use that time to make your side dishes. The oven is free, and the turkey stays warm. I usually throw in some roasted vegetables or heat up mashed potatoes during that 15-minute rest window.
- Save the drippings: After you remove the turkey, pour the pan juices into a small jar or bowl. You can use them to make a quick gravy or drizzle them over the sliced meat. Don’t throw that flavor away!
Variations & Adaptations
This recipe is forgiving, and I love playing around with it depending on the season or what I have in the pantry. Here are a few ways to make it your own:
- Herb-Crusted Version: Before roasting, mix 2 tablespoons of softened butter with 1 tablespoon of fresh chopped parsley, 1 teaspoon of fresh sage, and 1 teaspoon of fresh rosemary. Rub this mixture under the skin of the turkey breast for an extra layer of flavor. It’s amazing for a holiday dinner.
- Citrus & Spice Brine: Add the zest of one orange and one lemon to the brine along with 1 teaspoon of whole allspice berries. This gives the turkey a bright, almost holiday-like aroma that pairs beautifully with cranberry sauce.
- Spicy Maple Glaze: In the last 20 minutes of roasting, brush the turkey with a mixture of 2 tablespoons maple syrup and 1/2 teaspoon cayenne pepper. The sweetness caramelizes, and the heat is subtle but warming. I tried this last Christmas and it was a hit.
- Air Fryer Adaptation: If you have an air fryer large enough, you can cook a smaller turkey breast (2 pounds or less) at 360°F for about 40-50 minutes. Brine it the same way, pat it dry, and season it. The air fryer gives incredible crispy skin in half the time.
- Dietary Swaps: For a dairy-free version, use olive oil instead of butter. For a lower-sodium option, reduce the salt in the brine to 2 tablespoons and skip the salt in the seasoning rub entirely.
Serving & Storage Suggestions
This brined turkey breast is lovely served warm, right after its rest. I like to slice it and arrange it on a platter with fresh rosemary sprigs and orange slices for color. It pairs beautifully with classic sides like mashed potatoes, roasted Brussels sprouts, or a simple green salad with vinaigrette.
Storage: Let any leftover turkey cool completely, then store it in an airtight container in the refrigerator for up to 4 days. The meat actually gets more flavorful as it sits in its own juices. You can also freeze sliced turkey for up to 3 months. Wrap it tightly in plastic wrap and then foil to prevent freezer burn.
Reheating: The best way to reheat is gently. Place slices in a baking dish with a splash of chicken broth, cover with foil, and warm in a 300°F oven for about 10-15 minutes. Avoid the microwave if you can—it tends to dry out the meat. If you’re in a hurry, use the microwave in 30-second bursts with a damp paper towel over the plate.
Leftover Ideas: Shred the leftover turkey and use it in sandwiches, salads, or soups. I love making a quick turkey salad with mayo, diced celery, and a little dried cranberry for lunch the next day. The flavor from the brine makes even simple leftovers taste special.
Nutritional Information & Benefits
Turkey breast is naturally lean and packed with protein, making it a great choice for a balanced meal. Here’s an approximate breakdown per serving (based on a 6-ounce portion of cooked meat without skin):
| Nutrient | Amount per Serving |
|---|---|
| Calories | 280 |
| Protein | 35g |
| Fat | 14g |
| Saturated Fat | 4g |
| Carbohydrates | 2g |
| Sodium | 580mg (varies with brine) |
Turkey is an excellent source of B vitamins, particularly B6 and B12, which support energy metabolism. It’s also rich in selenium, an antioxidant that helps protect your cells. If you’re watching your sodium, remember that the brine adds salt—you can reduce it or skip the brine altogether for a lower-sodium option. This recipe is naturally gluten-free and can be made dairy-free with a simple swap of olive oil for butter.
Conclusion
I still think about that Tuesday at Carol’s house every time I make this recipe. It wasn’t a holiday, and she wasn’t trying to show off. She was just making a simple, honest meal for the two of them, and it turned out to be one of the best things I’ve ever tasted. That’s the beauty of this brined turkey breast—it’s not about the big production. It’s about making something delicious and satisfying without the stress, the waste, or the cost.
If you’re cooking for two, or even just for yourself, I hope you give this recipe a try. Play around with the herbs, try the citrus brine, or keep it simple like I usually do. The brine does most of the work, and you get to take all the credit. I’d love to hear how it turns out for you—drop a comment below and tell me about your own small-table Thanksgiving or quiet Sunday dinner. And if you’ve got a favorite variation, share that too. We’re all in this together, figuring out how to make good food without making it complicated.
Happy cooking, friends. You’ve got this.
Frequently Asked Questions
Can I use a frozen turkey breast for this recipe?
Yes, absolutely. Just make sure it’s fully thawed in the refrigerator before brining. A 3-pound breast takes about 24 hours to thaw in the fridge. Never brine a frozen turkey—the brine won’t penetrate properly.
Do I have to rinse the brine off the turkey?
Yes, please do. Rinsing removes excess salt from the surface so the turkey isn’t overly salty. Give it a good 30-second rinse under cold water, then pat it very dry with paper towels.
Can I brine for less than 8 hours?
You can, but you won’t get the full benefit. Aim for at least 6 hours if you’re short on time. The brine needs time to penetrate the meat and work its magic. Anything less than 4 hours won’t make much difference.
What if I don’t have kosher salt?
If you only have table salt, use only 2 tablespoons instead of 1/4 cup. Table salt is much denser and saltier than kosher salt, so you need less. Sea salt is a good substitute too—use the same amount as kosher salt.
Can I cook this in a slow cooker?
I don’t recommend it for this recipe. Slow cookers create a moist environment that prevents the skin from crisping, and the texture of the meat can become mushy. Stick with the oven for the best results. If you must use a slow cooker, skip the brine and cook on low for 4-5 hours, then finish under the broiler for 5 minutes to crisp the skin.
Pin This Recipe!
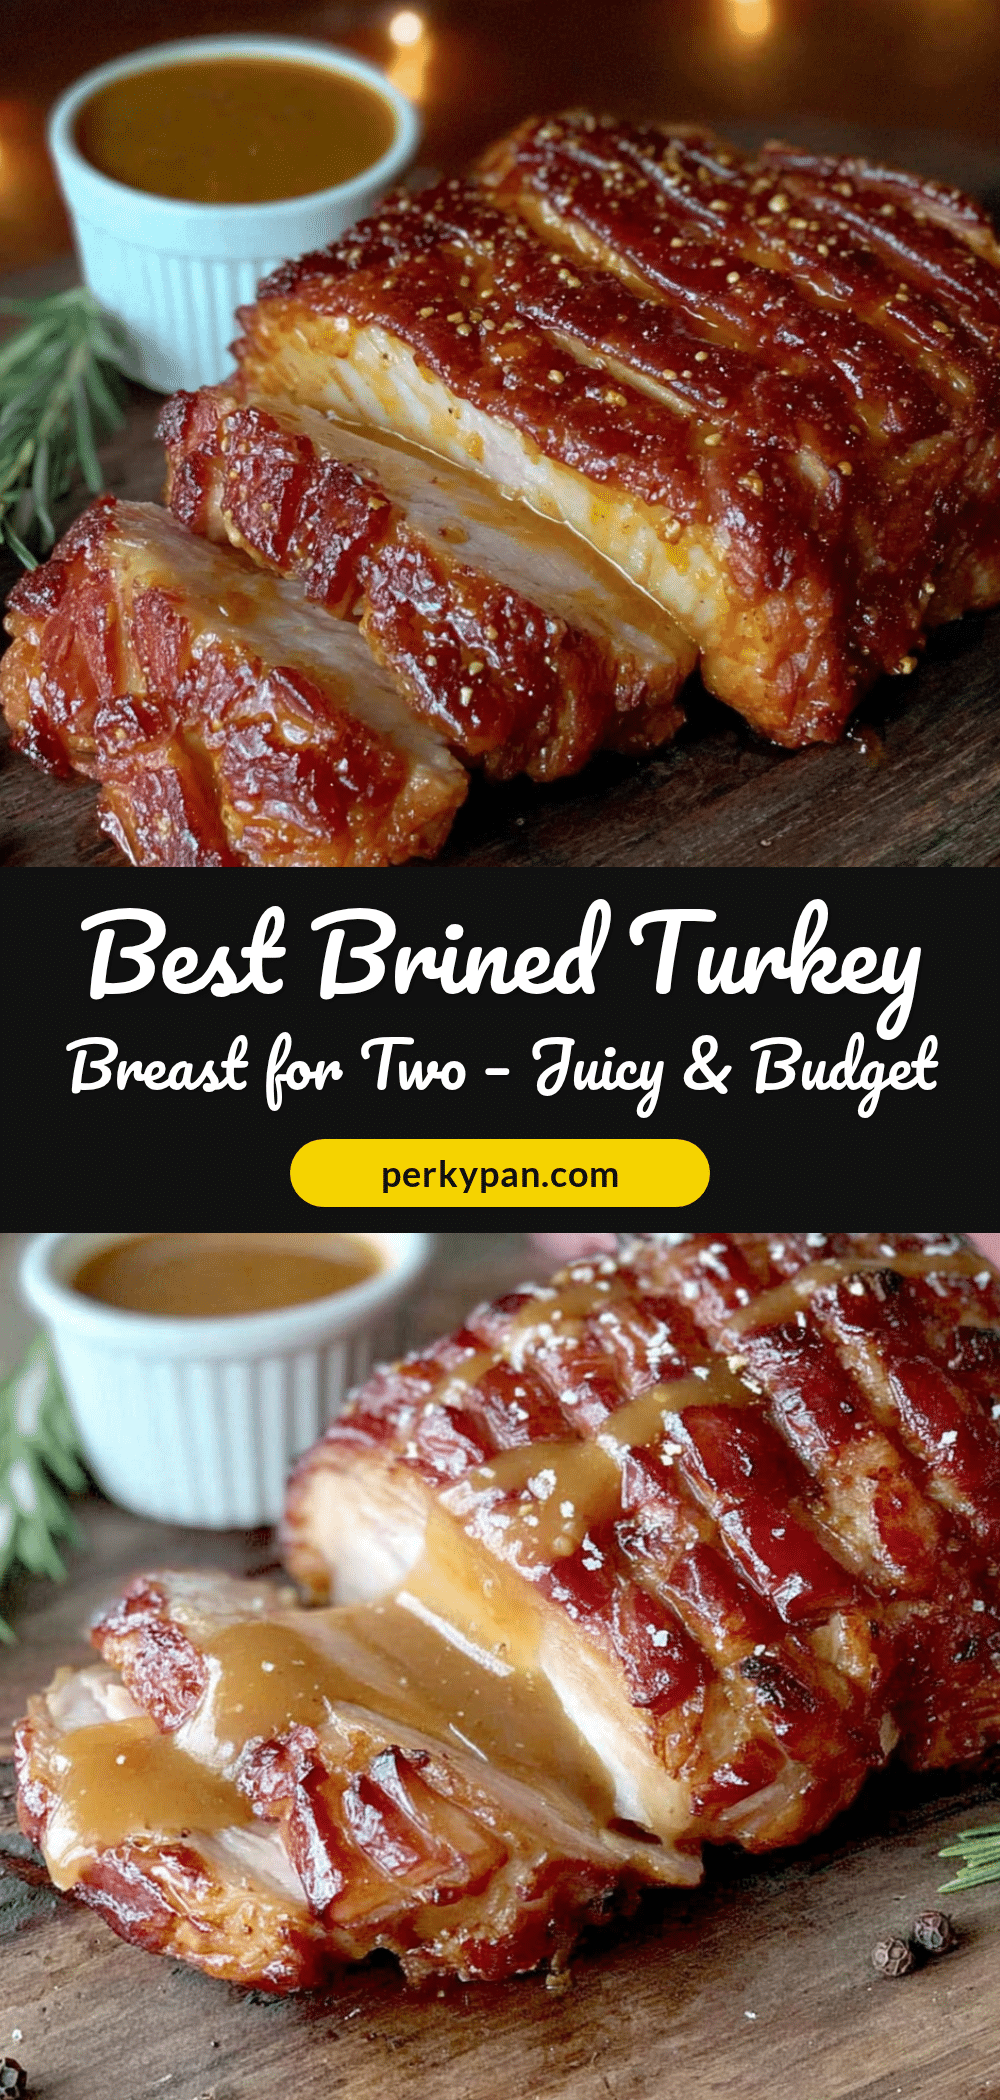
Best Brined Turkey Breast for Two – Easy Juicy Recipe

A perfectly sized, juicy turkey breast for two, brined to lock in moisture and flavor. This easy recipe is budget-friendly, reduces waste, and makes a special meal for small households or a quiet Thanksgiving.
- Prep Time: 15 minutes
- Cook Time: 1 hour 30 minutes
- Total Time: 9 hours 45 minutes (includes 8 hours brining)
- Yield: 2 servings 1x
- Category: Main Course
- Cuisine: American
Ingredients
- 4 cups water
- 2 cups ice water
- 1/4 cup kosher salt
- 2 tablespoons brown sugar
- 2 cloves garlic, smashed
- 1 teaspoon black peppercorns
- 2 sprigs fresh rosemary
- 1 bay leaf
- 1 bone-in, skin-on turkey breast (2.5 to 3 pounds)
- 2 tablespoons olive oil or melted butter
- 1/2 teaspoon garlic powder
- 1/2 teaspoon onion powder
- 1/2 teaspoon dried thyme
- 1/4 teaspoon black pepper
- 1/4 cup low-sodium chicken broth
Instructions
- Make the brine: In a large pot, combine 4 cups water, kosher salt, brown sugar, smashed garlic, peppercorns, rosemary, and bay leaf. Bring to a boil, stirring until salt and sugar dissolve (3-4 minutes). Remove from heat and add 2 cups ice water to cool. Let cool to room temperature.
- Brine the turkey: Place turkey breast in a large resealable bag. Pour cooled brine over turkey, seal, and refrigerate for 8 to 12 hours (not more than 24).
- Preheat and prep: Remove turkey from brine, discard brine. Rinse turkey under cold water for 30 seconds. Pat completely dry with paper towels. Let sit at room temperature for 30 minutes while preheating oven to 375°F (190°C).
- Season the turkey: Mix garlic powder, onion powder, dried thyme, and black pepper. Rub olive oil or melted butter all over turkey breast. Sprinkle seasoning mixture evenly over surface.
- Set up roasting pan: Place turkey on a wire rack in a roasting pan or 9×13-inch baking dish. Pour chicken broth into bottom of pan (not over turkey).
- Roast the turkey: Roast for 1 hour 15 minutes to 1 hour 30 minutes. Start checking internal temperature at 1 hour. Insert thermometer into thickest part of breast, avoiding bone. Target 150°F (65°C) if resting, or 155°F (68°C) if serving immediately.
- Rest the turkey: Remove from oven. If skin browns too quickly, tent loosely with foil. Let rest on cutting board for 15-20 minutes, covered loosely with foil.
- Slice and serve: Carve breast off bone and slice against the grain. Drizzle with pan juices.
Notes
Pat the turkey very dry for crispy skin. Use a thermometer for accuracy. Let the turkey rest before slicing. Save pan drippings for gravy. For a lower-sodium option, reduce brine salt to 3 tablespoons or skip the brine.
Nutrition
- Serving Size: 6 ounces cooked meat
- Calories: 280
- Sugar: 1
- Sodium: 580
- Fat: 14
- Saturated Fat: 4
- Carbohydrates: 2
- Protein: 35
Keywords: brined turkey breast, turkey for two, small Thanksgiving, juicy turkey, easy turkey recipe, bone-in turkey breast


