Love this? Save it for later!
Share the inspiration with your friends
I was standing in the frozen food aisle last Tuesday, staring at a bag of steamable cauliflower florets, when the smell hit me. It wasn’t the freezer section—it was a memory, sharp and sudden. I was seven years old, sitting at my Aunt Rosie’s tiny kitchen table in her yellow-walled apartment, and she was mashing boiled potatoes with a fork, butter melting into yellow pools. The steam fogged up her glasses, and she hummed some old song I never learned the name of. She’s gone now, moved to Florida years ago, and I haven’t tasted her mashed potatoes since. But standing there in the grocery store, I realized I wasn’t craving potatoes at all. I was craving that feeling—the warmth, the butter, the way she’d slide a plate toward me without saying a word. So I grabbed the cauliflower instead, and honestly, I think she’d approve of this version. It’s lighter, faster, and somehow just as comforting. Maybe you’ve been there too—chasing a taste that’s really about the person who served it to you.
This healthy cauliflower mash with chives is the side dish I now make on repeat for my family. It comes together in twenty minutes flat, uses ingredients I almost always have on hand, and somehow manages to please both my picky six-year-old and my husband who swears by traditional mashed potatoes. Let me tell you—that’s no small feat on a Tuesday night. I mean, I’ve tried cauliflower mash recipes before that turned out watery or bland, and I nearly gave up. But this version? It’s creamy, garlicky, and finished with a sprinkle of fresh chives that makes it feel special without any extra effort. The secret is squeezing out as much moisture as possible and using just the right amount of butter and sour cream. It’s not pretending to be potatoes—it’s proud to be cauliflower, and honestly, that makes all the difference.
Why You’ll Love This Recipe
After testing this recipe at least a dozen times (and failing a few, I’ll admit), I can confidently say this is the version worth making. Here’s why it works for real families on real budgets:
- Quick & Easy: From fridge to table in under 20 minutes. No peeling, no boiling water, no standing over a hot stove. Just steam, blend, and serve.
- Simple Ingredients: You need cauliflower, butter, sour cream, garlic, chives, salt, and pepper. That’s it. No trips to specialty stores or expensive health food aisles.
- Budget-Friendly: A head of cauliflower costs about the same as a bag of potatoes, but feeds just as many people with fewer calories. Plus, leftovers reheat beautifully—no waste.
- Picky Eater Approved: My daughter didn’t even blink the first time I served this. She asked for seconds. I’m not saying it works miracles, but honestly, it comes close.
- Crowd-Pleaser: I brought this to a potluck last month, and three people asked for the recipe before the main course was even served. One guy said he’d never liked cauliflower until that night.
What makes this recipe different from all the others? It’s the technique. Most recipes skip the crucial step of squeezing out the moisture, which leaves you with watery mash. I also use a combination of butter and sour cream instead of milk, which gives it a richer texture without making it heavy. The garlic isn’t just an afterthought—it’s roasted right along with the cauliflower, so it melts into the mash with a sweet, mellow flavor. And the chives? They add a fresh, oniony pop that cuts through the creaminess perfectly.
This isn’t just another healthy side dish. It’s the kind of recipe that makes you feel good about dinner—because it’s nourishing, because it’s affordable, and because everyone around the table actually eats it without complaint. That’s a win in my book, and I think it’ll be one in yours too.
What Ingredients You Will Need
This recipe relies on a handful of simple, everyday ingredients that work together to create something surprisingly luxurious. No obscure spices or hard-to-find items—just real food that tastes good.
- 1 large head cauliflower (about 2 pounds or 900 grams), cut into florets — Look for a head that’s creamy white with tight florets and no brown spots. Fresh cauliflower gives the best texture, but frozen florets work in a pinch (just thaw and pat dry first).
- 3 tablespoons unsalted butter (42 grams) — I prefer salted butter in a pinch, but unsalted lets you control the final salt level. Kerrygold is my go-to for flavor, but any good-quality butter works.
- ¼ cup sour cream (60 grams) — Full-fat gives the creamiest result, but Greek yogurt is a fine substitute. I’ve used both, and honestly, the sour cream version is slightly richer.
- 2 cloves garlic, peeled — Don’t skip this. The garlic steams with the cauliflower and becomes sweet and mellow. If you’re feeling bold, add an extra clove.
- 3 tablespoons fresh chives, finely chopped (about 12 grams) — Fresh is non-negotiable here. Dried chives just don’t have the same bright, mild onion flavor. I grow chives in a pot on my windowsill exactly for this recipe.
- ½ teaspoon salt (3 grams), plus more to taste — I use fine sea salt. Start with less and adjust at the end.
- ¼ teaspoon black pepper (1 gram), freshly ground — Pre-ground is fine, but fresh cracks make a difference in the final flavor.
- Optional: 2 tablespoons cream cheese (30 grams) — This is my secret weapon for extra creamy mash. It’s not necessary, but if you have a block in the fridge, throw it in.
Ingredient Notes & Substitutions:
- For a dairy-free version, use vegan butter and dairy-free sour cream. I’ve tested this with Miyoko’s butter and it works well.
- If you don’t have fresh chives, green onion tops (the green parts only) make an excellent substitute. Just slice them thinly.
- Add a pinch of nutmeg if you want that classic creamy vegetable side dish flavor. It’s optional but lovely.
- For extra richness, swap the sour cream for crème fraîche. It’s a splurge, but worth it for special occasions.
Equipment Needed
You don’t need a fancy kitchen to make this recipe work. Here’s what you’ll actually use:
- Large pot with a steamer basket — If you don’t have a steamer basket, a metal colander set over a pot of simmering water works perfectly. I’ve done it that way more times than I can count.
- Food processor or blender — A food processor gives the best texture. A blender works too, but you might need to scrape down the sides more often. An immersion blender with a chopping attachment is my second choice.
- Clean kitchen towel or cheesecloth — This is crucial for squeezing out moisture. A thin dish towel works great. Avoid paper towels—they’ll fall apart.
- Sharp knife and cutting board — For cutting the cauliflower into florets.
- Mixing bowl — For mashing if you’re doing it by hand (more on that below).
- Potato masher (optional) — If you prefer a chunkier texture, you can mash the cauliflower by hand instead of using a food processor. I do this when I want a more rustic feel.
I’ve made this recipe with just a pot, a fork, and a lot of patience when my food processor was on the fritz. It took longer, but it worked. Don’t let missing equipment stop you.
Preparation Method
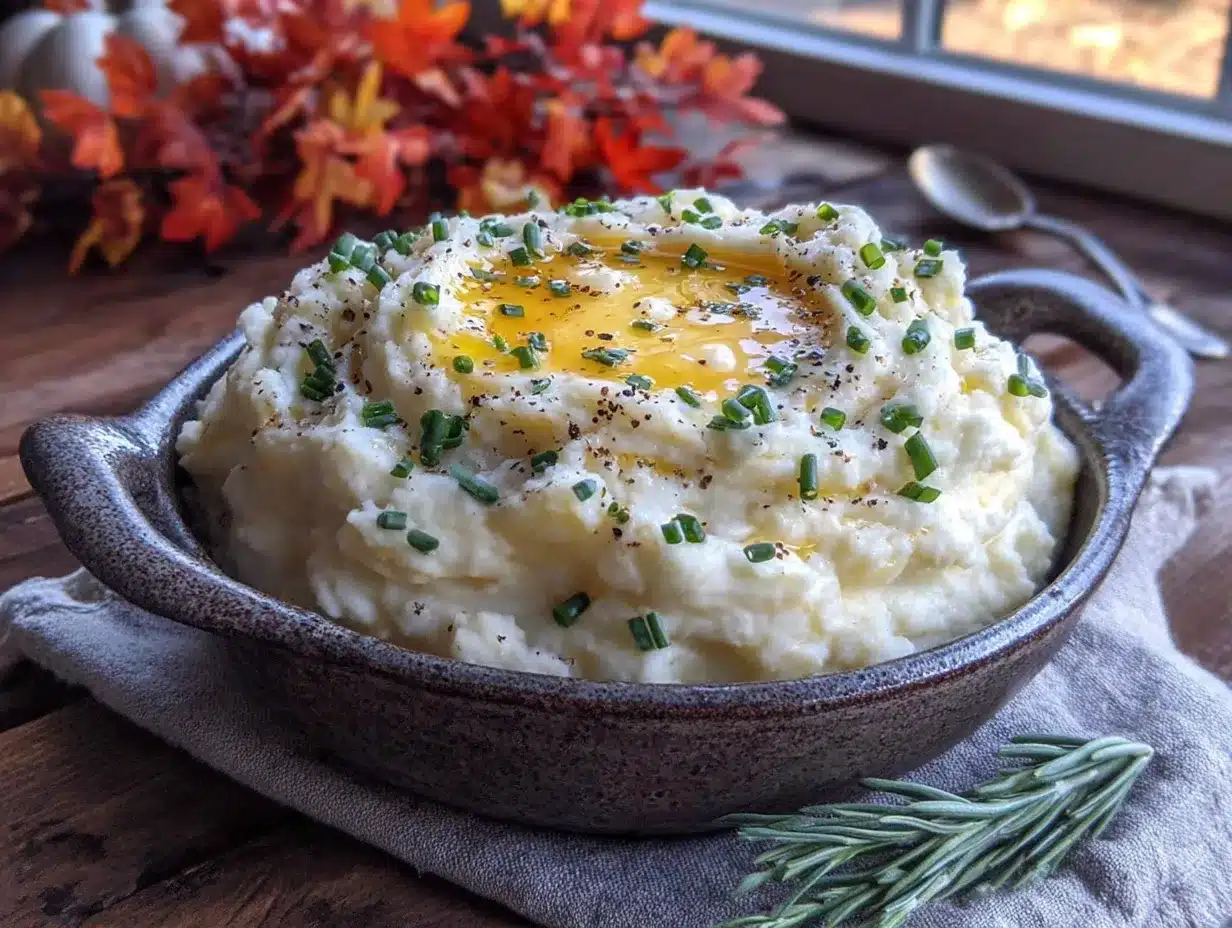
Let me walk you through this step by step. I’ve made every mistake in the book so you don’t have to.
- Prepare the cauliflower: Remove the green leaves and tough core from the cauliflower. Cut it into medium florets—about 1 to 2 inches wide. Try to keep them similar in size so they cook evenly. Rinse the florets in a colander and let them drain briefly.
- Steam the cauliflower: Fill a large pot with about 1 inch of water and bring it to a boil. Place the cauliflower florets and the peeled garlic cloves in a steamer basket. Cover and steam for 10 to 12 minutes, until the cauliflower is very tender when pierced with a fork. You want it soft enough that it almost falls apart. Don’t undercook it—that’s the number one reason cauliflower mash turns out grainy. The garlic should be soft and fragrant.
- Drain thoroughly: This step is absolutely critical. Remove the steamer basket and let the cauliflower cool for 2 to 3 minutes. Then transfer the florets and garlic to a clean kitchen towel or several layers of cheesecloth. Gather the corners and twist tightly to squeeze out as much water as possible. You’ll be surprised how much liquid comes out. I usually squeeze over the sink and watch the water stream out. Don’t skip this—excess moisture is what makes cauliflower mash watery and thin.
- Blend the cauliflower: Transfer the squeezed cauliflower and garlic to a food processor. Add the butter, sour cream, salt, and pepper. Pulse a few times to break it up, then process continuously for about 30 to 45 seconds, scraping down the sides once. You want it smooth and creamy, but stop before it becomes gummy. If you over-process, it can turn gluey—trust me, I’ve learned this the hard way.
- Add the chives: Transfer the mash to a serving bowl and fold in the chopped chives with a spatula. Taste and adjust salt and pepper as needed. If you’re using the optional cream cheese, add it along with the butter and sour cream in step 4.
- Serve immediately: Spoon the mash into a warm serving dish and top with an extra pat of butter and a sprinkle of fresh chives if you’re feeling fancy. Serve hot.
Time-Saving Tip: You can steam the cauliflower up to a day in advance and store it in the fridge. Just re-steam for 2 to 3 minutes to warm it up before squeezing and blending. This makes dinner prep so much faster on busy nights.
What to Look For: The finished mash should be thick enough to hold its shape on a spoon, but soft and creamy. It shouldn’t look wet or pool liquid on the plate. If it does, you didn’t squeeze enough—next time, squeeze harder.
Cooking Tips & Techniques
Over the months I’ve been making this dish, I’ve collected a few hard-won lessons. Here’s what I wish someone had told me from the start:
Don’t boil the cauliflower. I know it seems easier, but boiling waterlogs the florets and makes it nearly impossible to get a creamy mash. Steaming preserves the structure and keeps the flavor concentrated. If you must boil, use as little water as possible and drain extremely well.
Squeeze like you mean it. The first few times I made this, I was too gentle with the towel. My mash was tasty but thin. Now I wring it out like I’m punishing it, and the difference is night and day. You want the cauliflower to feel dry to the touch before it goes into the food processor.
Warm your butter and sour cream. Cold dairy will cool down the hot cauliflower and make the mash seize up. Let your butter sit out for 15 minutes before you start, or cut it into small pieces so it melts faster. I’ve forgotten to do this and ended up with lumps—not the end of the world, but not ideal.
Season in layers. Add a pinch of salt to the steaming water, then season again after blending. Cauliflower needs more salt than you think, so taste as you go. I’ve undersalted this dish more times than I care to admit.
Multitask like a pro. While the cauliflower steams, chop your chives and measure out your butter and sour cream. That way, everything comes together in under 5 minutes once the steaming is done. I usually prep the chives while I’m waiting for the water to boil.
One mistake I’ll never make again: I once tried to speed things up by using a microwave steamer bag. The cauliflower came out unevenly cooked, and the texture was all wrong—some parts were mushy, others were still crunchy. Stick with the stovetop steamer. It’s worth the extra 3 minutes.
Variations & Adaptations
This recipe is flexible, and I’ve tried several variations depending on what I have in the fridge or who’s coming to dinner.
Cheesy Cauliflower Mash: Fold in ½ cup of shredded sharp cheddar cheese after blending. The cheese melts into the warm mash and makes it extra indulgent. My daughter requests this version for holidays.
Roasted Garlic Version: Instead of steaming the garlic with the cauliflower, roast a whole head of garlic in the oven until soft and golden. Squeeze the cloves into the food processor. The flavor is sweeter and deeper—perfect for when you want something a little more special.
Herb Garden Mash: Swap the chives for a mix of fresh parsley, dill, and thyme. This is lovely in spring and summer when herbs are abundant. I made this for Easter brunch last year and it was a hit.
Dairy-Free Adaptation: Use vegan butter and dairy-free sour cream or coconut cream. I’ve tested this with oat-based sour cream, and while it’s not as rich, it’s still creamy and delicious. Add an extra tablespoon of vegan butter for richness.
Spicy Kick: Add a pinch of cayenne pepper or red pepper flakes along with the salt and pepper. It’s subtle but adds warmth. My husband loves this version with grilled chicken.
Low-Carb Extra: Stir in 2 tablespoons of grated Parmesan cheese for extra flavor without many carbs. It also helps thicken the mash if you accidentally squeezed too much moisture out.
Serving & Storage Suggestions
This cauliflower mash is incredibly versatile and pairs well with so many dishes. Here’s how I like to serve and store it.
Serving Temperature: Serve this mash hot, straight from the pot. It cools down faster than potato mash, so I recommend warming your serving bowl with hot water before adding the mash. Just pour out the water and dry the bowl—it makes a surprising difference.
What to Serve With It: This mash is a natural partner for roasted chicken, grilled steak, or pan-seared fish. It also works beautifully under a rich stew or braised meat, soaking up all those savory juices. For a vegetarian meal, serve it alongside roasted vegetables and a lentil loaf. I often pair it with my garlic herb roasted chicken for a complete weeknight dinner.
Storage: Store leftovers in an airtight container in the refrigerator for up to 4 days. The flavors actually meld together and get even better after a day. I’ve been known to make a double batch just for leftovers.
Reheating: Reheat gently on the stovetop over low heat, stirring frequently and adding a splash of milk or broth to loosen it up. You can also microwave it in 30-second bursts, stirring between each. Avoid high heat, which can make it separate and become grainy.
Freezing: This mash freezes surprisingly well. Portion it into freezer-safe bags or containers and freeze for up to 3 months. Thaw overnight in the fridge, then reheat as directed. The texture might be slightly less creamy after freezing, but it’s still delicious. I often freeze individual portions for quick lunches.
Flavor Development: I’ve noticed that the chive flavor fades slightly after a day in the fridge. If you’re making this ahead for a gathering, save a tablespoon of fresh chives to sprinkle on top just before serving. It brightens everything up.
Nutritional Information & Benefits
Let’s be real—this isn’t health food pretending to be something it’s not. But compared to traditional mashed potatoes, this cauliflower mash is a nutritional powerhouse.
Estimated Nutrition (per serving, about 1 cup):
- Calories: 145
- Fat: 11g
- Saturated Fat: 7g
- Carbohydrates: 10g
- Fiber: 4g
- Sugar: 4g
- Protein: 5g
- Sodium: 340mg
- Vitamin C: 77% of the Daily Value
- Vitamin K: 20% of the Daily Value
Health Benefits: Cauliflower is packed with vitamin C, which supports your immune system, and fiber, which keeps your digestion running smoothly. It’s also a good source of choline, a nutrient that supports brain health. The garlic adds anti-inflammatory compounds, and the chives provide a dose of vitamin K for bone health.
Dietary Considerations: This recipe is naturally gluten-free and low-carb, with only 10 grams of net carbs per serving compared to about 30 grams in a serving of mashed potatoes. It’s also vegetarian and can be made dairy-free with simple substitutions. If you’re watching your sodium, use unsalted butter and reduce the added salt.
Potential Allergens: This recipe contains dairy (butter and sour cream). For a dairy-free version, see the variations section above.
I’m not a nutritionist, and I don’t pretend to be one. But I do know that swapping cauliflower for potatoes a few times a week makes me feel lighter and more energetic, without feeling like I’m missing out. That’s a trade-off I’m happy to make.
Frequently Asked Questions
Can I use frozen cauliflower for this recipe?
Yes, you can. Thaw the frozen florets completely and pat them very dry with paper towels before steaming. Frozen cauliflower holds more water than fresh, so you’ll need to squeeze it even more thoroughly. I recommend fresh for the best texture, but frozen works in a pinch.
Why is my cauliflower mash watery?
This is the most common issue, and it’s almost always because you didn’t squeeze out enough moisture after steaming. The cauliflower needs to be wrung out in a clean kitchen towel until it feels dry to the touch. Don’t be shy—really go for it. Also, make sure you’re steaming, not boiling, the cauliflower.
Can I make this ahead of time for a holiday dinner?
Absolutely. You can make the mash up to 2 days in advance. Store it in the fridge, then reheat gently on the stovetop with a splash of milk or broth. Stir in the fresh chives just before serving. I’ve done this for Thanksgiving, and it saved me so much stress on the day.
How do I make this dairy-free?
Replace the butter with a good-quality vegan butter (I like Miyoko’s or Earth Balance) and use dairy-free sour cream or full-fat coconut cream. The coconut cream adds a slight sweetness, which pairs nicely with the garlic and chives. Add an extra tablespoon of vegan butter for richness.
Can I make this without a food processor?
Yes, you can mash the cauliflower by hand with a potato masher or even a fork. The texture will be chunkier and more rustic, but it’s still delicious. Just make sure the cauliflower is very tender before mashing. I actually prefer the hand-mashed version when I’m in the mood for something with more texture.
Conclusion
This healthy cauliflower mash with chives has become a staple in my kitchen for good reason. It’s quick, affordable, and genuinely delicious—the kind of side dish that makes everything else on the plate taste better. Whether you’re serving it alongside a weeknight roast chicken or bringing it to a holiday potluck, it delivers comfort without the heaviness of traditional mashed potatoes.
I love that this recipe doesn’t pretend to be something it’s not. It’s not trying to fool anyone into thinking it’s potatoes. It’s cauliflower, proud and creamy and full of flavor, and that’s more than enough. It’s also the kind of recipe that invites experimentation—add cheese, swap the herbs, make it dairy-free—it’s forgiving and flexible, just like the best family recipes always are.
I’d love to hear how this turns out for you. Did you try a variation? Did your picky eater ask for seconds? Drop a comment below and let me know—I read every single one, and I genuinely love hearing about your kitchen victories. And if you’re looking for another easy side dish, you might enjoy my roasted balsamic Brussels sprouts or this garlic parmesan green beans recipe. Happy cooking, friend. You’ve got this.
Pin This Recipe!
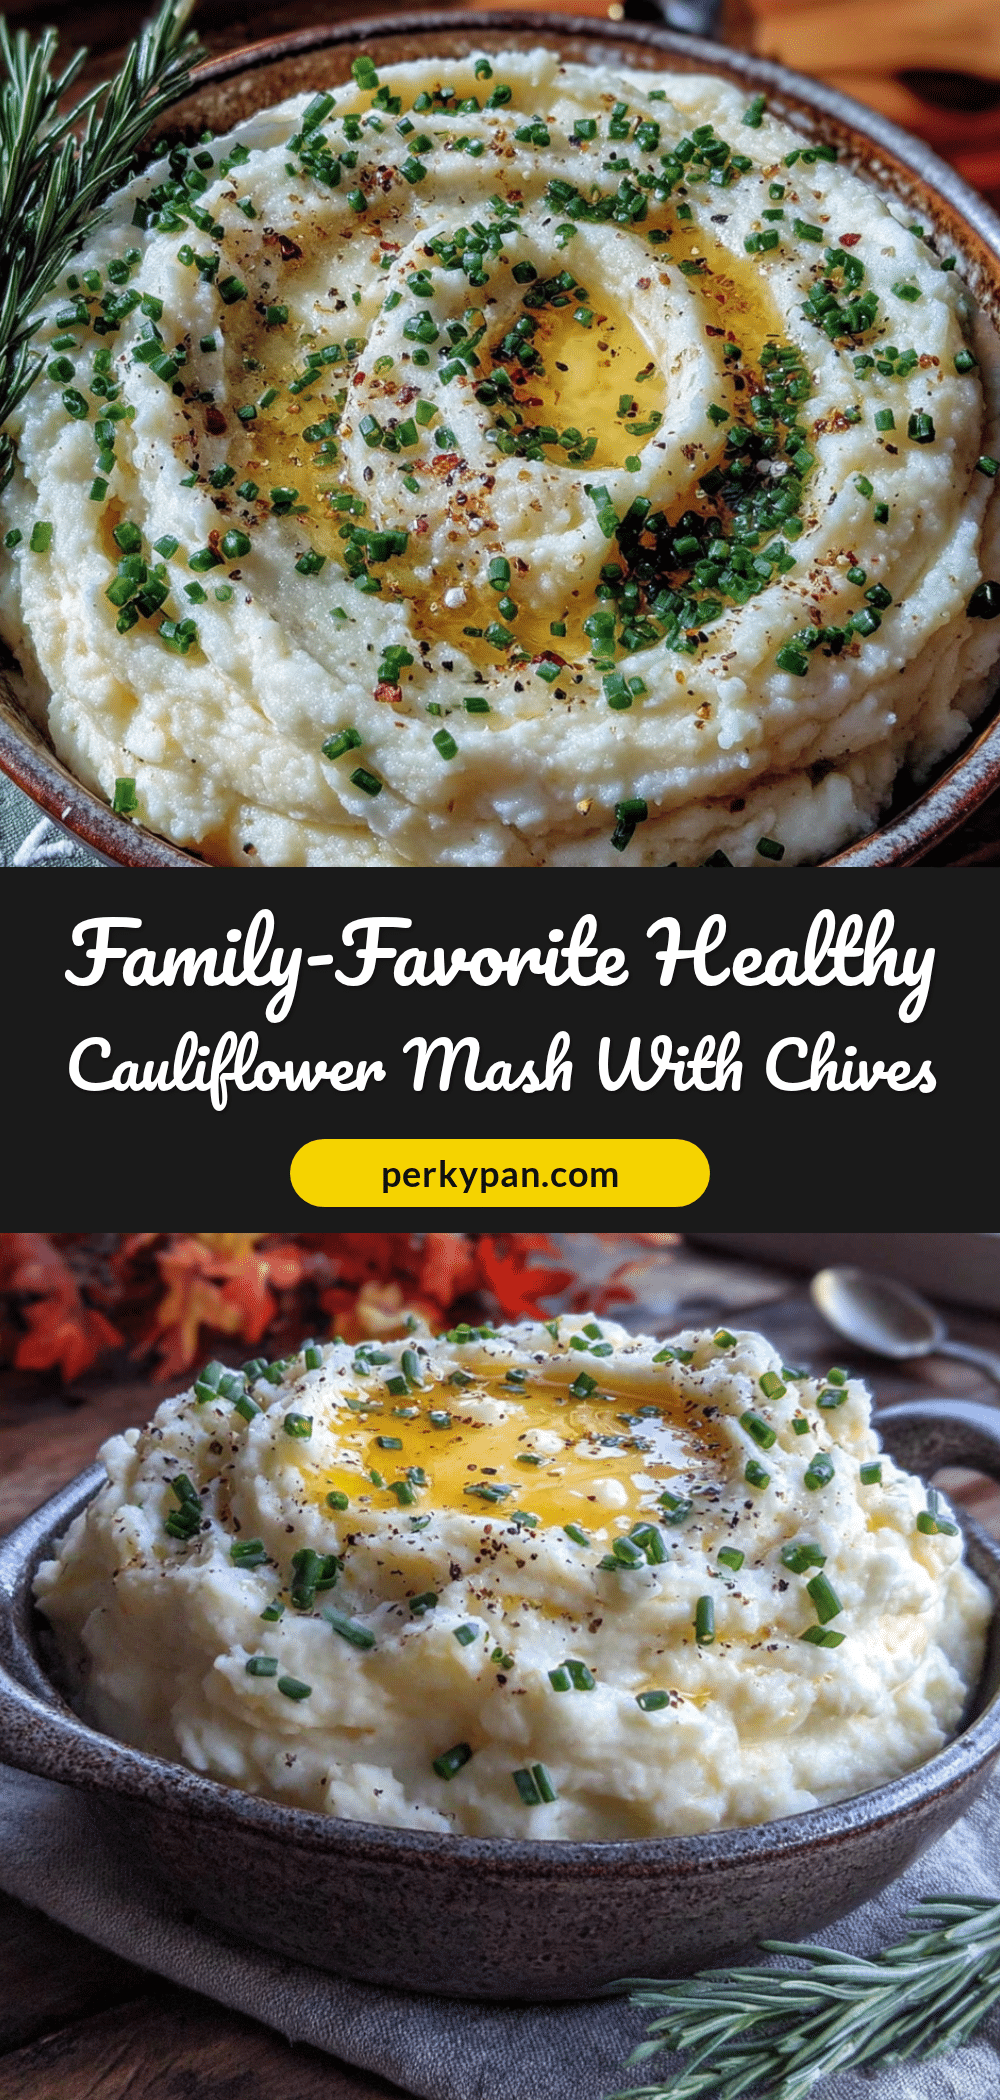
Healthy Cauliflower Mash Recipe: Easy 20-Minute Side Dish

This creamy, garlicky cauliflower mash with chives is a quick and healthy side dish that comes together in just 20 minutes. It’s budget-friendly, picky eater-approved, and perfect for weeknight dinners or holiday gatherings.
- Prep Time: 10 minutes
- Cook Time: 10 minutes
- Total Time: 20 minutes
- Yield: 4 servings 1x
- Category: Side Dish
- Cuisine: American
Ingredients
- 1 large head cauliflower (about 2 pounds or 900 grams), cut into florets
- 3 tablespoons unsalted butter (42 grams)
- 1/4 cup sour cream (60 grams)
- 2 cloves garlic, peeled
- 3 tablespoons fresh chives, finely chopped (about 12 grams)
- 1/2 teaspoon salt (3 grams), plus more to taste
- 1/4 teaspoon black pepper (1 gram), freshly ground
- Optional: 2 tablespoons cream cheese (30 grams)
Instructions
- Prepare the cauliflower: Remove the green leaves and tough core from the cauliflower. Cut it into medium florets—about 1 to 2 inches wide. Try to keep them similar in size so they cook evenly. Rinse the florets in a colander and let them drain briefly.
- Steam the cauliflower: Fill a large pot with about 1 inch of water and bring it to a boil. Place the cauliflower florets and the peeled garlic cloves in a steamer basket. Cover and steam for 10 to 12 minutes, until the cauliflower is very tender when pierced with a fork. You want it soft enough that it almost falls apart. Don’t undercook it—that’s the number one reason cauliflower mash turns out grainy. The garlic should be soft and fragrant.
- Drain thoroughly: This step is absolutely critical. Remove the steamer basket and let the cauliflower cool for 2 to 3 minutes. Then transfer the florets and garlic to a clean kitchen towel or several layers of cheesecloth. Gather the corners and twist tightly to squeeze out as much water as possible. You’ll be surprised how much liquid comes out. I usually squeeze over the sink and watch the water stream out. Don’t skip this—excess moisture is what makes cauliflower mash watery and thin.
- Blend the cauliflower: Transfer the squeezed cauliflower and garlic to a food processor. Add the butter, sour cream, salt, and pepper. Pulse a few times to break it up, then process continuously for about 30 to 45 seconds, scraping down the sides once. You want it smooth and creamy, but stop before it becomes gummy. If you over-process, it can turn gluey—trust me, I’ve learned this the hard way.
- Add the chives: Transfer the mash to a serving bowl and fold in the chopped chives with a spatula. Taste and adjust salt and pepper as needed. If you’re using the optional cream cheese, add it along with the butter and sour cream in step 4.
- Serve immediately: Spoon the mash into a warm serving dish and top with an extra pat of butter and a sprinkle of fresh chives if you’re feeling fancy. Serve hot.
Notes
Don’t boil the cauliflower—steaming preserves texture and flavor. Squeeze out as much moisture as possible to avoid watery mash. Warm your butter and sour cream before blending to prevent lumps. Season in layers: add a pinch of salt to the steaming water, then adjust after blending. For a dairy-free version, use vegan butter and dairy-free sour cream. Leftovers can be stored in the fridge for up to 4 days or frozen for up to 3 months.
Nutrition
- Serving Size: 1 cup
- Calories: 145
- Sugar: 4
- Sodium: 340
- Fat: 11
- Saturated Fat: 7
- Carbohydrates: 10
- Fiber: 4
- Protein: 5
Keywords: cauliflower mash, healthy side dish, low-carb, gluten-free, vegetarian, quick side dish, cauliflower recipe


