Love this? Save it for later!
Share the inspiration with your friends
My neighbor Marco asked why I couldn’t just use the cornbread from the diner down the street for my Thanksgiving stuffing. I started to explain why that wouldn’t work—the texture would be all wrong, it’d turn to mush, it wasn’t “proper” stuffing. Then I stopped. Honestly, I was tired. It was two days before Thanksgiving, I was up to my elbows in pie dough, and the idea of baking a separate batch of gluten-free bread just for stuffing felt like the final straw. So I shrugged, grabbed my keys, and walked to Sal’s Diner. I bought two day-old cornbread muffins from the counter, crumbled them into a bowl, and added the fresh herbs I’d been hoarding from my garden. Let me tell you, that accidental stuffing—born from sheer exhaustion and a neighbor’s offhand suggestion—was the best I’d ever made. It was golden, tender, and packed with so much sage and thyme that it smelled like autumn in a casserole dish. I’ve never looked back. Now, this cozy gluten-free Thanksgiving stuffing with fresh herbs is my non-negotiable holiday dish. It’s the one that gets requested weeks in advance, the one I double-batch because people go back for thirds. And the secret? It started with me being wrong. Maybe you’ve been there—so sure a shortcut will ruin everything, only to discover it’s the very thing that makes the dish unforgettable. That’s this stuffing. It’s proof that sometimes the best recipes come from letting go of perfect and leaning into what actually works.
Why You’ll Love This Recipe
This isn’t just another stuffing recipe. It’s the one I’ve tested six times over three Thanksgivings, tweaking the herb ratio and the liquid amount until it was absolutely foolproof. Here’s why it stands out:
- Quick & Easy: Comes together in under 45 minutes, with only 15 minutes of active prep. Perfect for a chaotic holiday kitchen.
- Simple Ingredients: No fancy grocery trips. Day-old gluten-free bread, fresh herbs, onion, celery, and broth are all you need.
- Perfect for Thanksgiving: It fills your home with that nostalgic, cozy aroma that says the holiday has truly begun.
- Crowd-Pleaser: Gluten-free and gluten-loving eaters alike fight over the crispy edges. I’ve seen it happen.
- Unbelievably Delicious: The texture is the magic—crispy on top, soft and tender inside, with every bite bursting with fresh herb flavor.
What makes this different from every other gluten-free stuffing? It’s the technique. Instead of using dry, pre-packaged cubes that turn into paste, you toast fresh gluten-free bread until it’s just dry enough to soak up the broth without disintegrating. The result is a stuffing that actually holds its shape and has bite. It’s comfort food reimagined—healthier because it’s gluten-free, faster because it uses simple pantry staples, but with the same soul-soothing satisfaction that makes you close your eyes after the first forkful.
What Ingredients You Will Need
This recipe uses simple, wholesome ingredients to deliver bold flavor and satisfying texture without the fuss. Most of these are pantry staples, especially if you keep fresh herbs on hand during the fall.
- 1 loaf (about 12 ounces) gluten-free bread, cut into 1-inch cubes (I prefer a sturdy white or multigrain loaf from a local bakery; day-old is best)
- 4 tablespoons unsalted butter (or dairy-free butter, if needed), plus more for greasing the dish
- 1 large yellow onion, diced (about 1 ½ cups)
- 3 celery stalks, diced (about 1 cup)
- 3 cloves garlic, minced
- 2 tablespoons fresh sage, finely chopped (adds that quintessential Thanksgiving flavor)
- 1 tablespoon fresh thyme leaves (or 1 teaspoon dried, but fresh really shines here)
- 1 tablespoon fresh rosemary, finely chopped
- 1 ½ cups low-sodium vegetable or chicken broth (warm, not cold)
- 1 large egg, lightly beaten (helps bind the stuffing)
- ½ teaspoon salt
- ¼ teaspoon black pepper
Ingredient Tips: For the best texture, look for a gluten-free bread that isn’t too airy or crumbly. I recommend Canyon Bakehouse or Schär for consistent results. If you’re using fresh herbs from a garden, chop them just before adding to preserve their essential oils. For a vegan version, swap the butter for a plant-based alternative and use a flax egg (1 tablespoon ground flaxseed mixed with 3 tablespoons water).
Equipment Needed
You don’t need a professional kitchen to make this stuffing. Here’s what you’ll need:
- Large baking sheet (for toasting the bread cubes)
- Large skillet (for sautéing the vegetables)
- 9×13-inch baking dish (glass or ceramic works best for even heat distribution)
- Large mixing bowl (for combining everything)
- Chef’s knife and cutting board
- Wooden spoon or spatula
If you don’t have a 9×13-inch dish, you can use a 10-inch cast-iron skillet or a similar-sized casserole dish. Just adjust the baking time slightly—a wider dish will give you more crispy edges, which is honestly a win in my book. I’ve also used a disposable aluminum pan when traveling for Friendsgiving, and it worked perfectly.
Preparation Method
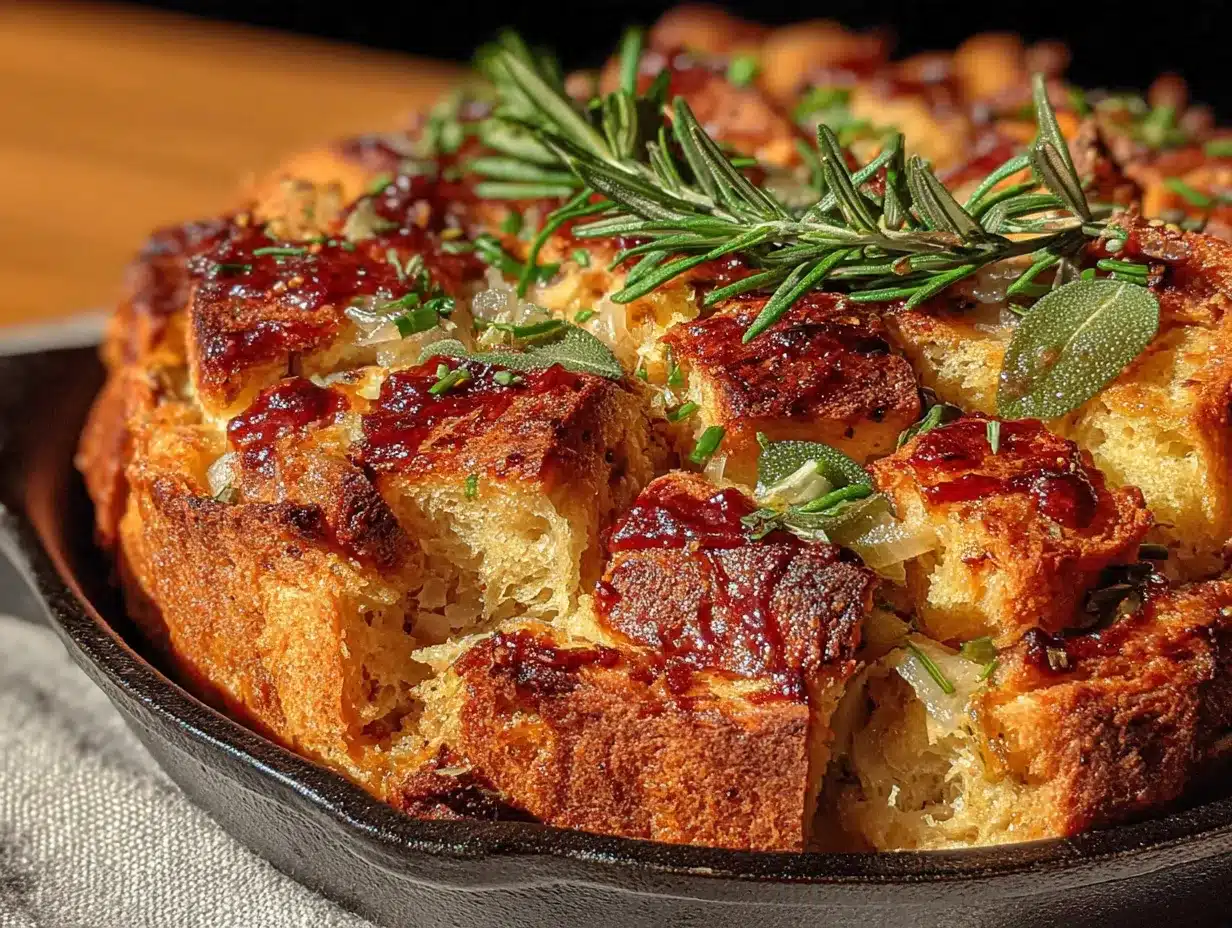
Follow these steps, and you’ll have a stuffing that’s golden, fragrant, and absolutely unforgettable. The key is to take your time with the toasting step—it makes all the difference.
- Preheat your oven to 350°F (175°C). Spread the gluten-free bread cubes in a single layer on a large baking sheet. Toast for 10–12 minutes, stirring halfway through, until they are dry and lightly golden. They should feel firm but not hard. Set aside to cool slightly.
- While the bread toasts, melt the butter in a large skillet over medium heat. Add the diced onion and celery. Cook for 6–8 minutes, stirring occasionally, until the vegetables are soft and translucent. The kitchen will start smelling incredible about now.
- Add the minced garlic and cook for another minute, until fragrant. Be careful not to burn the garlic—it can turn bitter quickly.
- Stir in the fresh sage, thyme, and rosemary. Cook for 1 minute more, letting the herbs release their oils. Remove the skillet from the heat.
- In a large mixing bowl, combine the toasted bread cubes and the sautéed vegetable-herb mixture. Toss gently to distribute everything evenly.
- In a small bowl or measuring cup, whisk together the warm broth, beaten egg, salt, and pepper. Pour this mixture over the bread and vegetables. Use a spatula to gently fold everything together until the bread is evenly moistened. Don’t overmix—you want some texture, not a paste.
- Transfer the mixture to a greased 9×13-inch baking dish. Spread it into an even layer. If you like a crispy top, don’t press it down too firmly.
- Bake for 30–35 minutes, until the top is golden brown and the edges are crispy. The center should be set but still tender. Let it rest for 5 minutes before serving.
Sensory Cues: The bread should feel dry to the touch after toasting, not soft. When you add the broth, the cubes should be moist but not swimming—if liquid pools at the bottom of the bowl, you’ve added too much. The finished stuffing will smell deeply of sage and thyme, with a hint of buttery onion.
Cooking Tips & Techniques
I’ve made this stuffing more times than I can count, and I’ve learned a few things the hard way. Here’s what I wish I’d known from the start:
- Don’t skip the toasting step. I once tried using fresh bread straight from the bag to save time. The result was a soggy, dense mess that collapsed under its own weight. Toasting dries out the bread so it can absorb the broth without turning into mush.
- Use warm broth. Cold broth will shock the bread and create uneven absorption. Warm broth soaks in gently and evenly, giving you that perfect tender-but-not-soggy texture.
- Let the stuffing rest. After it comes out of the oven, resist the urge to dig in immediately. The 5-minute rest allows the structure to set, so it holds together better when you serve it.
- For extra crispy edges, spread the stuffing in a thinner layer or use a wider dish. I’ve even broiled it for the last 2 minutes—just watch it closely so it doesn’t burn.
- Multitask wisely. While the bread is toasting, you can chop the vegetables. While the vegetables are sautéing, you can chop the herbs. This recipe moves fast, so having everything prepped before you start is a lifesaver.
Variations & Adaptations
This stuffing is wonderfully adaptable. Here are a few ways to make it your own:
- Vegan Version: Replace the butter with vegan butter or olive oil, and use a flax egg (1 tablespoon ground flaxseed + 3 tablespoons water, let sit for 5 minutes). The texture will be slightly less rich, but still delicious.
- Add Sausage: Brown 8 ounces of gluten-free Italian sausage or turkey sausage in the skillet before adding the vegetables. Crumble it and mix it into the bread cubes for a heartier, more substantial stuffing.
- Seasonal Twist: In the fall, add ½ cup of dried cranberries and ¼ cup of chopped pecans along with the herbs. The sweetness and crunch are a beautiful contrast to the savory herbs.
- Herb Swap: If you don’t have fresh sage, use 1 teaspoon of dried rubbed sage. For a more aromatic profile, add ½ teaspoon of dried marjoram or a pinch of nutmeg.
- Gluten-Free Cornbread Version: Substitute half the bread cubes with crumbled gluten-free cornbread. This gives the stuffing a slightly sweeter, more Southern-style flavor. I tried this last year for a Friendsgiving, and it was gone in minutes.
Serving & Storage Suggestions
This stuffing is best served warm, straight from the oven. The contrast between the crispy top and the tender interior is what makes it so special. I love to garnish it with a few extra fresh sage leaves for a pop of green.
Complementary Dishes: It pairs beautifully with roasted turkey, of course, but also with a simple roast chicken or a hearty mushroom gravy. For a lighter side, serve it alongside a crisp green salad with a tangy vinaigrette—the acidity cuts through the richness. If you’re feeling indulgent, a dollop of cranberry sauce on top is a classic move.
Storage: Leftover stuffing can be stored in an airtight container in the refrigerator for up to 4 days. The flavors actually meld and deepen overnight, making it even better the next day.
Reheating: For the best results, reheat in a 350°F oven for 10–15 minutes, covered with foil to prevent drying out. Uncover for the last 3 minutes to re-crisp the top. You can also microwave individual portions, but the texture will be softer—still tasty, just not as crispy.
Freezing: This stuffing freezes beautifully. Assemble it in the baking dish, but don’t bake it. Cover tightly with foil and freeze for up to 3 months. When you’re ready to serve, bake from frozen at 350°F for 45–50 minutes, removing the foil for the last 10 minutes.
Nutritional Information & Benefits
Here’s an estimated nutritional breakdown per serving (based on 8 servings):
- Calories: 215
- Fat: 9g
- Carbohydrates: 28g
- Fiber: 3g
- Protein: 5g
- Sodium: 410mg
Health Benefits: Fresh herbs like sage and thyme are packed with antioxidants and anti-inflammatory properties. Sage is known for its potential to support brain health, while thyme is rich in vitamin C and has antimicrobial benefits. Using gluten-free bread makes this recipe suitable for those with celiac disease or gluten sensitivity, and it’s lower in inflammatory ingredients than traditional stuffing. Plus, the fiber from the vegetables and bread helps with digestion—a welcome bonus during a heavy holiday meal.
Dietary Considerations: This recipe is naturally dairy-free if you use plant-based butter, and it can easily be made vegan. It’s also nut-free and egg-free if you use a flax egg. Always check your gluten-free bread label for any potential cross-contamination if you’re serving someone with celiac disease.
Conclusion
This cozy gluten-free Thanksgiving stuffing with fresh herbs is more than just a side dish—it’s the heart of the holiday table. It’s the recipe that taught me to trust my instincts (and my neighbor’s suggestions), and it’s the one that gets requested year after year. The combination of crispy edges, tender herbs, and that unmistakable Thanksgiving aroma is pure magic. I love how versatile it is—you can dress it up with sausage or keep it simple with just herbs and butter. Either way, it’s a winner. So go ahead, make it your own. Swap in your favorite herbs, add a handful of dried fruit, or double the batch because trust me, leftovers are a precious commodity. I’d love to hear how it turns out for you—drop a comment below and tell me about your favorite Thanksgiving memory. And if you try a variation, share that too. Happy cooking, and here’s to a holiday table full of warmth and good food.
Frequently Asked Questions
Can I make this stuffing ahead of time?
Absolutely. You can assemble the stuffing completely (without baking) up to 24 hours in advance. Cover and refrigerate it, then bake it just before serving. You may need to add 5–10 minutes to the baking time since it will start cold.
What’s the best gluten-free bread for stuffing?
A sturdy white or multigrain gluten-free bread works best. Avoid very airy or sweet breads, like gluten-free brioche or cinnamon raisin. Canyon Bakehouse and Schär are reliable brands that hold up well.
Can I use dried herbs instead of fresh?
Yes, but reduce the amount by about half. Dried herbs are more concentrated. Use 1 teaspoon of dried sage, ½ teaspoon of dried thyme, and ½ teaspoon of dried rosemary. Fresh herbs do provide a brighter flavor, though.
How do I prevent the stuffing from being too dry?
Make sure your broth is warm when you add it, and don’t over-toast the bread. The bread should be dry but not hard. If the mixture looks dry after adding the broth, add a few more tablespoons of broth until it looks evenly moistened.
Can I cook this stuffing inside the turkey?
I don’t recommend it for food safety reasons. The stuffing needs to reach 165°F to be safe, and cooking it inside the turkey can lead to uneven cooking. Baking it separately gives you that perfect crispy top and ensures everything is cooked through.
Pin This Recipe!
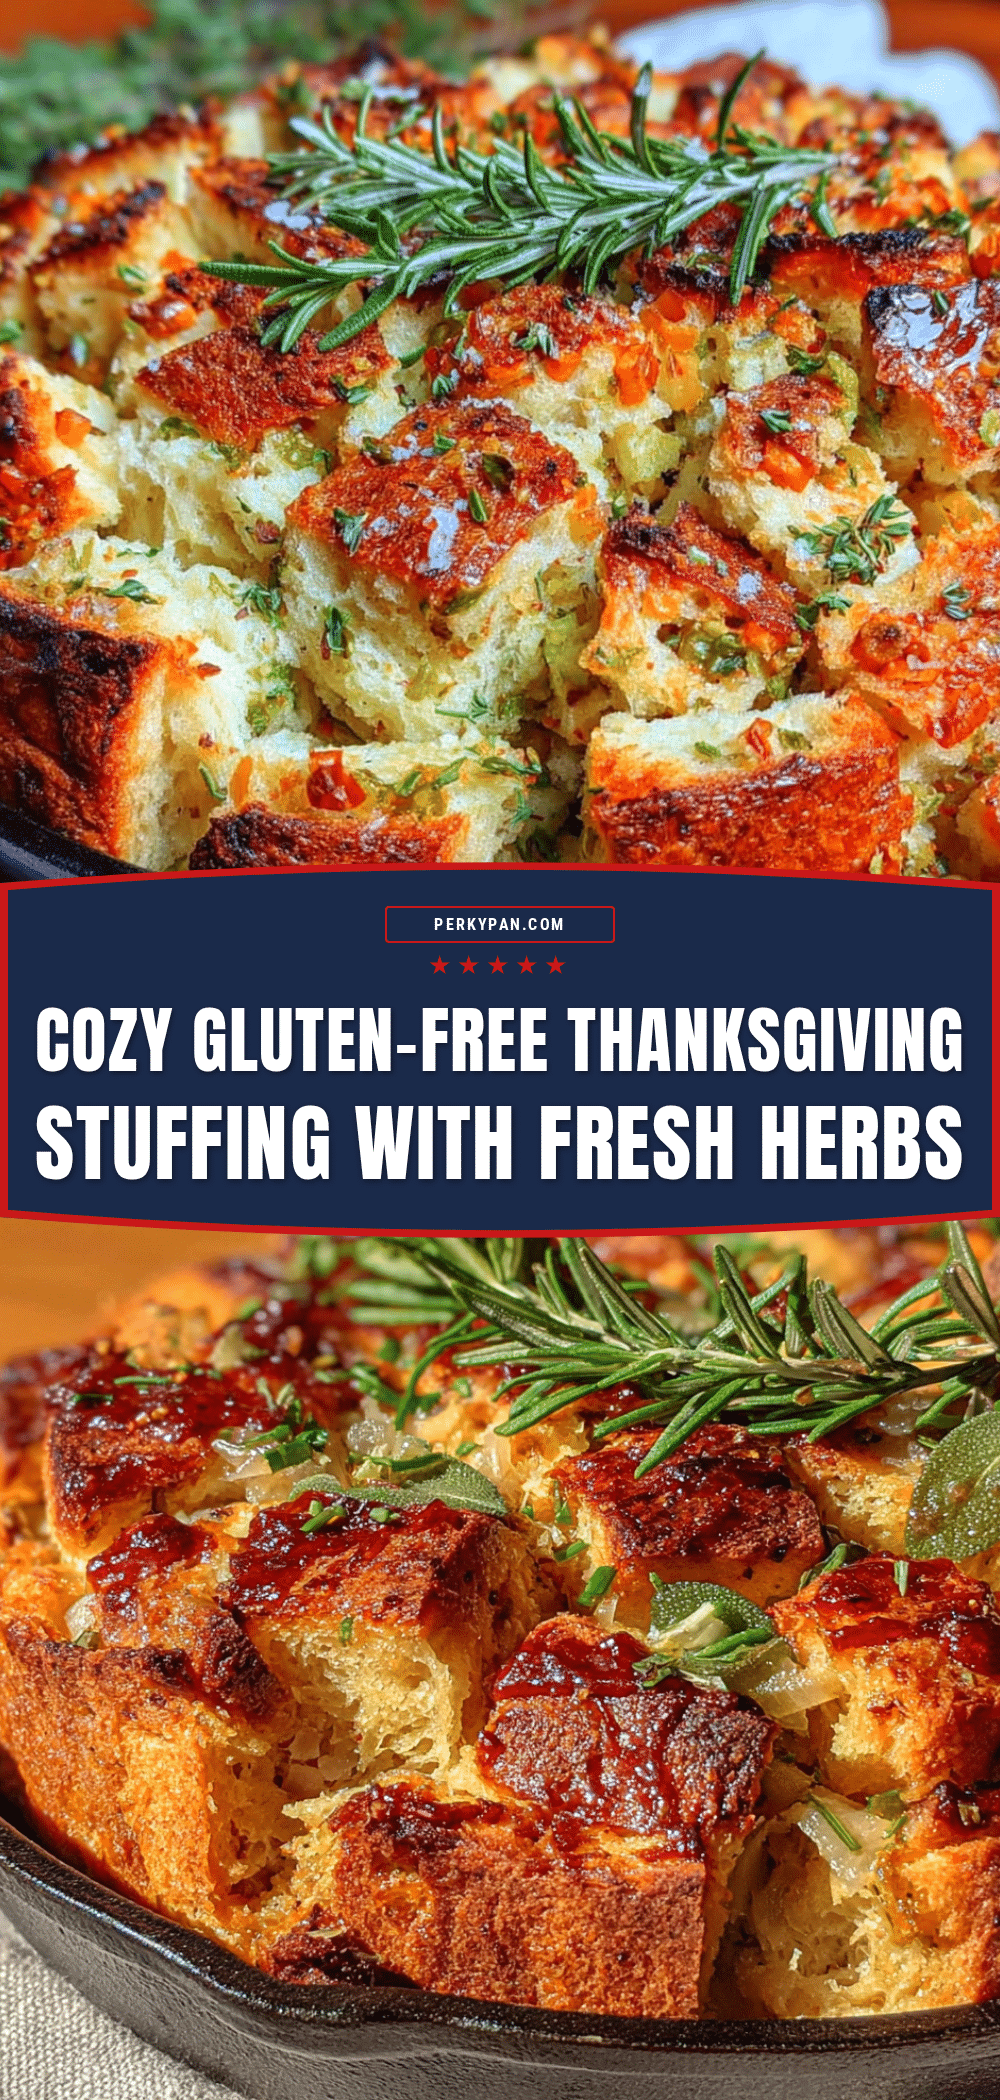
Best Easy Gluten-Free Stuffing Recipe for Thanksgiving

This cozy gluten-free Thanksgiving stuffing with fresh herbs is golden, tender, and packed with sage and thyme. It’s a foolproof, crowd-pleasing side dish that comes together in under 45 minutes.
- Prep Time: 15 minutes
- Cook Time: 30 minutes
- Total Time: 45 minutes
- Yield: 8 servings 1x
- Category: Side Dish
- Cuisine: American
Ingredients
- 1 loaf (about 12 ounces) gluten-free bread, cut into 1-inch cubes
- 4 tablespoons unsalted butter (or dairy-free butter), plus more for greasing
- 1 large yellow onion, diced (about 1 ½ cups)
- 3 celery stalks, diced (about 1 cup)
- 3 cloves garlic, minced
- 2 tablespoons fresh sage, finely chopped
- 1 tablespoon fresh thyme leaves
- 1 tablespoon fresh rosemary, finely chopped
- 1 ½ cups low-sodium vegetable or chicken broth, warm
- 1 large egg, lightly beaten
- ½ teaspoon salt
- ¼ teaspoon black pepper
Instructions
- Preheat your oven to 350°F (175°C). Spread the gluten-free bread cubes in a single layer on a large baking sheet. Toast for 10–12 minutes, stirring halfway through, until they are dry and lightly golden. Set aside to cool slightly.
- While the bread toasts, melt the butter in a large skillet over medium heat. Add the diced onion and celery. Cook for 6–8 minutes, stirring occasionally, until the vegetables are soft and translucent.
- Add the minced garlic and cook for another minute, until fragrant.
- Stir in the fresh sage, thyme, and rosemary. Cook for 1 minute more. Remove the skillet from the heat.
- In a large mixing bowl, combine the toasted bread cubes and the sautéed vegetable-herb mixture. Toss gently to distribute evenly.
- In a small bowl or measuring cup, whisk together the warm broth, beaten egg, salt, and pepper. Pour this mixture over the bread and vegetables. Use a spatula to gently fold everything together until the bread is evenly moistened. Do not overmix.
- Transfer the mixture to a greased 9×13-inch baking dish. Spread it into an even layer. Do not press down too firmly.
- Bake for 30–35 minutes, until the top is golden brown and the edges are crispy. Let it rest for 5 minutes before serving.
Notes
For the best texture, use a sturdy gluten-free bread like Canyon Bakehouse or Schär. Toast the bread cubes until dry but not hard. Use warm broth for even absorption. Let the stuffing rest for 5 minutes after baking to set the structure. For extra crispy edges, spread in a thinner layer or broil for the last 2 minutes.
Nutrition
- Serving Size: 1 serving
- Calories: 215
- Sodium: 410
- Fat: 9
- Carbohydrates: 28
- Fiber: 3
- Protein: 5
Keywords: gluten-free stuffing, Thanksgiving stuffing, gluten-free Thanksgiving, fresh herb stuffing, easy stuffing recipe


