Love this? Save it for later!
Share the inspiration with your friends
My neighbor wasn’t trying to impress anyone when she handed me a paper bag full of pumpkin seeds. I’d stopped by to return her garden shears—the ones I’d borrowed three weeks ago and kept forgetting to give back—and the smell of cinnamon hit me before I even made it past her screen door. “Oh, those are just the seeds from the pumpkins we carved last night,” she said, waving her hand like it was nothing. Like she hadn’t just created something that stopped me cold in her doorway on a random Thursday afternoon.
Let me tell you, I stood there holding that warm bag, and I honestly forgot why I’d come over in the first place. The seeds were glossy with butter, dusted in cinnamon and sugar, and still slightly warm from the oven. She’d spread them on parchment paper, she explained, because the first batch she ever made stuck to the pan and she almost gave up on the whole idea. That tiny confession—that she’d messed up too—made me like her even more. I mean, maybe you’ve been there, staring at a pile of slimy pumpkin seeds wondering if they’re worth the trouble.
I ate half the bag before I got home. My kids, who usually pick around seeds in trail mix, grabbed the rest from my hands and finished them in under two minutes. That’s when I knew this wasn’t just another pumpkin seed recipe. This was the one that would actually get eaten. So I asked her to show me exactly how she did it, and I’ve been making them ever since—every single time we carve pumpkins, and sometimes just because a bag of pepitas goes on sale. The casualness of that afternoon is the whole point. This recipe was made like it was nothing, but honestly? It’s become everything in our house during pumpkin season.
Why You’ll Love This Recipe
These Kid-Approved Cinnamon Sugar Roasted Pumpkin Seeds are the snack that keeps on giving. I’ve tested this method more times than I can count, tweaking the temperature, the butter ratio, and the sugar blend until everything clicked. Here’s why this version wins every single time:
- Quick & Easy: From seed to snack in under 25 minutes. Perfect for those after-school hunger emergencies or when you need a win with the kids after a long day.
- Simple Ingredients: You probably have everything already—pumpkin seeds, butter, cinnamon, sugar, and a pinch of salt. No fancy grocery trips required.
- Perfect for Fall Fun: Great for Halloween parties, Thanksgiving snacking, or just making pumpkin carving day even more special.
- Crowd-Pleaser: My kids devour these, and I’ve caught grown-ups sneaking handfuls when they think nobody’s watching. The sweet cinnamon coating hits that universal comfort food spot.
- Unbelievably Delicious: The combination of crunchy seeds, melted butter, and warm cinnamon sugar is next-level snacking. It’s like eating a cinnamon roll, but somehow healthier and way more satisfying.
What makes this recipe different from the rest? It’s the method. Most recipes either burn the sugar or leave you with soggy seeds. I figured out the exact oven temperature and timing to get that perfect crunch without the sugar turning bitter. Plus, the butter-to-seed ratio is dialed in so every single seed gets coated without making a greasy mess. This isn’t just another pumpkin seed recipe—it’s your best version.
Honestly, this recipe is the kind that makes you close your eyes after the first bite. It’s comfort food reimagined—faster, simpler, but with the same soul-soothing satisfaction. Perfect for impressing your kids without stress, or turning a simple snack into something memorable.
What Ingredients You Will Need
This recipe uses simple, wholesome ingredients to deliver bold flavor and satisfying crunch without the fuss. You probably have most of these in your pantry right now, which is exactly how I like to cook when feeding a family on a sensible budget.
- Fresh pumpkin seeds: 1 cup, cleaned and patted dry. If you’re carving pumpkins, save those seeds! Look for seeds that are plump and not cracked. (I prefer seeds from sugar pumpkins for snacking—they’re smaller and crunchier.)
- Unsalted butter: 2 tablespoons, melted. I use Land O’Lakes because it’s consistent, but any unsalted butter works. Salted butter will make these too salty, so stick with unsalted.
- Granulated sugar: 2 tablespoons. Regular white sugar gives the best crunch. You can use coconut sugar for a deeper flavor, but the texture won’t be quite as crispy.
- Ground cinnamon: 1 teaspoon. I recommend McCormick or simply organic—fresh cinnamon makes a big difference here. Don’t use old cinnamon that’s been sitting in your cabinet for years; it loses its punch.
- Salt: ¼ teaspoon. Just a pinch to balance the sweetness and bring out the flavor of the seeds. I use fine sea salt for even distribution.
- Vanilla extract: ½ teaspoon (optional but recommended). This adds a lovely warmth that complements the cinnamon. Pure vanilla extract is worth the splurge here, but imitation works fine too.
Ingredient Selection Tips: When you’re cleaning your pumpkin seeds, don’t stress about getting every single string of pumpkin flesh off. A little bit adds flavor and fiber, honestly. Just rinse them in a colander under cold water, pick out the big chunks, and pat them dry with a clean kitchen towel. Wet seeds won’t get crispy, so make sure they’re really dry before you start.
Substitution Guidance: If you’re out of butter, coconut oil works beautifully—use refined coconut oil if you don’t want a coconut flavor. For a dairy-free option, use vegan butter or avocado oil. You can also swap the granulated sugar for brown sugar, which gives a deeper, almost caramel-like flavor. And if someone in your house can’t have cinnamon, try pumpkin pie spice or even a pinch of nutmeg and ginger instead.
Equipment Needed
You don’t need fancy equipment for these Kid-Approved Cinnamon Sugar Roasted Pumpkin Seeds. That’s part of the beauty—this is a recipe that works with what you already have.
- Baking sheet: A standard half-sheet pan works perfectly. I’ve used the same beat-up one for years, and it still does the job. If you have a dark non-stick pan, reduce the oven temperature by 25°F to prevent burning.
- Parchment paper: This is non-negotiable. Trust me, I learned the hard way. Without parchment, the sugar sticks to the pan and you’ll be scrubbing for days. Plus, cleanup is a breeze.
- Mixing bowl: Any medium bowl works. I use a glass mixing bowl because it doesn’t hold onto odors.
- Spatula or wooden spoon: For stirring the seeds with the butter mixture. A silicone spatula is great for scraping every last bit of buttery goodness.
- Colander: For rinsing the seeds. Nothing fancy required.
- Kitchen towel or paper towels: For drying the seeds thoroughly. This step matters more than you think.
Budget-Friendly Options: If you don’t have parchment paper, you can use a silicone baking mat. Avoid using greased foil—the sugar still sticks. And if you’re short on time, you can skip the mixing bowl and toss everything right on the baking sheet. Just use your hands to mix it evenly.
Preparation Method
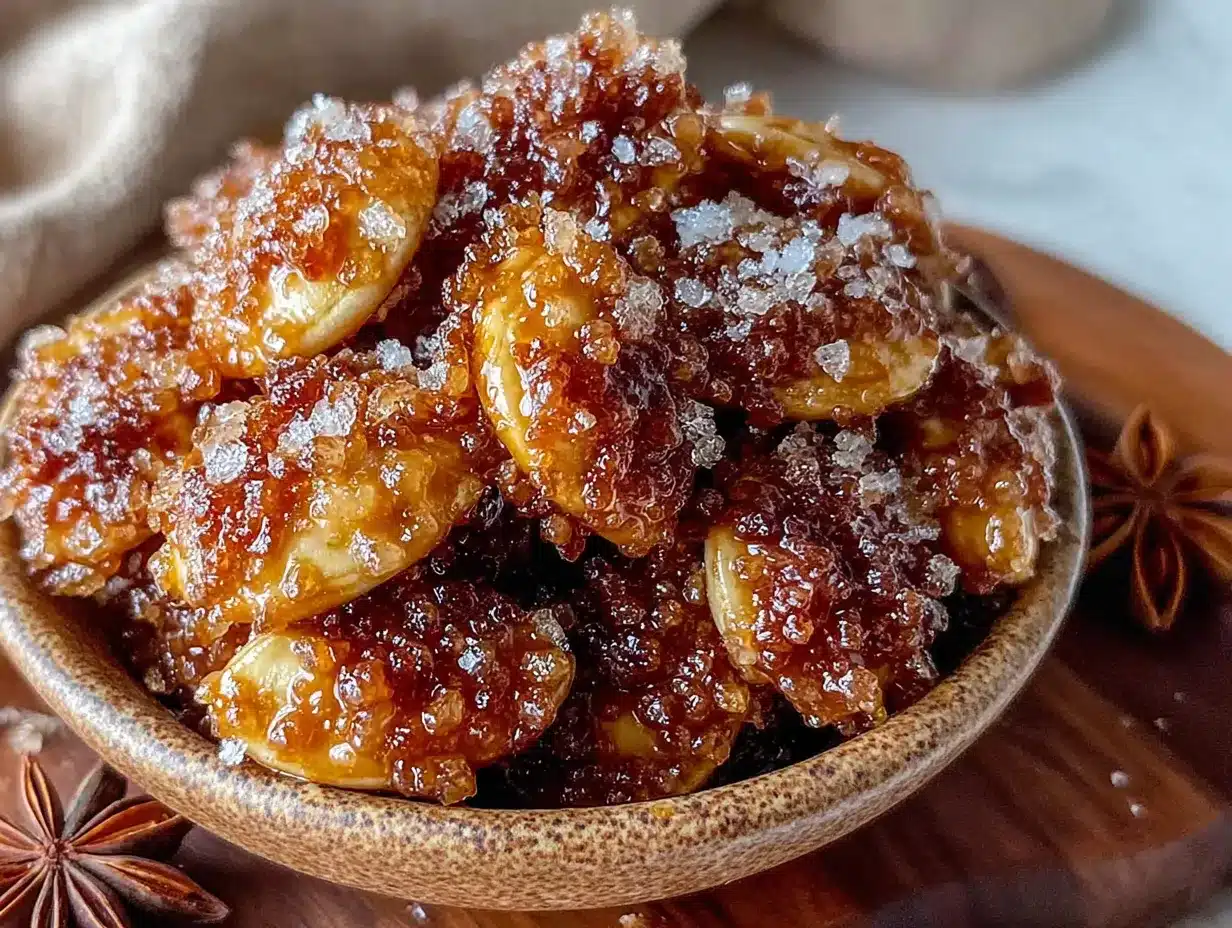
Let me walk you through this step by step. I’ve made these seeds so many times that I could do it in my sleep, but I’ll share every detail so your first batch turns out perfect.
- Preheat your oven to 300°F (150°C). This lower temperature is the secret to getting crunchy seeds without burning the sugar. While the oven heats, line your baking sheet with parchment paper. Don’t skip this—I promise it matters.
- Clean and dry your pumpkin seeds. If you’re using fresh seeds from a pumpkin, rinse them in a colander under cold water. Pick out any big pieces of pumpkin flesh and stringy bits. Spread the seeds on a clean kitchen towel or paper towels and pat them completely dry. This is crucial: wet seeds will steam instead of roast, and you’ll end up with chewy seeds instead of crunchy ones. Let them air dry for 10 minutes if you have time.
- Melt the butter. In a small microwave-safe bowl, melt 2 tablespoons of unsalted butter. I usually do this in 20-second bursts, stirring in between, until it’s just melted. You don’t want it bubbling hot—just liquid. Set it aside to cool slightly while you measure the other ingredients.
- Mix the cinnamon sugar. In a small bowl, combine 2 tablespoons of granulated sugar, 1 teaspoon of ground cinnamon, and ¼ teaspoon of salt. Stir it with a fork to break up any clumps. The salt is important—it balances the sweetness and makes the cinnamon flavor pop.
- Combine everything. In a medium mixing bowl, add your dried pumpkin seeds. Pour the melted butter over them and stir until every seed is coated. Add the vanilla extract if you’re using it and stir again. Then sprinkle the cinnamon sugar mixture over the seeds and toss until everything is evenly distributed. Your hands work best for this—just get in there and mix it up. The butter will help the sugar stick to every seed.
- Spread on the baking sheet. Pour the coated seeds onto your parchment-lined baking sheet. Spread them out in a single, even layer. Make sure no seeds are piled on top of each other, or they won’t roast evenly. If you have a lot of seeds, use two baking sheets instead of crowding one.
- Roast for 12-15 minutes. Place the baking sheet in the preheated oven and set a timer for 12 minutes. At the 8-minute mark, pull the pan out and give the seeds a quick stir with a spatula. This helps them roast evenly. Put them back in and check at 12 minutes. Look for a golden-brown color and a nutty, toasty smell. The seeds should be dry and crispy, not soft or chewy.
- Cool completely. Remove the baking sheet from the oven and let the seeds cool right on the pan. They’ll continue to crisp up as they cool. Don’t touch them yet—they’re hot and the sugar is molten. After about 10 minutes, they’ll be cool enough to handle. They’ll get crunchier as they cool, so don’t panic if they seem slightly soft right out of the oven.
- Break apart and enjoy. Once cooled, the seeds might be stuck together in a few clumps. Just break them apart with your fingers. They should separate easily. Transfer to a bowl and watch them disappear.
Time Estimate: Prep takes about 10 minutes, roasting takes 12-15 minutes, and cooling takes another 10 minutes. Total time from seed to snack: about 35 minutes. Not bad for a treat that tastes like you spent hours on it.
Cooking Tips & Techniques
I’ve made every mistake in the book with pumpkin seeds, so you don’t have to. Here’s what I’ve learned the hard way.
Don’t rush the drying step. The first time I made these, I was impatient and used damp seeds. They came out chewy and sad, and my kids looked at me like I’d betrayed them. Now I spread the seeds on a towel and actually wait. Patience pays off here.
Watch the temperature. 300°F is the sweet spot. Higher temperatures will burn the sugar before the seeds are done roasting. I learned this when I tried to speed things up at 350°F and ended up with a smoky kitchen and bitter seeds. Lower and slower is the way to go.
Stir halfway through. This ensures even roasting. The seeds on the edges of the pan cook faster than the ones in the middle. A quick stir at the 8-minute mark fixes that. I set a timer on my phone so I don’t forget.
Test for doneness. The seeds should be golden brown and smell toasty. If you’re unsure, take one out, let it cool for 30 seconds, and bite into it. It should be crunchy all the way through, not soft in the center.
Let them cool completely. This is the hardest part, I know. But if you try to eat them warm, the sugar will still be soft and they won’t have that satisfying crunch. Give them 10 minutes. Your patience will be rewarded.
Double the batch. Honestly, one cup of seeds disappears fast in our house. I always make at least two cups now. They store well, so there’s no downside to making extra.
Variations & Adaptations
This recipe is flexible, which is perfect for feeding a family with different tastes. Here are some variations I’ve tried and loved.
Spicy Cinnamon Sugar: Add ¼ teaspoon of cayenne pepper to the sugar mixture. The heat sneaks up on you, and the sweet-spicy combo is addictive. My husband loves these, though the kids prefer the original.
Maple Pecan Version: Swap the granulated sugar for 2 tablespoons of maple syrup and add ¼ cup of chopped pecans. Toss everything together and roast as directed. The maple syrup makes them slightly stickier, but the flavor is incredible. Just watch them closely—maple syrup burns faster than sugar.
Chocolate Cinnamon Seeds: After the seeds have cooled completely, drizzle them with melted dark chocolate. Let the chocolate set before serving. This turns them into a dessert that feels fancy but costs pennies to make. My kids go crazy for these.
Savory Switch: Skip the sugar and cinnamon. Instead, toss the seeds with melted butter, garlic powder, smoked paprika, and a pinch of cayenne. Roast the same way. These are great for salads or just snacking with a cold drink.
Dietary Adjustments: For a vegan version, use coconut oil or vegan butter instead of regular butter. For a lower-sugar option, use monk fruit sweetener or a sugar substitute like Swerve. The texture might be slightly different, but the crunch is still there.
Different Seeds: This recipe works beautifully with pepitas (the green pumpkin seeds you buy in bags). You don’t need to clean or dry them, which saves time. Just toss them with the butter and sugar and roast. They cook a little faster—check at 10 minutes.
Serving & Storage Suggestions
These Kid-Approved Cinnamon Sugar Roasted Pumpkin Seeds are best served at room temperature, right after they’ve cooled. I like to put them in a big wooden bowl and let everyone grab handfuls. They’re perfect for:
- After-school snacks (my kids eat them straight from the bowl)
- Movie nights (way better than popcorn, honestly)
- Thanksgiving appetizers (set out a bowl before dinner and watch them disappear)
- Lunchbox treats (they travel well and don’t get soggy)
- Gift giving (pack them in a mason jar with a ribbon—instant hostess gift)
Storage Instructions: Keep the seeds in an airtight container at room temperature. They’ll stay crunchy for up to two weeks. I use a glass jar with a tight lid, but a zip-top bag works too. Just squeeze out as much air as possible before sealing.
Freezer Tips: You can freeze these seeds for up to three months. Let them cool completely, then transfer to a freezer-safe bag or container. When you’re ready to eat them, let them thaw at room temperature for about 30 minutes. They might lose a tiny bit of crunch, but they’re still delicious.
Reheating: If your seeds lose their crunch after a few days, spread them on a baking sheet and pop them in a 300°F oven for 3-4 minutes. Let them cool again, and they’ll be crispy as new. Don’t microwave them—they’ll get chewy.
Flavor Development: Honestly, these seeds taste best on the first day. The sugar coating stays perfectly crunchy, and the cinnamon flavor is brightest. But they’re still really good for the next week. I’ve never had a batch last longer than that anyway.
Nutritional Information & Benefits
Here’s the good news: these seeds aren’t just delicious—they’re actually good for you. Pumpkin seeds are packed with nutrients, and even with the butter and sugar, they’re a smarter snack than most options.
Estimated Nutrition per ¼ cup serving:
| Nutrient | Amount |
|---|---|
| Calories | 180 |
| Total Fat | 14g |
| Saturated Fat | 4g |
| Carbohydrates | 10g |
| Fiber | 2g |
| Sugar | 6g |
| Protein | 7g |
| Iron | 15% DV |
| Magnesium | 20% DV |
Health Benefits: Pumpkin seeds are rich in magnesium, which supports muscle function and sleep quality. They’re also a great source of zinc, which is important for immune health—especially during cold and flu season. The fiber and protein help keep everyone full and satisfied, which means fewer requests for snacks 20 minutes later.
Dietary Considerations: This recipe is naturally gluten-free and can be made dairy-free with a simple swap. The sugar content is moderate, making this a treat that doesn’t go overboard. If you’re watching sugar intake, reduce it to 1 tablespoon and add an extra pinch of cinnamon for flavor.
Potential Allergens: Contains dairy (butter) and tree nuts if you add the pecan variation. The basic recipe is nut-free and egg-free, making it safe for most school lunchboxes.
Conclusion
These Kid-Approved Cinnamon Sugar Roasted Pumpkin Seeds have become a staple in our house, and I think they’ll become one in yours too. They’re simple enough to make on a random Tuesday, special enough to serve at a party, and affordable enough to make whenever the craving hits. That’s the kind of recipe I love—the ones that don’t require a special trip to the store or a complicated technique.
I hope you’ll try this recipe and make it your own. Maybe you’ll add a pinch of nutmeg, or swap the cinnamon for pumpkin pie spice, or double the batch because you know they’ll disappear fast. That’s the beauty of cooking for your family—you get to tweak things until they’re perfect for your table.
Honestly, every time I make these seeds, I think about my neighbor standing in her kitchen, not trying to impress anyone, just making something good for her family. That’s the energy I want to carry into my own kitchen, and I hope you feel it too. So go ahead—save those pumpkin seeds, preheat your oven, and make something that’ll have your kids grabbing handfuls before they even cool down. And when you do, come back and tell me about it. I’d love to hear how they turned out.
Happy roasting, friends!
Frequently Asked Questions
Can I use store-bought pumpkin seeds instead of fresh ones?
Absolutely! Store-bought pepitas work perfectly. You don’t need to clean or dry them, which saves time. Just toss them with the butter and sugar and roast. They cook a little faster than fresh seeds, so check them at the 10-minute mark.
Why did my seeds turn out chewy instead of crunchy?
This usually happens for one of two reasons: the seeds weren’t dried thoroughly before roasting, or they were overcrowded on the baking sheet. Make sure you pat them completely dry with a towel, and spread them in a single layer with space between each seed. Also, let them cool completely before eating—they crisp up as they cool.
Can I make these in an air fryer?
Yes! Preheat your air fryer to 300°F. Spread the coated seeds in the basket in a single layer. Cook for 8-10 minutes, shaking the basket halfway through. Keep an eye on them because air fryers can vary. They’ll be done when golden brown and fragrant.
How do I prevent the sugar from burning?
The key is the low oven temperature—300°F is perfect. Higher temperatures will burn the sugar before the seeds are done. Also, stir the seeds at the 8-minute mark to ensure even cooking. If your oven runs hot, check them a few minutes early.
Can I reduce the sugar for a healthier version?
Definitely. You can cut the sugar down to 1 tablespoon and add an extra ½ teaspoon of cinnamon for flavor. The seeds won’t be as sweet, but they’ll still be delicious. You can also try using a sugar substitute like monk fruit or stevia, though the texture might be slightly different.
Pin This Recipe!
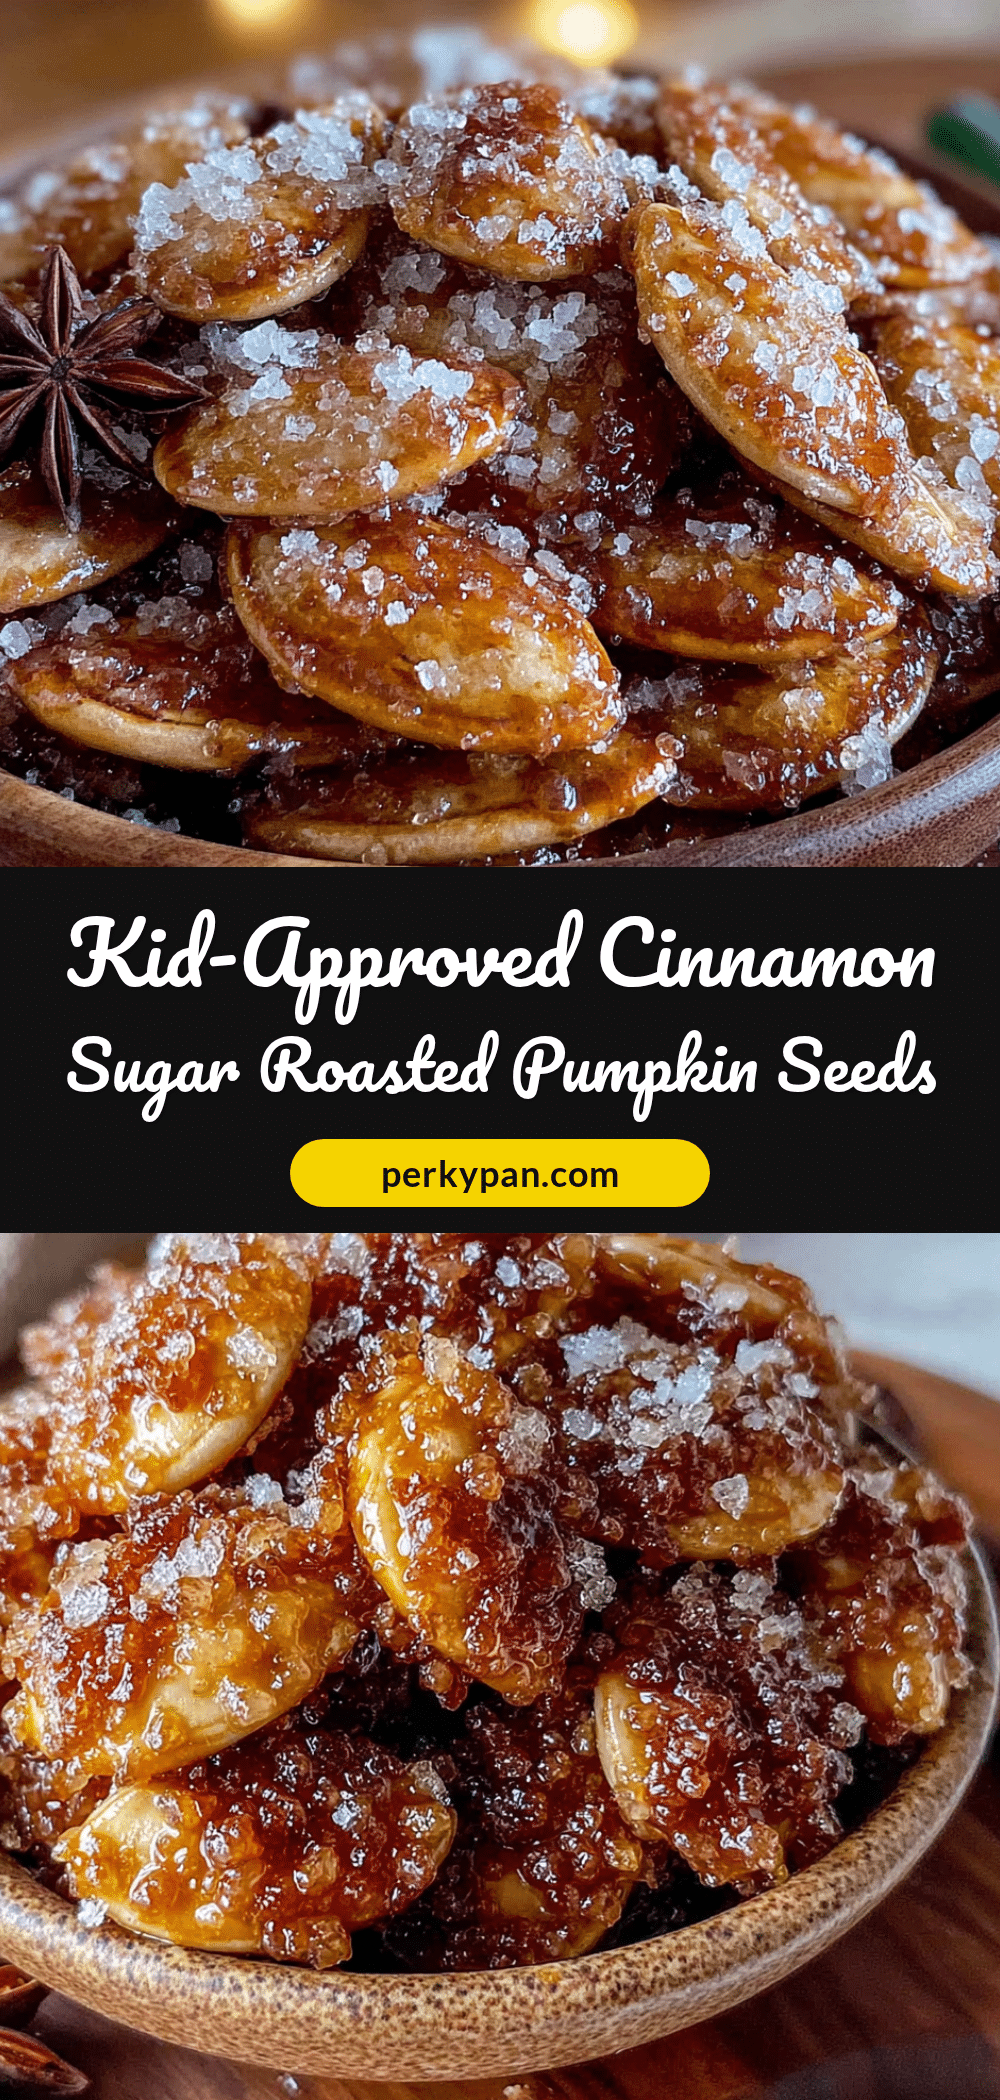
Easy Kid-Approved Cinnamon Sugar Roasted Pumpkin Seeds

These Kid-Approved Cinnamon Sugar Roasted Pumpkin Seeds are the perfect fall snack—crunchy, sweet, and ready in under 25 minutes. Made with simple ingredients like pumpkin seeds, butter, cinnamon, and sugar, this recipe is a crowd-pleaser that’s great for Halloween, Thanksgiving, or any pumpkin carving day.
- Prep Time: 10 minutes
- Cook Time: 12-15 minutes
- Total Time: 35 minutes
- Yield: 4 servings 1x
- Category: Snack
- Cuisine: American
Ingredients
- 1 cup fresh pumpkin seeds, cleaned and patted dry
- 2 tablespoons unsalted butter, melted
- 2 tablespoons granulated sugar
- 1 teaspoon ground cinnamon
- ¼ teaspoon salt
- ½ teaspoon vanilla extract (optional but recommended)
Instructions
- Preheat your oven to 300°F (150°C). Line a baking sheet with parchment paper.
- Clean and dry the pumpkin seeds: rinse in a colander under cold water, remove any pumpkin flesh, and pat completely dry with a kitchen towel or paper towels. Let air dry for 10 minutes if possible.
- Melt the butter in a small microwave-safe bowl in 20-second bursts until just melted. Set aside to cool slightly.
- In a small bowl, combine the sugar, cinnamon, and salt. Stir with a fork to break up clumps.
- In a medium mixing bowl, add the dried pumpkin seeds. Pour the melted butter over them and stir until every seed is coated. Add vanilla extract if using and stir again. Sprinkle the cinnamon sugar mixture over the seeds and toss until evenly distributed (using your hands works best).
- Spread the coated seeds in a single, even layer on the parchment-lined baking sheet. Avoid piling seeds on top of each other.
- Roast for 12-15 minutes. At the 8-minute mark, stir the seeds with a spatula for even roasting. The seeds are done when golden brown and fragrant.
- Remove from the oven and let the seeds cool completely on the baking sheet (about 10 minutes). They will continue to crisp up as they cool.
- Once cooled, break apart any clumps with your fingers and serve.
Notes
Don’t rush the drying step—wet seeds will steam instead of roast, resulting in chewy seeds. Use a low oven temperature (300°F) to prevent the sugar from burning. Stir halfway through roasting for even cooking. Let seeds cool completely before eating for maximum crunch. For best results, use fresh seeds from sugar pumpkins, which are smaller and crunchier. Store in an airtight container at room temperature for up to two weeks.
Nutrition
- Serving Size: ¼ cup
- Calories: 180
- Sugar: 6
- Sodium: 150
- Fat: 14
- Saturated Fat: 4
- Carbohydrates: 10
- Fiber: 2
- Protein: 7
Keywords: cinnamon sugar pumpkin seeds, roasted pumpkin seeds, kid-friendly snack, fall snack, easy pumpkin seeds, Halloween snack, Thanksgiving snack


