Love this? Save it for later!
Share the inspiration with your friends
I met Rosa at the community garden two autumns ago. She was tending to a gnarled apple tree that I had walked past a dozen times without noticing. I was there for the tomatoes, honestly, but she caught me staring at those apples—small, uneven, nothing like the perfect spheres at the grocery store. She didn’t say anything at first. She just picked one, wiped it on her sleeve, and handed it to me. “Taste,” she said. It was the most alive thing I’d ever eaten—tart, sweet, and so crisp it practically snapped back at me.
Rosa spoke about her apple tree the way people talk about old friends. She told me about the year it didn’t bloom, the summer a storm knocked down its biggest branch, and how every fall, she made the same thing for her grandkids: caramel apples, but sliced, because whole ones are too messy for small hands. She didn’t give me a recipe that day. She just said, “You figure it out. The apples will tell you what they need.”
So I did. And honestly, it took me three tries to get it right. The first batch? The caramel slid right off—too thin, too runny. The second batch? I burned the sugar and had to start over, and my kitchen smelled like regret for two days. But the third time, something clicked. The caramel was glossy and thick. The apples stayed crisp. And when I sprinkled on those toffee bits—a little addition Rosa never mentioned but that felt right—I knew I had something worth keeping.
These Cozy Caramel Apple Slices with Toffee Bits are what came out of those conversations and that stubborn third attempt. They’re exactly the kind of thing you make when you need the kitchen to feel warm and the world to feel a little smaller. Maybe you’ve had a day like that. Maybe you just want something sweet that doesn’t require a whole production. Either way, these slices are waiting.
Why You’ll Love This Recipe
Let me tell you why this one sticks. I’ve tested it on my picky nephew, a friend who “doesn’t do dessert,” and a Thanksgiving table full of people who had already eaten too much. Every single person went back for seconds. That’s not bragging—that’s just the truth of it.
- Quick & Easy: From start to finish, you’re looking at about 20 minutes. No baking, no complicated steps, no waiting for dough to chill. This is instant gratification, and sometimes that’s exactly what you need.
- Simple Ingredients: Apples, butter, brown sugar, cream, vanilla, salt, and toffee bits. That’s it. You probably have most of these in your kitchen right now, which means you’re closer to dessert than you think.
- Perfect for Cozy Nights: Cold weather, a rough day, or just one of those evenings where you want something warm and sweet—this recipe was made for those moments. It’s comfort in a bowl, no oven required.
- Crowd-Pleaser: Kids love the fun factor. Adults love that it’s not overly sweet. Everyone loves that they can eat it with their hands or a fork, depending on how fancy they’re feeling.
- Unbelievably Delicious: The contrast between the crisp apple, the soft caramel, and the crunchy toffee bits is next-level. It’s the kind of dessert that makes you close your eyes after the first bite.
What makes this version different from all the other caramel apple recipes out there? Two things. First, I slice the apples instead of keeping them whole. This means every bite has the perfect ratio of apple to caramel—no awkward bites where you’re just eating plain fruit. Second, I add a pinch of salt to the caramel. It sounds small, but it makes the sweetness taste deeper, more rounded. And the toffee bits? They add texture that keeps things interesting. This isn’t just another caramel apple recipe. It’s the one I keep coming back to, and I think you will too.
What Ingredients You Will Need
This recipe uses simple, honest ingredients. Nothing fancy, nothing hard to find. Just good things that work together. Here’s what you’ll need and why each one matters.
- Apples: 4 medium apples (I recommend Honeycrisp or Granny Smith). Honeycrisp gives you that perfect sweet-tart balance and stays crisp even after the warm caramel hits it. Granny Smith is tarter, which is great if you want a stronger contrast with the sweet caramel. Look for apples that feel heavy for their size—that means they’re juicy. Avoid mealy or soft apples; they’ll fall apart.
- Unsalted Butter: 1/2 cup (1 stick). Use unsalted so you can control the salt level. I prefer Kerrygold for its rich flavor, but any good-quality butter works. If you only have salted butter, just skip the extra salt I add later.
- Brown Sugar: 1 cup, packed. Light or dark brown sugar both work. Dark brown sugar gives a deeper, almost molasses-like flavor that I personally love. Light brown sugar makes a milder caramel. Your call.
- Heavy Cream: 1/2 cup. This is what makes the caramel smooth and luscious. Don’t substitute milk—it won’t thicken the same way. If you’re dairy-free, full-fat coconut cream works surprisingly well here.
- Vanilla Extract: 1 teaspoon. Pure vanilla extract is worth the splurge. It adds warmth and depth that imitation vanilla just can’t match. I use Nielsen-Massey, but any pure extract is fine.
- Salt: 1/4 teaspoon, plus a pinch for sprinkling. Flaky sea salt like Maldon is ideal for that final sprinkle—it adds little bursts of saltiness that make the caramel pop. Regular table salt works for the caramel itself.
- Toffee Bits: 1/2 cup. Look for the bits that are already chopped—Heath toffee bits are my go-to. They add crunch and a buttery, nutty flavor that plays beautifully with the apples. If you can’t find them, you can crush a couple of Skor or Heath bars yourself.
- Optional Garnishes: Chopped nuts (pecans or walnuts), a drizzle of melted chocolate, or a sprinkle of cinnamon. These are nice but not necessary. I sometimes add a little cinnamon if I’m feeling extra cozy.
One thing I’ve learned: use room-temperature cream when you add it to the caramel. Cold cream can make the caramel seize up and get grainy. Just let it sit on the counter for 10 minutes before you start. Small things like that make a big difference.
Equipment Needed
You don’t need much for this recipe, which is part of why I love it. Here’s the short list:
- Medium Saucepan: Heavy-bottomed is best. It distributes heat evenly and reduces the chance of burning the caramel. I use a 2-quart saucepan, and it’s perfect. If you don’t have a heavy-bottomed one, just stir more often and keep the heat low.
- Wooden Spoon or Silicone Spatula: Wooden spoons are great for stirring caramel because they don’t conduct heat. Silicone spatulas work too, but make sure it’s heat-resistant. Metal spoons can get too hot and mess with the temperature.
- Sharp Knife and Cutting Board: A good chef’s knife makes slicing apples easy and safe. Dull knives are more dangerous than sharp ones—they slip. Take 30 seconds to sharpen yours before you start.
- Serving Platter or Plate: Something wide and flat works best. I like a white platter because the colors really pop against it.
- Parchment Paper or Wax Paper: Line your platter with this so the caramel doesn’t stick. Trust me on this one. I learned the hard way.
- Small Bowl for Toffee Bits: For sprinkling. Nothing fancy.
That’s it. Five tools, maybe six if you count the bowl. No special equipment required. This is a recipe that meets you where you are.
Preparation Method
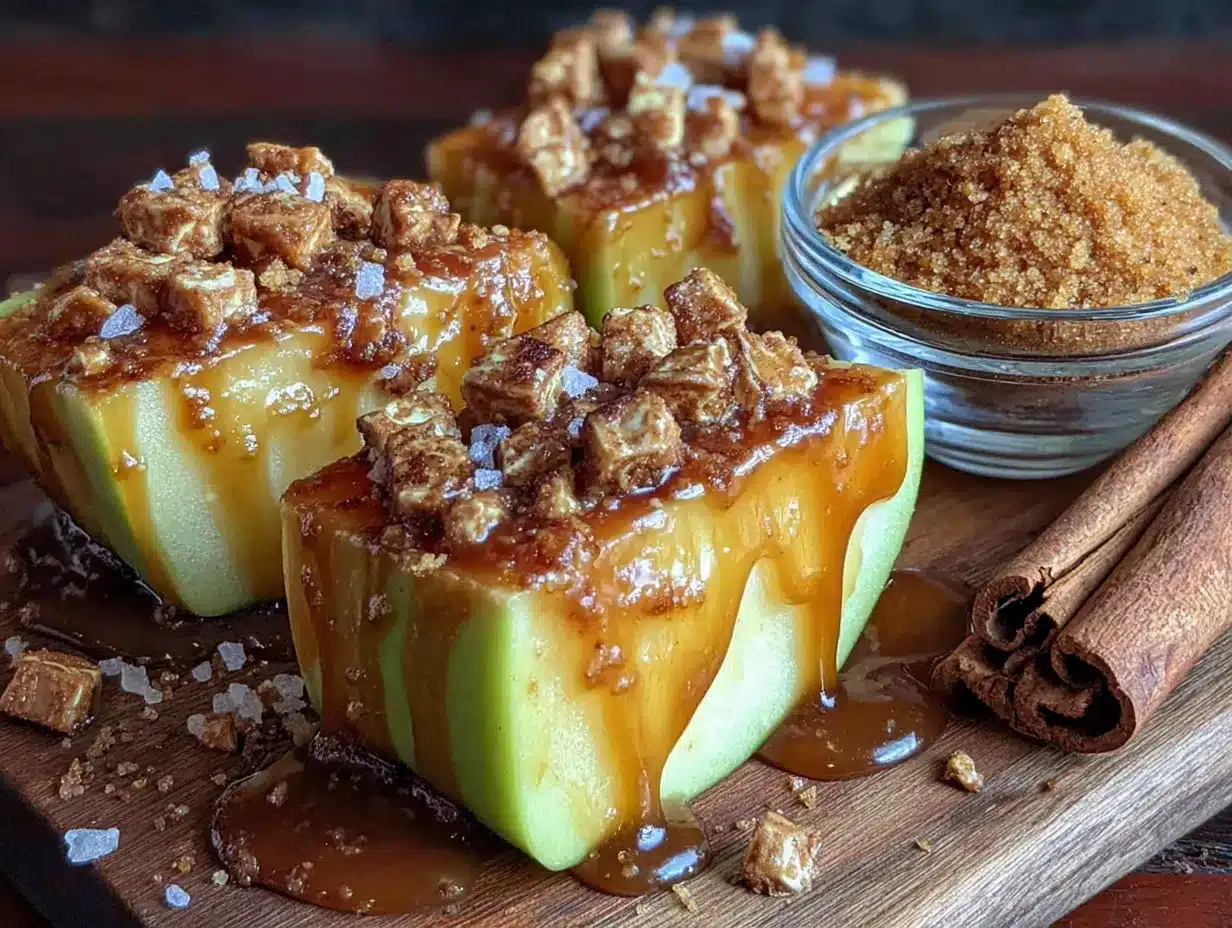
Alright, let’s make these slices. Take your time—caramel is patient work, and rushing is the fastest way to burn it. I’ve done that more times than I care to admit.
- Prep the Apples (5 minutes): Wash and dry your apples thoroughly. Any moisture on the surface will make the caramel slide right off. Core each apple, then slice them into rounds about 1/4-inch thick. You should get about 6-8 slices per apple, depending on size. Arrange them in a single layer on a parchment-lined platter. Don’t stack them—they’ll stick together.
- Start the Caramel (10 minutes): In your medium saucepan, melt the butter over medium heat. Once it’s fully melted, add the brown sugar and stir continuously until the sugar dissolves and the mixture looks like wet sand—about 2 minutes. You’ll see it start to bubble around the edges. That’s good.
- Add the Cream (3 minutes): Slowly pour in the heavy cream while stirring. The mixture will bubble up and steam—that’s normal. Keep stirring until everything is smooth and combined. Reduce the heat to low and let it simmer gently for 2-3 minutes. You want it to thicken slightly, but not too much. It should coat the back of your spoon.
- Finish the Caramel (1 minute): Remove the saucepan from the heat. Stir in the vanilla extract and the 1/4 teaspoon of salt. The caramel will look thin at this point, but it thickens as it cools. Let it sit for 2-3 minutes before you drizzle it over the apples.
- Assemble the Slices (5 minutes): Using a spoon or a small ladle, drizzle the warm caramel over each apple slice. Don’t drown them—you want a nice even coating, not a puddle. Work quickly while the caramel is still warm and pourable. If it starts to thicken too much, just warm it gently over low heat for a few seconds.
- Add the Toffee Bits (2 minutes): While the caramel is still tacky, sprinkle the toffee bits evenly over the slices. Press them in gently with your fingers so they stick. If you’re adding any optional garnishes like nuts or cinnamon, now’s the time.
- Let Them Set (10-15 minutes): Let the slices sit at room temperature until the caramel firms up slightly. This doesn’t take long—about 10 minutes. If you’re in a hurry, pop them in the fridge for 5 minutes. Just don’t leave them in there too long, or the apples might get weepy.
- Serve and Enjoy: Arrange the slices on a clean platter and serve right away. These are best within an hour of making them. The apples stay crisp, the caramel stays soft, and the toffee bits stay crunchy. Perfection.
A quick note: if your caramel separates or looks grainy, don’t panic. It usually means the heat was too high or the cream was too cold. You can sometimes fix it by whisking in a tablespoon of warm water or cream over low heat. It won’t be perfect, but it’ll still taste good.
Cooking Tips & Techniques
I’ve made this recipe more times than I can count, and I’ve messed it up plenty along the way. Here’s what I’ve learned so you don’t have to make the same mistakes.
Don’t walk away from the caramel. This is the number one rule. Caramel goes from perfect to burnt in about 30 seconds. Stay at the stove, keep stirring, and watch for color changes. You’re looking for a deep amber, not dark brown. If it smells nutty and sweet, you’re good. If it smells bitter, you’ve gone too far.
Use a candy thermometer if you have one. I know, I know—I said this recipe doesn’t need special equipment. But if you want consistent results, aim for 235°F (soft-ball stage) when you’re simmering the caramel. It takes the guesswork out. If you don’t have a thermometer, the cold water test works: drop a small amount of caramel into a bowl of cold water. If it forms a soft, pliable ball, it’s ready.
Slice your apples just before serving. Apples oxidize and turn brown once they’re cut. To slow this down, toss the slices in a little lemon juice mixed with water before you start. It adds a tiny bit of tartness that actually complements the caramel nicely. Just pat them dry before you add the caramel.
Work in batches if you’re making a big batch. If you’re serving a crowd, don’t try to caramelize all the apples at once. The caramel will cool and thicken, and you’ll end up with uneven coverage. Make the caramel, use it, and if you need more, make a second batch. It only takes 10 minutes.
Temperature matters more than you think. If the caramel is too hot when you drizzle it, it’ll run right off the apples. Too cold, and it’ll clump and be hard to spread. Let it cool for 2-3 minutes after you take it off the heat. It should be warm but not scorching—think hot maple syrup, not molten lava.
One last thing: I once tried to make these with pre-sliced apples from the store. Don’t do it. They’re already starting to dry out, and they won’t hold up to the warm caramel. Fresh apples, sliced by you, are non-negotiable. Trust me on this one.
Variations & Adaptations
This recipe is flexible, and I love that about it. Here are some ways to make it your own.
Dietary Variations: For a dairy-free version, use coconut oil or vegan butter in place of regular butter, and full-fat coconut cream instead of heavy cream. The caramel will have a slight coconut flavor, which pairs beautifully with the apples. For a lower-sugar option, use a sugar substitute like Swerve Brown, but note that the caramel might not set quite as firmly. It’ll still taste great.
Seasonal Twists: In the fall, add a teaspoon of pumpkin pie spice to the caramel for a warm, spiced flavor. In the summer, use fresh peaches or pears instead of apples—just make sure they’re firm so they don’t get mushy. In winter, swap the toffee bits for crushed candy canes and add a drop of peppermint extract to the caramel. It’s festive and fun.
Flavor Variations: Try adding a tablespoon of bourbon or dark rum to the caramel after you take it off the heat. It adds depth and a little adult warmth. Or stir in a teaspoon of instant espresso powder for a mocha twist. I once made a salted caramel version with extra flaky salt on top, and it was gone in five minutes.
Different Cooking Methods: If you have an air fryer, you can warm the apple slices for 2 minutes at 350°F before adding the caramel. It softens them slightly and makes the whole thing feel even cozier. Or, if you’re feeling fancy, broil the assembled slices for 1-2 minutes until the caramel bubbles. Watch them closely—they burn fast.
Allergen Substitutions: Nut-free? Skip the toffee bits or use crushed pretzels instead for crunch. Gluten-free? This recipe is naturally gluten-free as long as your toffee bits are certified gluten-free (most are, but check the label). Egg-free? You’re good—there are no eggs in this recipe.
My favorite variation? I add a pinch of cayenne pepper to the caramel. It sounds weird, I know, but the heat plays off the sweetness in a way that’s addictive. I made it for a Halloween party once, and people kept coming back for “just one more.” Give it a try if you’re feeling brave.
Serving & Storage Suggestions
These slices are best served at room temperature, about 10-15 minutes after you make them. The caramel is still soft, the apples are crisp, and the toffee bits haven’t gotten soggy. It’s the sweet spot.
For presentation, I like to arrange the slices in a circular pattern on a white platter, slightly overlapping like fallen leaves. A light dusting of cinnamon on top adds color and a little extra warmth. If I’m serving these at a party, I sometimes drizzle melted dark chocolate over everything and add a few more toffee bits on top. It looks fancy, but it takes two extra minutes.
These pair beautifully with a hot drink. Coffee, tea, or even a mug of warm cider all work. For a dessert spread, serve them alongside vanilla ice cream or a dollop of whipped cream. The cold creaminess against the warm caramel is a match made in heaven.
Storage: These are really best eaten fresh, but if you have leftovers, store them in an airtight container in the fridge for up to 2 days. The apples will soften slightly, and the caramel will harden. To bring them back to life, let them sit at room temperature for 15 minutes before serving. You can also microwave them for 10-15 seconds to soften the caramel again—just don’t overdo it, or the apples will get mushy.
Freezing: I don’t recommend freezing these. The apples release too much water when they thaw, and the caramel gets grainy. If you really want to save them, freeze the caramel separately (it keeps for up to 3 months) and make fresh apple slices when you’re ready to serve.
One thing I’ve noticed: the flavors actually get better after a few hours in the fridge. The caramel soaks into the apples just a little, and everything melds together. They’re different from fresh, but still delicious. Don’t throw them out just because they’re not perfect.
Nutritional Information & Benefits
Let’s be real—this is a dessert, and it’s meant to be enjoyed. But here’s the breakdown if you’re curious.
Estimated Nutritional Values (per serving, about 2-3 slices):
- Calories: 320
- Fat: 18g
- Carbohydrates: 42g
- Fiber: 4g
- Sugar: 35g
- Protein: 2g
(These are estimates and will vary based on the exact ingredients you use.)
Health Benefits: Apples are a good source of fiber and vitamin C. The fiber helps with digestion and keeps you feeling full, which is nice if you’re having this as an after-dinner treat. The butter and cream add fat, which helps your body absorb fat-soluble vitamins. And honestly? There’s a mental health benefit too. Taking 20 minutes to make something warm and sweet for yourself is a form of self-care. I stand by that.
Dietary Considerations: This recipe is naturally gluten-free and egg-free. It can be made dairy-free with the substitutions I mentioned earlier. If you’re watching your sugar intake, this is a treat, not an everyday snack. Enjoy it mindfully.
Potential Allergens: Dairy (butter, cream) and toffee bits (may contain soy and milk). Check your toffee bits for specific allergen info.
I’m not a nutritionist, and I don’t pretend to be one. But I do believe that food made with good ingredients and eaten with joy is good for you in ways that numbers can’t measure. So make these, share them, and don’t stress about the sugar. Life is short.
Conclusion
These Cozy Caramel Apple Slices with Toffee Bits are more than just a dessert. They’re a moment. A pause in your day. A reminder that something simple can be deeply satisfying. They came to me through a conversation with a neighbor and a tree I’d never noticed, and they’ve become a fall tradition in my kitchen ever since.
I hope you’ll make them your own. Maybe you’ll add cinnamon, or skip the toffee bits, or drizzle them with chocolate. Maybe you’ll serve them at a party or eat them alone on a quiet Tuesday night. However you do it, I hope they bring you the same warmth they’ve brought me.
If you try this recipe, I’d love to hear about it. Leave a comment below and tell me how it went—what apples you used, what variations you tried, or just how fast they disappeared. And if you share a photo on Pinterest, tag me so I can see your beautiful creation. Happy cooking, friend.
Frequently Asked Questions
Can I use a different type of apple?
Absolutely. Honeycrisp and Granny Smith are my favorites, but Fuji, Gala, or Pink Lady all work well. Just avoid Red Delicious—they’re too soft and mealy. The key is using firm apples that hold their shape when sliced.
My caramel turned out grainy. What went wrong?
Grainy caramel usually means the sugar crystallized. This can happen if you stirred too vigorously once the sugar started melting, or if the cream was too cold when you added it. To prevent this, use room-temperature cream and stir gently. If it happens anyway, whisk in a tablespoon of warm water and heat gently until smooth.
Can I make the caramel ahead of time?
Yes! Make the caramel up to 3 days in advance and store it in an airtight container in the fridge. When you’re ready to use it, warm it gently over low heat or in the microwave in 15-second intervals, stirring between each. Just don’t overheat it, or it might separate.
How do I keep the apples from turning brown?
Slice the apples and toss them in a bowl of water with a tablespoon of lemon juice. Let them sit for 2-3 minutes, then pat them dry with a paper towel before adding the caramel. The lemon juice slows down oxidation without changing the flavor too much.
Can I make these without toffee bits?
Of course. The toffee bits add crunch, but you can substitute crushed nuts (pecans or walnuts work great), a sprinkle of granola, or even a dusting of cocoa powder. Or just leave them off entirely—the caramel apples are delicious on their own.
Pin This Recipe!
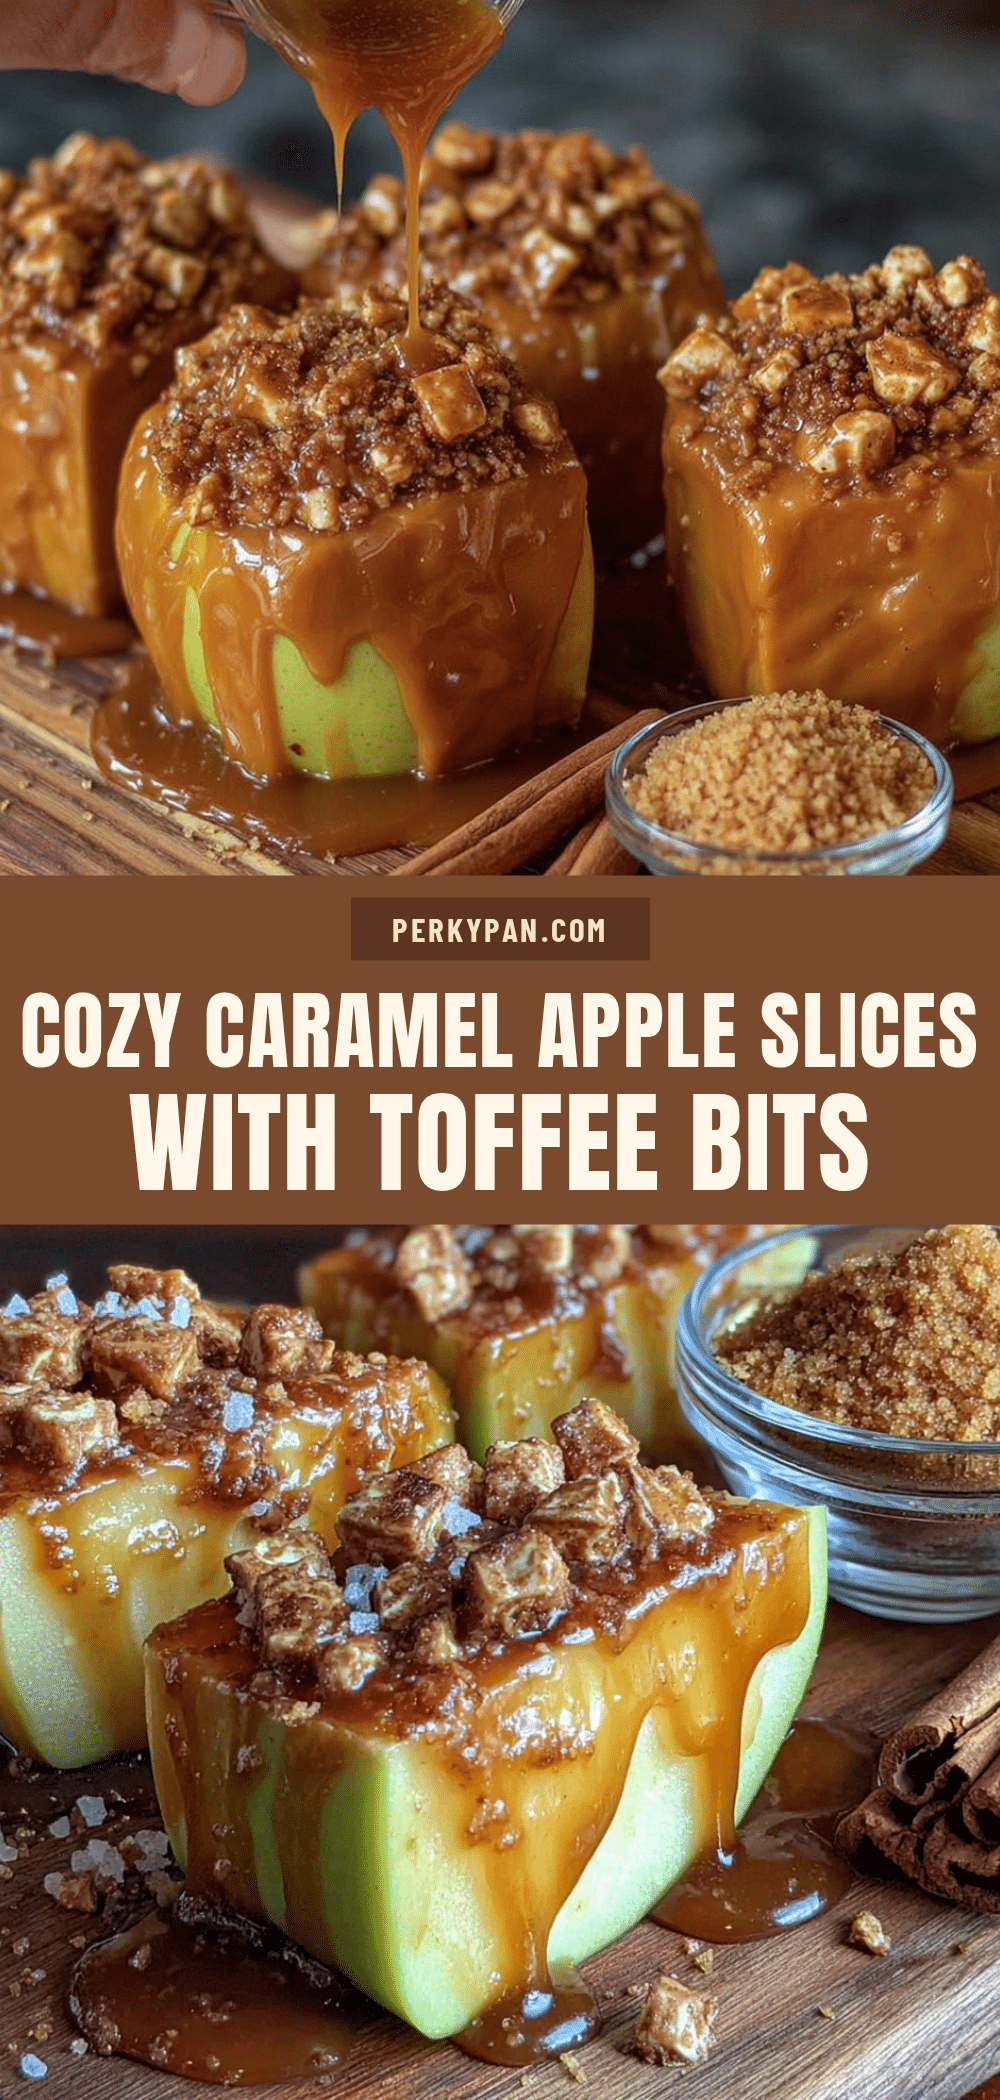
Cozy Caramel Apple Slices with Toffee Bits: Easy Fall Dessert

These Cozy Caramel Apple Slices with Toffee Bits are a quick and easy fall dessert featuring crisp apple slices topped with a homemade salted caramel and crunchy toffee bits. Perfect for cozy nights, they come together in about 20 minutes with simple ingredients.
- Prep Time: 5 minutes
- Cook Time: 10 minutes
- Total Time: 20 minutes
- Yield: 4 servings 1x
- Category: Dessert
- Cuisine: American
Ingredients
- 4 medium apples (Honeycrisp or Granny Smith recommended)
- 1/2 cup (1 stick) unsalted butter
- 1 cup packed brown sugar (light or dark)
- 1/2 cup heavy cream (room temperature)
- 1 teaspoon pure vanilla extract
- 1/4 teaspoon salt, plus a pinch for sprinkling
- 1/2 cup toffee bits (e.g., Heath toffee bits)
- Optional garnishes: chopped nuts (pecans or walnuts), melted chocolate, or cinnamon
Instructions
- Wash and dry apples thoroughly. Core each apple and slice into rounds about 1/4-inch thick (6-8 slices per apple). Arrange in a single layer on a parchment-lined platter.
- In a medium saucepan, melt butter over medium heat. Add brown sugar and stir continuously until sugar dissolves and mixture looks like wet sand, about 2 minutes.
- Slowly pour in heavy cream while stirring. The mixture will bubble and steam. Keep stirring until smooth and combined. Reduce heat to low and simmer gently for 2-3 minutes until slightly thickened.
- Remove saucepan from heat. Stir in vanilla extract and 1/4 teaspoon salt. Let caramel cool for 2-3 minutes.
- Drizzle warm caramel over each apple slice using a spoon or small ladle, working quickly while caramel is still warm.
- While caramel is still tacky, sprinkle toffee bits evenly over slices. Press gently to adhere. Add optional garnishes if desired.
- Let slices sit at room temperature for 10-15 minutes until caramel firms slightly. Alternatively, refrigerate for 5 minutes.
- Arrange on a clean platter and serve within an hour for best texture.
Notes
Use room-temperature cream to prevent caramel from seizing. Don’t walk away from the caramel as it can burn quickly. Slice apples just before serving to prevent browning; toss with lemon water if needed. For best results, use fresh, firm apples.
Nutrition
- Serving Size: 2-3 slices
- Calories: 320
- Sugar: 35
- Sodium: 150
- Fat: 18
- Saturated Fat: 11
- Carbohydrates: 42
- Fiber: 4
- Protein: 2
Keywords: caramel apple slices, easy fall dessert, toffee bits, quick dessert, no-bake dessert, apple recipe


