Love this? Save it for later!
Share the inspiration with your friends
My neighbor Sarah stopped by last Tuesday afternoon, right as I was pulling out cocoa powder, sugar, and a whisk. I was about to make chocolate pudding from scratch for a spring party I was hosting that weekend. She looked at my counter, then at me, and asked, “Why don’t you just use the boxed mix? It takes five minutes.”
I started to explain why that wouldn’t work — the texture, the flavor, the whole “homemade is better” thing I usually stand by. Then I stopped.
She was right.
Not about the boxed mix, exactly. But about the spirit of the whole thing. These weren’t supposed to be fancy. They were supposed to be fun. I was making chocolate dirt cups for a bunch of kids and adults who just wanted something nostalgic and delicious. I was overcomplicating it.
So I put the cocoa away, grabbed a box of instant chocolate pudding mix, and let me tell you — it was the best decision I made all week. The dirt cups came together in under twenty minutes, the kids at the party went absolutely wild for them, and I learned something important: sometimes the shortcut is actually the smarter path. Honestly, I think they tasted better than my scratch version, and I’m not ashamed to say it.
Maybe you’ve been there — planning something from scratch when a simpler version would do the job perfectly. That’s exactly what these easy chocolate dirt cups are about. They’re quick, they’re adorable, and they taste like the best parts of childhood. You’re going to love making them for your next spring gathering.
Why You’ll Love This Recipe
I’ve tested this recipe about six different ways — different pudding brands, different cookie-to-pudding ratios, different gummy worm placements. This version is the one that disappeared fastest every single time. Here’s why it works so well:
- Quick & Easy : You can have these assembled in under 15 minutes. No baking, no complicated steps, no stress. Perfect for when you need a dessert in a hurry.
- Simple Ingredients : Everything comes from a standard grocery store. No specialty items, no hunting down obscure ingredients. You probably have most of this already.
- Perfect for Spring Parties : These are made for Easter brunches, spring birthdays, garden parties, and potlucks. They look adorable on a dessert table and kids absolutely lose their minds over them.
- Crowd-Pleaser : I’ve served these to groups ranging from toddlers to grandparents. Every single age group loves them. There’s something about eating “dirt” that brings out the kid in everyone.
- Unbelievably Delicious : The combination of creamy chocolate pudding, crunchy cookie crumbs, and chewy gummy worms is pure comfort food magic. It’s simple, but it hits every single note perfectly.
What makes these different from every other dirt cup recipe? It’s the ratio. I spent a lot of time figuring out the perfect pudding-to-cookie balance. Too many crumbs and it’s dry. Too much pudding and it’s soupy. This version has a thick, creamy pudding layer with just enough crunchy topping to mimic real soil texture. It’s not just another version — it’s the version that works every single time.
These dirt cups are the kind of dessert that makes people smile before they even take a bite. They’re nostalgic without being childish, impressive without being fussy. Perfect for spring celebrations where you want something that looks like you tried hard but actually took almost no effort at all.
What Ingredients You Will Need
This recipe keeps things simple with basic ingredients that work together to create that classic dirt cup experience. Every component has a specific job, from the creamy pudding base to the crunchy “soil” topping.
For the Chocolate Pudding Layer
- 1 box (3.9 oz) instant chocolate pudding mix — I use Jell-O brand for consistent results, but any brand works. The instant kind is essential here; cook-and-serve pudding won’t set correctly for this recipe.
- 2 cups cold whole milk — Whole milk gives the creamiest texture. You can use 2% in a pinch, but avoid skim milk as the pudding won’t be as rich. For a dairy-free version, unsweetened oat milk works surprisingly well.
- 1/2 teaspoon vanilla extract — Optional but recommended. It rounds out the chocolate flavor and makes it taste more homemade.
For the “Dirt” Topping
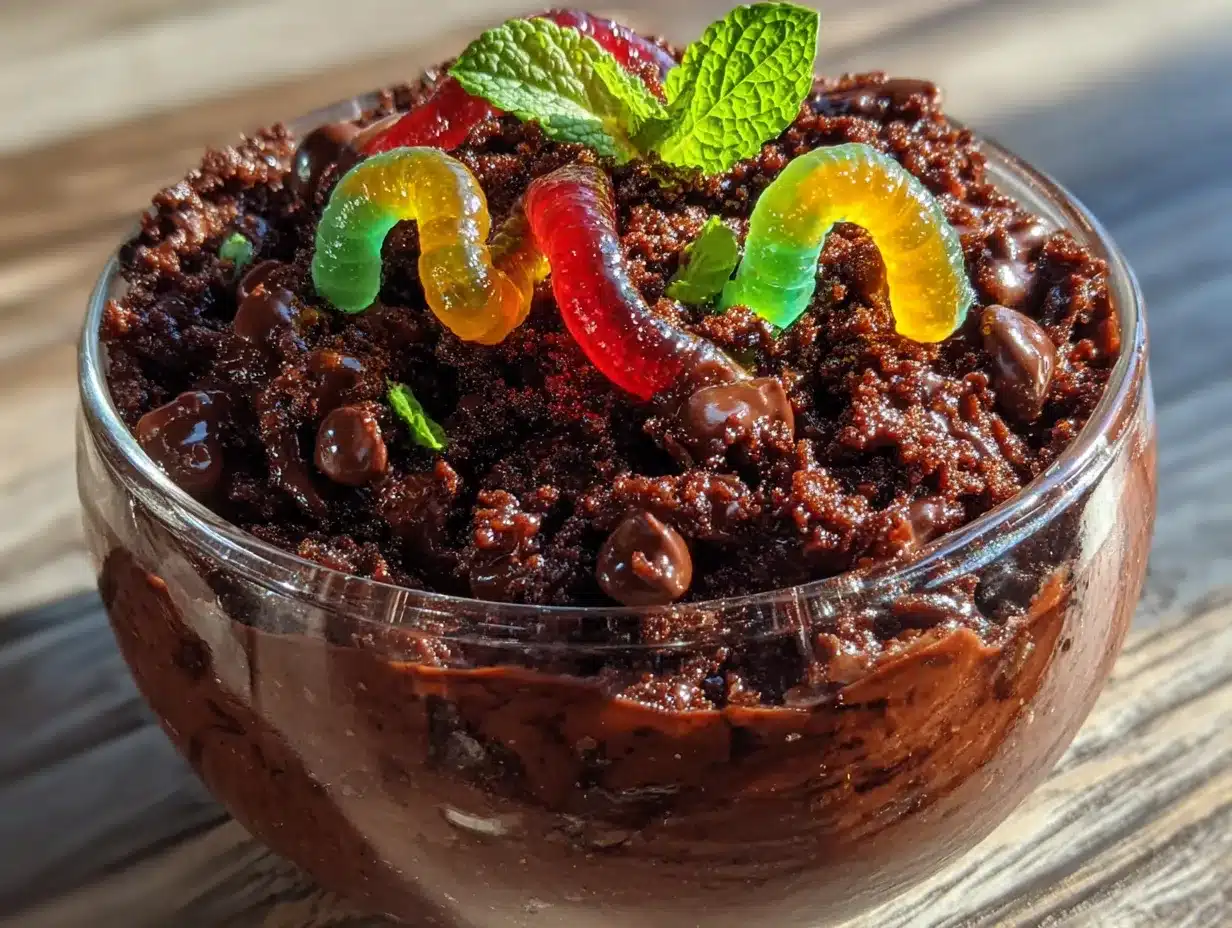
- 1 package (14.3 oz) chocolate sandwich cookies — Oreos are the classic choice, and I recommend regular ones rather than double-stuf. The filling-to-cookie ratio matters here. You need the dark cookie crumbs to look like soil.
- 2 tablespoons melted butter — This helps the cookie crumbs hold together slightly and adds richness. Unsalted butter works best so you can control the salt level.
For the Decorations
- 1 cup gummy worms — The classic dirt cup topping. I prefer the sour ones for a tangy contrast to the sweet pudding, but regular works fine too.
- Optional decorations: Small edible flowers, green sprinkles for “grass,” or mini chocolate eggs for spring-themed variations.
Ingredient Selection Tips: When choosing your pudding mix, look for boxes that aren’t expired — expired pudding won’t set properly. For the cookies, check that they’re not stale. Fresh cookies crush into finer, more soil-like crumbs. I’ve found that store-brand sandwich cookies work just as well as name brand, so don’t feel pressured to buy Oreos specifically.
Substitution Guidance: If you need a gluten-free version, use gluten-free chocolate sandwich cookies and ensure your pudding mix is certified gluten-free. For a lower-sugar option, use sugar-free pudding mix and reduce the butter. The texture will be slightly different but still delicious.
Equipment Needed
The beauty of this recipe is that you don’t need much. Here’s what you’ll need to gather:
- Large mixing bowl — For whisking the pudding. Any size works, but a 2-quart bowl gives you enough room to whisk without splashing.
- Whisk — A wire whisk works best for incorporating the pudding mix into the milk without lumps. A fork will work in a pinch but takes longer.
- Food processor or resealable plastic bag — For crushing the cookies. A food processor gives you the finest, most uniform crumbs. If you don’t have one, place the cookies in a zip-top bag and crush them with a rolling pin. I’ve done it both ways, and honestly, the bag method is more satisfying. There’s something cathartic about smashing cookies.
- Small bowl — For mixing the cookie crumbs with melted butter.
- 6 to 8 small cups or containers — Clear plastic cups let you see the layers, which is half the fun. Small mason jars, disposable party cups, or even small flower pots (lined with plastic wrap) all work beautifully. I love using 8-ounce clear plastic cups for parties because they’re inexpensive and show off the dirt effect perfectly.
- Measuring cups and spoons — For accurate measurements.
- Spatula — For scraping every last bit of pudding into the cups. Trust me, you don’t want to waste any.
Budget-Friendly Tip: You don’t need to buy special cups. Reuse small yogurt containers, wash out old jam jars, or use paper cups from your pantry. The dirt cups taste the same regardless of what they’re served in.
Preparation Method
Let me walk you through this step by step. I’ve made these so many times that I’ve got the timing down to a science. Follow these steps and you’ll have perfect dirt cups every time.
- Crush the cookies. Place all the chocolate sandwich cookies in your food processor and pulse until they become fine crumbs. If using the bag method, put the cookies in a large zip-top bag, squeeze out the air, and crush them with a rolling pin until you have a mix of fine crumbs and small pebbly pieces. You want some texture variation — it looks more like real soil that way. Set the crumbs aside in a small bowl.
- Mix the cookie crumbs with butter. Pour the melted butter over the crushed cookies and stir with a fork until all the crumbs are evenly moistened. The butter helps the crumbs hold together slightly and adds a richness that makes the “dirt” taste better. Set this mixture aside while you make the pudding.
- Make the pudding. Pour the cold milk into your large mixing bowl. Add the instant chocolate pudding mix and vanilla extract. Whisk vigorously for about 2 minutes, until the pudding starts to thicken. You’ll feel it getting heavier as you whisk. The mixture should be smooth with no lumps. If you see any dry pockets of powder, keep whisking until they dissolve.
- Let the pudding set. Let the pudding sit for about 5 minutes to fully thicken. It should be thick enough to hold its shape when you scoop it. If it’s still runny after 5 minutes, it might need more time. Instant pudding typically sets quickly, but cold temperatures help. Pop it in the fridge for an extra 2-3 minutes if needed.
- Assemble the dirt cups. Spoon the pudding into your cups, filling each about two-thirds full. Leave room for the topping. A cookie scoop or ice cream scoop works great for even portions. Tap each cup gently on the counter to settle the pudding and remove any air bubbles.
- Add the “dirt” layer. Sprinkle the buttered cookie crumbs generously over the pudding layer. You want a thick enough layer that you can’t see the pudding underneath — about 2 to 3 tablespoons per cup. Press down gently with the back of a spoon to help the crumbs stick to the pudding.
- Decorate with gummy worms. Place 2 to 3 gummy worms on top of each dirt cup, positioning some to look like they’re crawling out of the “dirt.” For the best effect, push one end of a worm slightly into the cookie crumbs so it looks like it’s emerging from the soil.
- Chill before serving. Refrigerate the assembled dirt cups for at least 30 minutes before serving. This helps the flavors meld and gives the cookie crumbs time to soften slightly against the pudding. They’re good immediately, but they’re even better after a short chill.
Preparation Note: If you’re making these for a party, you can prepare everything a day ahead. Just keep the cookie crumbs and pudding separate until you’re ready to serve. Assemble them an hour before the party starts for the best texture.
Sensory Cue: When you whisk the pudding, listen for the sound to change. It starts with a liquid splash, then becomes a thicker, slower sound as the pudding sets. When it feels heavy in the bowl and leaves a trail on the surface when you lift the whisk, it’s ready.
Cooking Tips & Techniques
I’ve learned a few things the hard way so you don’t have to. Here are my best tips for perfect dirt cups every time:
Don’t overmix the pudding. I made this mistake my first time. I whisked the pudding for almost 5 minutes because I wanted it extra smooth. Instead, it became too thick and almost gluey. Two minutes of vigorous whisking is all you need. Stop as soon as it starts to thicken.
Keep everything cold. Cold milk helps the pudding set faster and firmer. If your milk is room temperature, the pudding will take longer to thicken and might end up runny. I keep my milk in the fridge until the last minute.
Crush cookies in batches. If you’re using the bag method, don’t try to crush all the cookies at once. Work in batches of 5-6 cookies. It’s easier on your arms and gives you more control over the crumb size. I learned this after my first bag split open and sent cookie dust everywhere.
Layer strategically. For the most visually appealing dirt cups, make sure your pudding layer is smooth and level before adding the crumbs. Use the back of a spoon to create an even surface. This makes the “dirt” layer look more realistic.
Timing is everything. The cookie crumbs will start to soften as they sit on the pudding. If you’re serving these at a party, assemble them no more than 2 hours ahead. Any longer and the crumbs become soggy and lose that satisfying crunch. The pudding itself can be made a day in advance and stored in the fridge.
One more thing: I always make extra cookie crumbs. They’re great for snacking, and having a backup means you can add a little more “dirt” to each cup if needed. I’ve never regretted making too many crumbs, but I’ve definitely regretted not making enough.
Variations & Adaptations
This recipe is incredibly flexible. Here are some ways I’ve adapted it for different occasions and dietary needs:
Dairy-Free Version
Use unsweetened oat milk or coconut milk in place of whole milk. The pudding will be slightly less creamy but still delicious. Use a dairy-free butter alternative for the cookie crumbs. I’ve tested this with oat milk and it worked beautifully — just let the pudding set a few minutes longer.
Gluten-Free Version
Swap the regular chocolate sandwich cookies for gluten-free ones. Most major brands now offer gluten-free versions. Check the pudding mix label to ensure it’s certified gluten-free. This version tastes identical to the original.
Spring Flower Garden Variation
Instead of gummy worms, top the dirt cups with small edible flowers like pansies or violets. Add green-tinted coconut flakes on top to look like grass. I made these for a baby shower and they were absolutely gorgeous. Just make sure any flowers you use are food-safe and pesticide-free.
Chocolate Peanut Butter Twist
Add a layer of peanut butter between the pudding and the cookie crumbs. Warm 1/4 cup of peanut butter in the microwave for 15 seconds, then drizzle it over the pudding before adding the crumbs. The combination is incredible.
Mint Chocolate Version
Use mint chocolate sandwich cookies instead of regular ones, and add 1/4 teaspoon peppermint extract to the pudding. Top with a small sprig of fresh mint. This is perfect for St. Patrick’s Day or any spring celebration.
Personal Variation I Love: I once made these with crushed graham crackers instead of chocolate cookies for a “beach” themed party. I called them “sand cups” and used gummy fish instead of worms. The kids went crazy for them. Don’t be afraid to get creative with the theme.
Serving & Storage Suggestions
How to Serve: These dirt cups are best served chilled, straight from the refrigerator. The cold pudding contrasts beautifully with the crunchy cookie topping. If you’re serving them at a party, arrange them on a tray with the gummy worms peeking out — it makes for a fun presentation that guests will love.
What to Serve With: These pair wonderfully with fresh fruit like strawberries or raspberries, which cut through the sweetness. A glass of cold milk is the classic beverage pairing. For adult gatherings, they go surprisingly well with a cup of coffee or a chocolate stout.
Storage Instructions: Store assembled dirt cups in the refrigerator, covered with plastic wrap or a lid, for up to 3 days. The cookie crumbs will soften over time, so they’re best within the first 24 hours. If you want to keep them longer, store the pudding and cookie crumbs separately and assemble just before serving.
Freezer Instructions: You can freeze the pudding layer on its own for up to a month. Thaw in the refrigerator overnight, then add fresh cookie crumbs and gummy worms before serving. The texture of the pudding remains excellent after freezing.
How Flavors Develop: The pudding actually tastes better after a few hours in the fridge. The flavors meld together and become richer. If you can, make the pudding the night before and assemble the cups the next day. The difference is subtle but noticeable.
Nutritional Information & Benefits
While these dirt cups are definitely a treat, here’s what you should know about their nutritional profile. Values are approximate and based on one serving (using 8 servings per recipe):
- Calories: Approximately 320-350 per serving
- Fat: 14-16g (mostly from butter and cookie filling)
- Carbohydrates: 48-52g
- Protein: 5-6g
- Sugar: 32-36g
- Calcium: 10% of daily value (from milk)
Health Benefits: The milk in the pudding provides calcium and vitamin D, which are important for bone health. Dark chocolate sandwich cookies contain small amounts of antioxidants. The gummy worms are mostly sugar, but they do make people smile, which has its own health benefits.
Dietary Considerations: This recipe contains dairy and gluten. It can be adapted for dairy-free and gluten-free diets as noted in the variations section. It is not suitable for vegan diets due to the milk and butter, though vegan alternatives exist.
My Perspective: I believe in balance. These dirt cups are a celebration dessert, not an everyday snack. They’re meant to be enjoyed at parties and special occasions. I don’t stress about the sugar content when I’m making them for a spring gathering. Life is about moments like these — sharing something fun and delicious with people you love.
Conclusion
These easy chocolate dirt cups are everything I want in a spring party dessert. They’re quick to make, use simple ingredients, and bring genuine joy to everyone who eats them. I love how they make people of all ages light up when they see them on the dessert table.
What I love most about this recipe is how customizable it is. You can dress them up for a fancy garden party or keep them casual for a kids’ birthday. They work for Easter, spring brunches, Mother’s Day, or just a random Tuesday when you want something fun.
I hope you make these for your next spring gathering. And when you do, I’d love to hear about it. Did your kids help crush the cookies? Did your guests fight over the gummy worms? Did you come up with a creative variation I haven’t tried?
Leave a comment below and share your dirt cup story. And if you snap a photo, tag me on social media — I love seeing how these turn out in other people’s kitchens. Happy spring, and happy eating!
Frequently Asked Questions
Can I make chocolate dirt cups ahead of time?
Yes, you can make them up to 24 hours in advance. However, for the best texture, store the pudding and cookie crumbs separately and assemble them about an hour before serving. The crumbs will stay crunchier that way.
Can I use homemade chocolate pudding instead of instant?
You can, but the texture will be different. Homemade pudding is usually thinner than instant pudding, so it won’t hold its shape as well in the cups. If you prefer homemade, cook it until it’s very thick and let it cool completely before assembling.
What if I don’t have gummy worms?
No problem! You can use any gummy candy, chocolate eggs, or even fresh berries as a topping. Gummy frogs, gummy bears, or chocolate-covered raisins all work great. The worms are traditional, but they’re not required.
How do I crush cookies without a food processor?
Place the cookies in a large zip-top bag, squeeze out the air, and crush them with a rolling pin, heavy pan, or even your hands. You can also place them in a bowl and crush them with the bottom of a glass. It takes a little more effort, but it works perfectly.
Can I make these in flower pots for a garden theme?
Absolutely! Use clean, small flower pots lined with plastic wrap or small plastic liners. Fill them with the pudding and cookie crumbs, then add a small silk flower or a mint sprig on top. They make adorable party favors for spring gatherings.
Pin This Recipe!
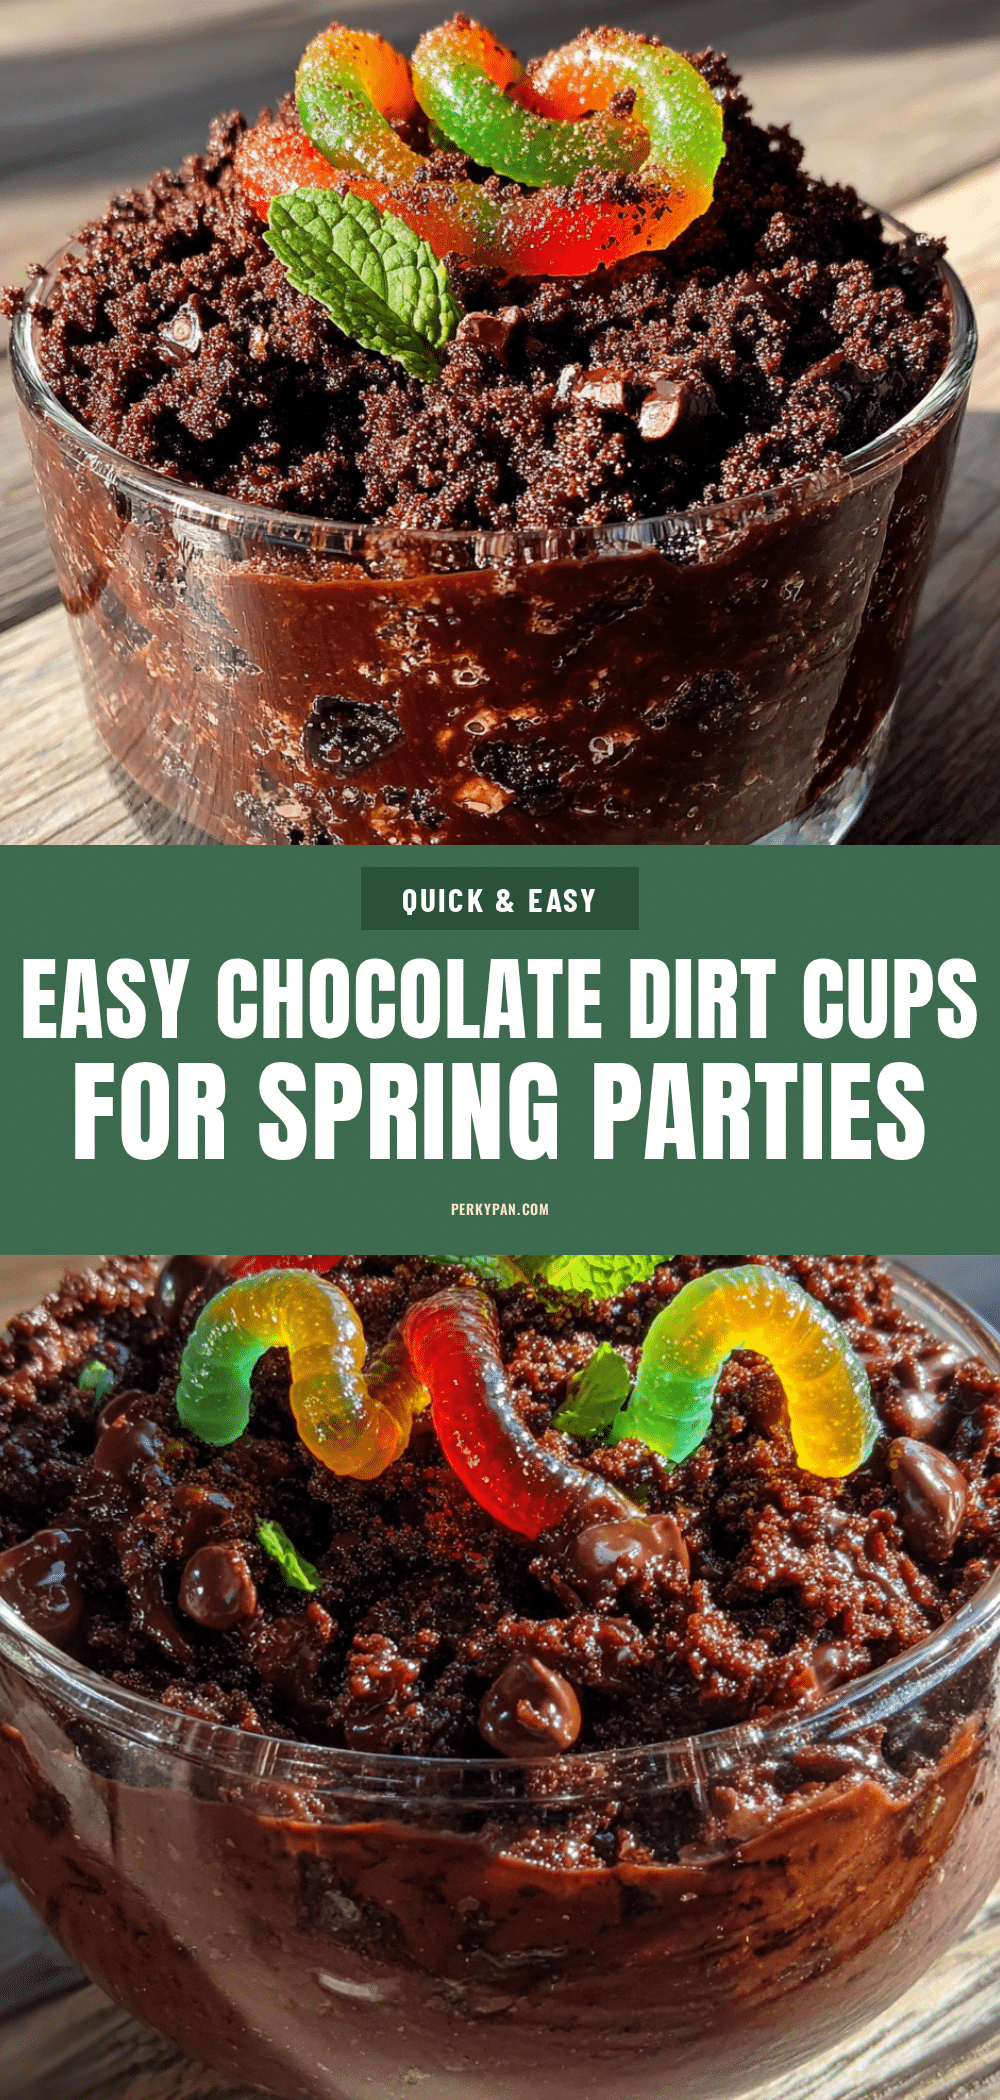
Best Easy Chocolate Dirt Cups for Spring Parties
These easy chocolate dirt cups come together in under 20 minutes using instant pudding and crushed cookies. They’re a nostalgic, crowd-pleasing dessert perfect for spring parties, Easter, and any celebration where you want something fun and delicious.
- Prep Time: 15 minutes
- Cook Time: 0 minutes
- Total Time: 45 minutes (includes chilling time)
- Yield: 6 to 8 servings 1x
- Category: Dessert
- Cuisine: American
Ingredients
- 1 box (3.9 oz) instant chocolate pudding mix
- 2 cups cold whole milk
- 1/2 teaspoon vanilla extract
- 1 package (14.3 oz) chocolate sandwich cookies (e.g., Oreos)
- 2 tablespoons melted unsalted butter
- 1 cup gummy worms
- Optional: small edible flowers, green sprinkles, mini chocolate eggs
Instructions
- Crush the cookies: Place all chocolate sandwich cookies in a food processor and pulse until fine crumbs form. Alternatively, place cookies in a large zip-top bag and crush with a rolling pin until you have a mix of fine crumbs and small pebbly pieces. Set aside.
- Mix the cookie crumbs with butter: Pour melted butter over crushed cookies and stir with a fork until evenly moistened. Set aside.
- Make the pudding: Pour cold milk into a large mixing bowl. Add instant chocolate pudding mix and vanilla extract. Whisk vigorously for about 2 minutes until the pudding starts to thicken and is smooth with no lumps.
- Let the pudding set: Let the pudding sit for about 5 minutes to fully thicken. It should be thick enough to hold its shape when scooped.
- Assemble the dirt cups: Spoon pudding into 6 to 8 small cups, filling each about two-thirds full. Tap cups gently on the counter to settle the pudding and remove air bubbles.
- Add the ‘dirt’ layer: Sprinkle buttered cookie crumbs generously over the pudding layer (about 2 to 3 tablespoons per cup). Press down gently with the back of a spoon to help crumbs stick.
- Decorate with gummy worms: Place 2 to 3 gummy worms on top of each dirt cup, positioning some to look like they’re crawling out of the ‘dirt’.
- Chill before serving: Refrigerate assembled dirt cups for at least 30 minutes before serving. They can be made up to 24 hours ahead, but for best texture, store pudding and crumbs separately and assemble an hour before serving.
Notes
For best results, use cold whole milk and instant pudding mix (not cook-and-serve). The cookie crumbs will soften over time, so assemble no more than 2 hours ahead for maximum crunch. For a dairy-free version, use unsweetened oat milk and dairy-free butter. For gluten-free, use gluten-free chocolate sandwich cookies and certified gluten-free pudding mix. Extra cookie crumbs are great for snacking or adding more ‘dirt’ to each cup.
Nutrition
- Serving Size: 1 dirt cup
- Calories: 320350
- Sugar: 3236
- Sodium: 350400
- Fat: 1416
- Saturated Fat: 79
- Carbohydrates: 4852
- Fiber: 12
- Protein: 56
Keywords: chocolate dirt cups, easy dessert, spring party dessert, no-bake dessert, kids dessert, Easter dessert, chocolate pudding cups, gummy worms


