Love this? Save it for later!
Share the inspiration with your friends
It was 10:47 PM on a rainy Thursday in late September, and I had a very specific craving for something crunchy, something sweet, and something salty all at once. I didn’t have the energy for a full dinner spread or the patience for a complicated recipe, but I had a half-eaten bag of pretzels, some apples that were about to turn, and a wedge of cheddar that my neighbor Karen had brought back from her trip to Wisconsin. That night, standing in my kitchen in my pajamas, I started pulling things out of the fridge and pantry without really thinking. A handful of dried cranberries here, some leftover pecans there, and before I knew it, I had arranged the most beautiful little snack board on a cutting board I’d forgotten I owned.
The funny thing is, I wasn’t trying to make anything special. I was just hungry and a little tired of the same old sandwich routine. But something about the late hour and the quiet house made me braver with my food choices. I sliced the apples thin, fanned them out next to the cheese, and added a little pile of honey I’d been saving from the farmer’s market. My husband walked in around 11:15, saw the board, and just stood there staring. “What is this?” he asked. “I don’t know,” I said. “A fall snack situation?” We ate the whole thing standing up at the kitchen counter, and I remember thinking—this is the kind of meal I want to make for my kids when they’re older. Simple, pretty, and totally satisfying.
Maybe you’ve been there—standing in your kitchen at an odd hour, craving something that feels like a treat but doesn’t require a trip to the store. That’s where this Family-Friendly Fall Harvest Charcuterie Board comes in. It’s not fancy or fussy, but honestly, it’s the kind of thing that makes a regular Tuesday feel like a mini celebration. I’ve been making versions of this board for family dinners, school-night snacks, and even casual get-togethers, and it never fails to bring everyone to the table. Let me tell you—this one’s a keeper.
Why You’ll Love This Recipe
This Family-Friendly Fall Harvest Charcuterie Board is the kind of recipe that makes you look like you put in way more effort than you actually did. I’ve tested this board at least a dozen times—for my own family, for neighbors, for a potluck at my son’s school—and every single time, people ask for the “recipe.” The secret? There isn’t one. It’s all about smart choices and a little bit of arrangement know-how.
- Quick & Easy: Comes together in under 15 minutes, perfect for busy weeknights or last-minute cravings. No cooking required—just slicing and arranging.
- Simple Ingredients: No fancy grocery trips needed. Most of these items—like apples, cheese, crackers, and nuts—are probably already in your kitchen or easy to grab on a quick run.
- Perfect for Family Meals: Great for after-school snacks, casual Friday dinners, or even a fun weekend lunch. Kids love building their own little plates.
- Crowd-Pleaser: Always gets rave reviews from kids and adults alike. The mix of textures and flavors means there’s something for everyone—even picky eaters.
- Unbelievably Delicious: The combination of sweet apples, salty cheese, crunchy nuts, and a drizzle of honey is next-level comfort food. It’s the kind of board that makes you close your eyes after the first bite.
What makes this board different from the rest? It’s designed with families in mind. Instead of expensive cured meats and obscure cheeses, I use affordable, kid-friendly ingredients that still feel special. The trick is in the arrangement—grouping items by color and texture so the board looks stunning without costing a fortune. This isn’t just another charcuterie board; it’s your best version for real life, real budgets, and real appetites.
This recipe is the kind that makes you feel proud without the stress. It’s comfort food reimagined—faster, simpler, but with the same soul-soothing satisfaction. Perfect for impressing guests without breaking the bank, or turning a simple family meal into something memorable.
What Ingredients You Will Need
This recipe uses simple, wholesome ingredients to deliver bold flavor and satisfying texture without the fuss. Most of these are pantry staples or easy seasonal finds, and I’ve included substitution ideas so you can make it work with whatever you have on hand.
- Apples: 2 medium (Honeycrisp or Fuji work great), sliced thin (adds sweetness and crunch)
- Cheddar cheese: 8 ounces, cut into cubes or slices (I recommend Cabot or a local sharp cheddar for best flavor)
- Gouda cheese: 4 ounces, sliced (smoked gouda adds a lovely fall touch; use cheddar if gouda isn’t available)
- Salami: 4 ounces, thinly sliced (optional—omit for a vegetarian board or swap with turkey pepperoni for a lighter option)
- Pretzels: 1 cup mini pretzels (adds salt and crunch; use gluten-free pretzels if needed)
- Crackers: 1 cup of your favorite (I like buttery rounds or whole wheat table crackers)
- Dried cranberries: ½ cup (adds tartness and a pop of color; swap with dried cherries or raisins)
- Pecans: ½ cup, toasted (adds warmth and crunch; use walnuts or almonds if preferred)
- Honey: 2 tablespoons, for drizzling (adds sweetness; use maple syrup for a vegan option)
- Fresh figs: 4-5, halved (seasonal and gorgeous; substitute with sliced pears or grapes)
- Rosemary sprigs: A few for garnish (optional but adds a beautiful fall touch)
When selecting apples, look for firm ones without bruises—they hold up better on the board and look prettier. For the cheese, I’ve found that block cheese you cut yourself tastes fresher than pre-shredded or pre-sliced options. If you’re on a budget, stick with one cheese instead of two and double up on the fruit. The dried cranberries from the bulk bin at my local grocery store are way cheaper than the brand-name bags, and they taste just as good.
For a dairy-free version, swap the cheeses with your favorite plant-based alternatives—I’ve used Miyoko’s smoked farmhouse cheese with great results. And if you’re feeding a crowd, feel free to double everything. This board is forgiving, so don’t stress about exact amounts.
Equipment Needed
You don’t need much to pull this board together, which is part of its charm. Here’s what I use every time:
- Large cutting board or wooden board: About 12×18 inches works well. A baking sheet lined with parchment paper works in a pinch—I’ve done it more times than I’d like to admit.
- Sharp knife: For slicing apples and cheese. A serrated knife works great for apples, but any sharp knife will do.
- Small bowls or ramekins: For the honey, dried cranberries, and any other loose items. I use little ceramic ones from the thrift store.
- Cheese knife or spreader: Optional but nice if you’re serving soft cheeses. Not strictly necessary for this board.
- Napkins or small plates: For serving. I always forget these and end up using paper towels—don’t be like me.
If you don’t have a wooden board, a large white platter or even a clean pizza pan works beautifully. The key is having enough surface area to spread things out so everything is visible and easy to grab. I picked up my favorite board at a garage sale for three dollars, and it’s served me through countless family dinners.
Preparation Method
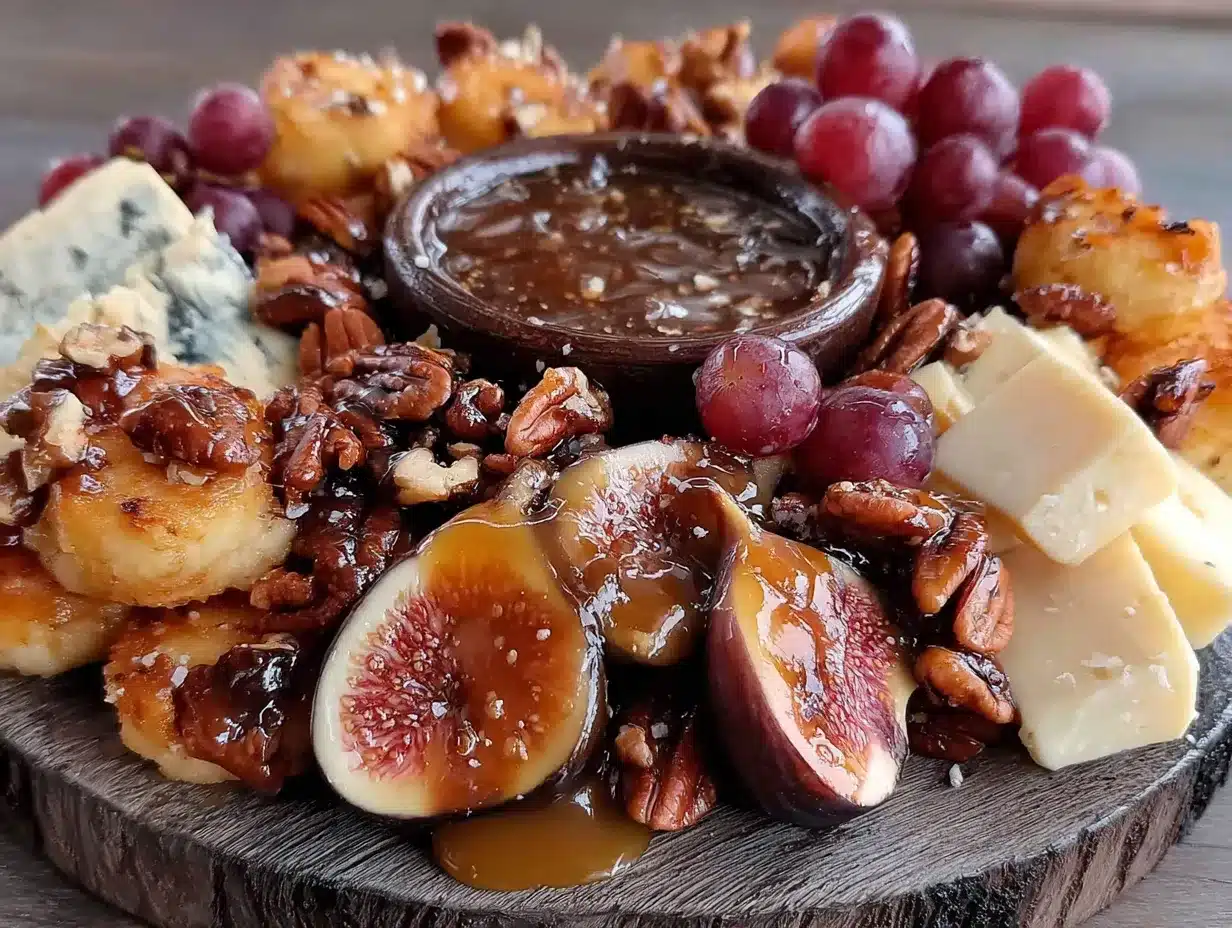
This board comes together in about 15 minutes flat, and there’s no right or wrong way to arrange it. But after making this dozens of times, I’ve found a method that makes it look like a million bucks with minimal effort.
- Start with your board: Place your cutting board or platter on a clean, flat surface. Give it a quick wipe if needed. I like to put a piece of parchment paper underneath for easy cleanup, especially with kids.
- Place your bowls first: Set out your small bowls or ramekins for items that might roll around—like the dried cranberries and honey. Position them at opposite ends or corners of the board for balance. This step is important because it defines the layout before you start filling in.
- Add the cheese: Arrange your cheddar cubes and gouda slices in clusters around the board. Don’t line them up perfectly—let them feel a little organic. I usually place them in two or three spots so people don’t have to reach too far. For the cheddar, I like to leave a few cubes stacked and a few scattered.
- Layer the fruit: Fan out your apple slices in a neat row near one edge of the board. Place the fig halves in a cluster next to the cheese. The apples will start to brown a little after about 30 minutes, so if you’re making this ahead, toss them in a little lemon juice first. I’ve forgotten this step plenty of times, and honestly, nobody has ever complained.
- Add the meats (if using): Fold the salami slices into quarters or roll them into little cylinders and tuck them near the cheese. This adds height and texture. If you’re skipping the meat, just add extra cheese or another fruit like grapes.
- Fill in with crunch: Scatter the pretzels and crackers in the empty spaces around the board. Don’t pile them all in one spot—spread them out so there’s something crunchy near every cheese cluster. I like to leave a few pretzels whole and break a few in half for variety.
- Add the nuts and dried fruit: Sprinkle the pecans and dried cranberries over the board, filling in any gaps. This is where the board starts to look really full and inviting. Don’t be shy—use your hands to distribute them evenly.
- Drizzle and garnish: Drizzle the honey over the cheese and apple slices in a zigzag pattern. Place a few rosemary sprigs around the board for color and a subtle herbal scent. This step is optional but makes the board look like it belongs on a magazine cover.
- Final check: Step back and look at your board. Are there any big empty spots? Fill them with extra crackers or a few more apple slices. The goal is to make it look abundant, not crowded. Trust your eyes—if it looks good to you, it’s perfect.
Your board is ready to serve. Place it in the center of the table and let everyone dig in. I’ve found that kids especially love the “build your own plate” aspect—it makes dinner feel like an adventure.
Cooking Tips & Techniques
Over the years, I’ve learned a few things the hard way so you don’t have to. Here are my best tips for making this Family-Friendly Fall Harvest Charcuterie Board a success every time.
Room temperature cheese is better: Take your cheese out of the fridge about 20 minutes before you start assembling. Cold cheese doesn’t have as much flavor, and it’s harder to slice without crumbling. I learned this after serving a board where the cheddar was so cold it squeaked against my teeth—not ideal.
Slice apples right before serving: Apples start browning as soon as they’re cut. If you’re prepping ahead, slice them and toss with a little lemon juice or orange juice. I’ve also used Sprite in a pinch—don’t judge me, it works. Just pat them dry before adding to the board.
Don’t overthink the arrangement: The first few times I made charcuterie boards, I spent way too long trying to make everything symmetrical. Boards look better when they feel a little wild. Group similar items together, but let them overlap and mingle. Nature doesn’t arrange things perfectly, and neither should you.
Think about color contrast: Fall harvest boards are gorgeous because of the warm colors—red apples, orange cheddar, brown pretzels, green rosemary. If your board feels flat, add something bright like a handful of pomegranate seeds or a few slices of persimmon. I once added a few yellow pear tomatoes just for color, and they were the first thing to disappear.
Make it interactive for kids: Let younger children help arrange the board—they love placing the pretzels and berries. It makes them more excited to eat what they’ve helped create. My four-year-old nephew still talks about the “snack board” he made last Thanksgiving.
Variations & Adaptations
This board is endlessly adaptable, which is why I keep coming back to it. Here are some of my favorite variations:
Vegetarian version: Skip the salami and add more cheese or roasted chickpeas for protein. I’ve also added marinated artichoke hearts and roasted red peppers for extra flavor. My sister-in-law is vegetarian, and she always requests this version.
Gluten-free option: Use gluten-free crackers and pretzels. Most nuts and dried fruits are naturally gluten-free, so this swap is easy. I’ve used Simple Mills almond flour crackers with great results.
Seasonal swap: In the fall, use apples and figs. In winter, swap in sliced pears and pomegranate arils. In spring, add fresh strawberries and asparagus spears. In summer, use peaches and cherries. The board changes with the seasons, which keeps it exciting.
Sweet tooth version: Add a small bowl of dark chocolate chips or chocolate-covered almonds. Drizzle the apple slices with caramel sauce instead of honey. My kids beg for this version every time.
Savory upgrade: Add a small dish of olive tapenade or fig jam. These spreads add a sophisticated touch without much effort. I once added a spoonful of hot honey, and it was a game-changer.
One time, I made this board for a neighbor who had just had a baby, and I swapped the pecans for sunflower seeds because of a nut allergy. It was still delicious, and she texted me the next day asking for the “recipe.” That’s when I realized this board is less about specific ingredients and more about the method—and the method works with almost anything.
Serving & Storage Suggestions
This board is best served at room temperature, so let it sit out for about 10 minutes after assembling before serving. The cheese softens slightly, the honey flows, and everything just tastes better.
What to serve alongside: This board is a meal on its own, but it pairs beautifully with a simple green salad or a bowl of butternut squash soup. For drinks, apple cider or a crisp white wine like Sauvignon Blanc works wonderfully. My family loves it with sparkling water and a splash of cranberry juice.
Storage instructions: If you have leftovers (which is rare in my house), store components separately. Apples and figs should go in an airtight container in the fridge for up to 2 days. Cheese can be wrapped in wax paper and stored for up to a week. Nuts and crackers should stay in a cool, dry place. Don’t store assembled leftovers—everything will get soggy and sad.
Reheating tips: There’s nothing to reheat here, but if you’ve stored the cheese, let it come to room temperature before serving again. The apples will brown a bit, but they’re still fine to eat—just not as pretty. I’ve eaten leftover board components for lunch the next day, and it’s always a treat.
Flavor development: Interestingly, the flavors of this board don’t really develop over time since there’s no cooking involved. But the cheese does taste better after sitting out for a bit. That’s why I recommend making the board no more than 30 minutes before serving.
Nutritional Information & Benefits
This board is surprisingly balanced for something that feels like a treat. Here’s a rough estimate per serving (based on 6 servings):
- Calories: Approximately 380-420 per serving
- Protein: 14-16 grams (from cheese and nuts)
- Healthy fats: 20-22 grams (from cheese, nuts, and olive oil in crackers)
- Carbohydrates: 35-40 grams (from fruit, crackers, and honey)
- Fiber: 5-7 grams (from apples, figs, and nuts)
Health benefits of key ingredients: Apples are rich in fiber and vitamin C, which support digestion and immunity. Pecans contain healthy monounsaturated fats that are good for heart health. Dried cranberries are packed with antioxidants. Cheese provides calcium for strong bones. This board is a great way to get a variety of nutrients in one sitting.
Dietary considerations: This recipe is naturally vegetarian if you skip the salami. It can be made gluten-free and dairy-free with simple substitutions. The main allergens are dairy (cheese), tree nuts (pecans), and gluten (pretzels and crackers). Always check labels if serving guests with allergies.
I personally love that this board feels indulgent but is actually full of real, whole foods. It’s the kind of meal that makes you feel good—not just because it tastes great, but because you’re nourishing your body with ingredients that work for you.
Conclusion
This Family-Friendly Fall Harvest Charcuterie Board has become a staple in my kitchen for good reason. It’s quick, affordable, and endlessly adaptable—everything a busy home cook needs. Whether you’re feeding your family on a Tuesday night or hosting a casual get-together, this board delivers every single time. It’s the kind of recipe that makes you look like a hero without breaking a sweat.
I love that this board brings people together. There’s something about sharing food from a communal board that makes conversations flow and bellies fill. My kids argue over the last fig, my husband steals my favorite cheese cube, and we all end up laughing around the table. That’s what cooking is really about, isn’t it?
So go ahead—make this board your own. Swap in your family’s favorite fruits, use whatever cheese you have on hand, and don’t stress about perfection. The best boards are the ones made with love and a little bit of improvisation. I’d love to hear how yours turns out—drop a comment below and share your favorite fall combinations. Happy eating, friends!
Frequently Asked Questions
Can I make this charcuterie board ahead of time?
Yes, you can prep most components up to a day in advance. Slice the cheese and store it in wax paper, wash and dry the fruit, and portion out the nuts and crackers. Assemble the board no more than 30 minutes before serving to keep everything fresh and crisp.
How do I keep apples from turning brown?
Toss the apple slices in a mixture of 1 tablespoon lemon juice and 1 tablespoon water before adding them to the board. This will keep them looking fresh for about 2 hours. Alternatively, use a little orange juice or even Sprite in a pinch.
What if I don’t have a wooden board?
No problem! Use a large baking sheet, a white platter, or even a clean pizza pan. Line it with parchment paper for easy cleanup and a rustic look. The board is just a vessel—the food is the star.
Can I make this board for a crowd?
Absolutely. Simply double or triple the ingredients and use a larger board or multiple boards. I’ve made this for a party of 20 by using two baking sheets and arranging them on a counter. It’s always a hit.
What are the best cheeses for a fall harvest board?
Sharp cheddar, smoked gouda, and brie are my top picks for fall. They pair beautifully with apples, figs, and honey. If you want to try something different, aged manchego or a creamy goat cheese also work wonderfully.
Pin This Recipe!
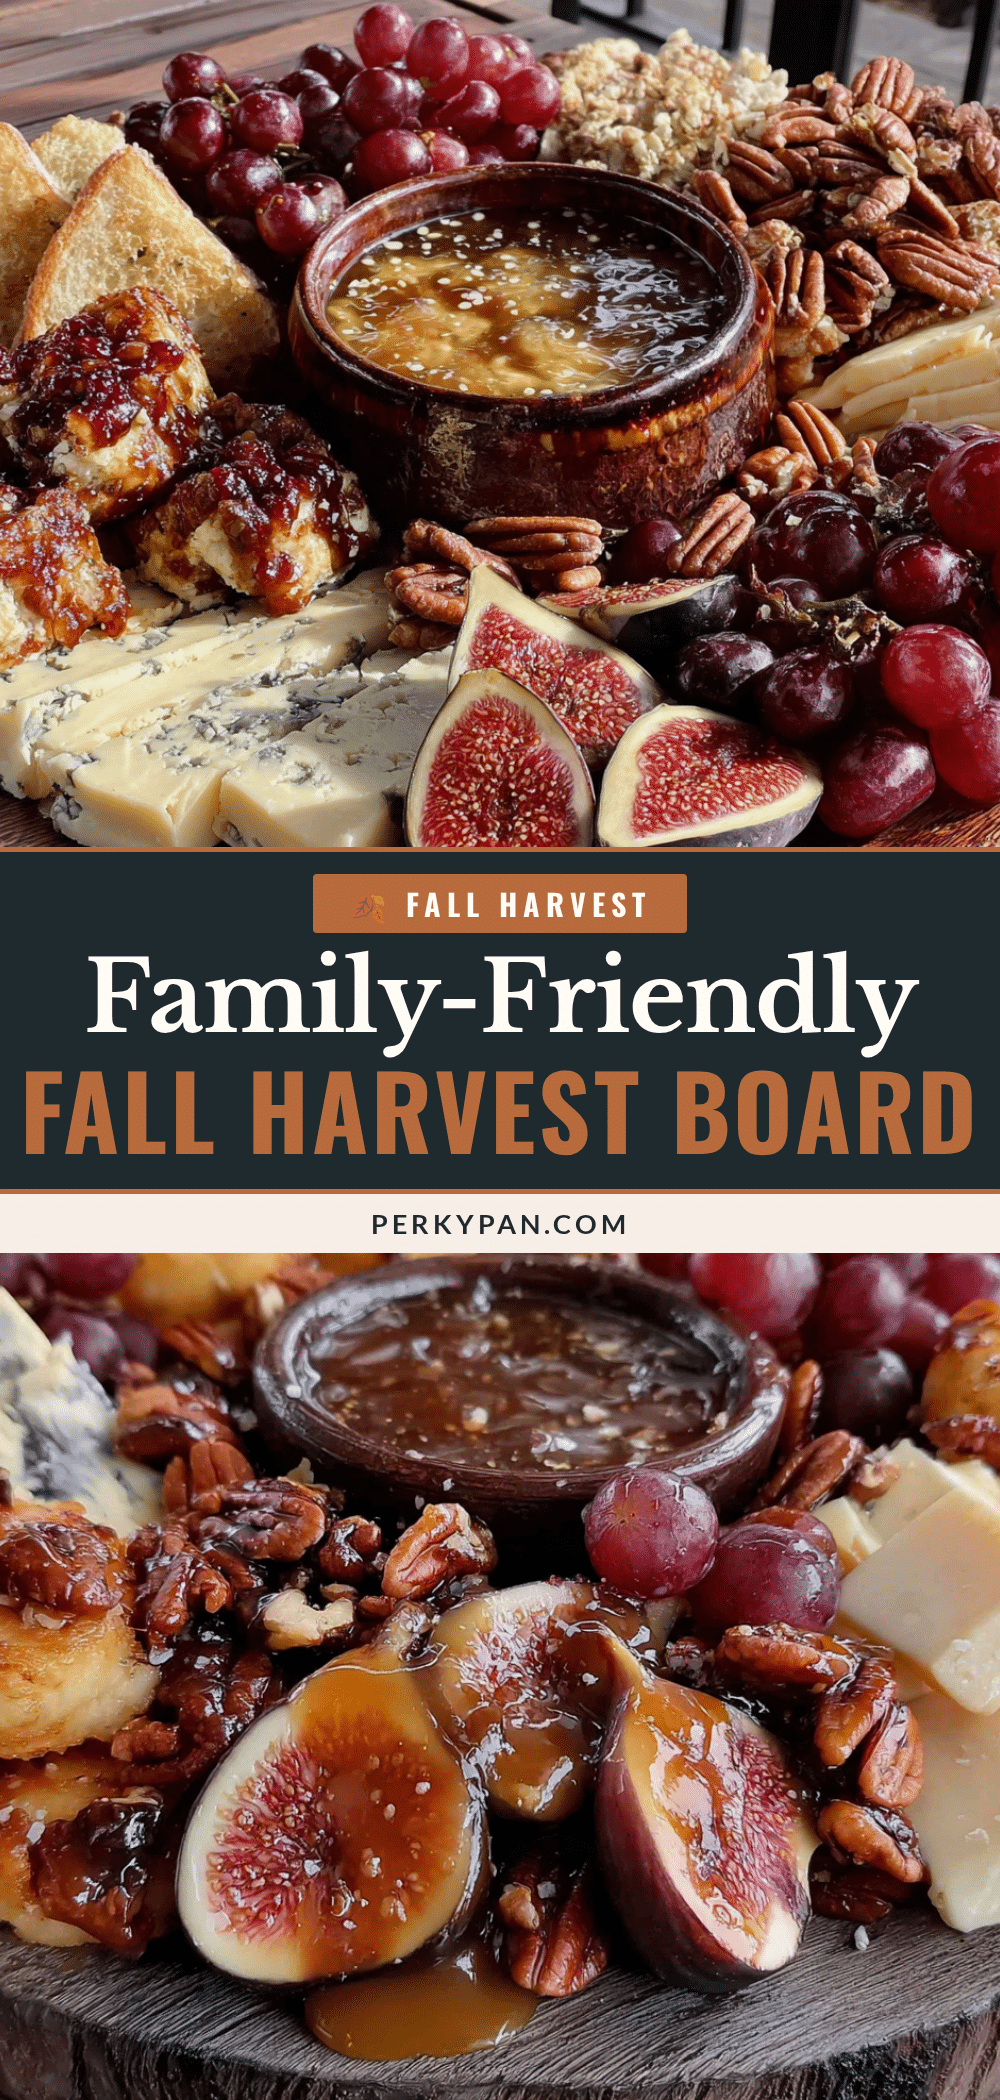
Family-Friendly Fall Harvest Charcuterie Board

A quick and easy fall snack board featuring sweet apples, salty cheese, crunchy nuts, and a drizzle of honey. Perfect for busy weeknights, family meals, or casual get-togethers.
- Prep Time: 15 minutes
- Cook Time: 0 minutes
- Total Time: 15 minutes
- Yield: 6 servings 1x
- Category: Appetizer
- Cuisine: American
Ingredients
- 2 medium apples (Honeycrisp or Fuji), sliced thin
- 8 ounces cheddar cheese, cut into cubes or slices
- 4 ounces gouda cheese, sliced
- 4 ounces salami, thinly sliced (optional)
- 1 cup mini pretzels
- 1 cup crackers (buttery rounds or whole wheat)
- ½ cup dried cranberries
- ½ cup pecans, toasted
- 2 tablespoons honey
- 4–5 fresh figs, halved
- A few rosemary sprigs for garnish (optional)
Instructions
- Place your cutting board or platter on a clean, flat surface. Optionally, line with parchment paper for easy cleanup.
- Set out small bowls or ramekins for items like dried cranberries and honey. Position them at opposite ends or corners of the board for balance.
- Arrange cheddar cubes and gouda slices in clusters around the board, placing them in two or three spots for easy access.
- Fan out apple slices in a neat row near one edge of the board. Place fig halves in a cluster next to the cheese.
- If using salami, fold slices into quarters or roll into cylinders and tuck near the cheese.
- Scatter pretzels and crackers in the empty spaces around the board, spreading them out evenly.
- Sprinkle pecans and dried cranberries over the board, filling in any gaps.
- Drizzle honey over the cheese and apple slices in a zigzag pattern. Garnish with rosemary sprigs.
- Step back and check for any big empty spots; fill with extra crackers or apple slices. Serve immediately.
Notes
Take cheese out of fridge 20 minutes before assembling for best flavor. Slice apples right before serving and toss with lemon juice to prevent browning. The board is best assembled no more than 30 minutes before serving. For a dairy-free version, use plant-based cheese alternatives. For a gluten-free option, use gluten-free crackers and pretzels.
Nutrition
- Serving Size: 1 serving (based on
- Calories: 400
- Sugar: 18
- Sodium: 520
- Fat: 21
- Saturated Fat: 8
- Carbohydrates: 38
- Fiber: 6
- Protein: 15
Keywords: fall charcuterie board, harvest snack board, easy appetizer, family-friendly, no-cook recipe, apple and cheese board


