Love this? Save it for later!
Share the inspiration with your friends
My neighbor, Mrs. Kowalski, watched me one blustery October afternoon as I was struggling to get my regular chocolate chip cookie dough to come together. The butter was too cold, the kitchen was drafty, and I was about to give up and just make boxed brownies. She didn’t say anything at first. Then she gently tapped on my back door, holding a small, heavy saucepan.
“You’re fighting the butter,” she said, setting the pan on my stove. “You need to make friends with it.” She showed me how to melt it slowly, letting it foam and turn a deep amber, filling the kitchen with a nutty, warm smell that I honestly didn’t know butter could make. It smelled like autumn in a pan—like toasted pecans and caramel. I had never browned butter before. I was a bit intimidated, let me tell you. But she walked me through it, telling me about how her grandmother in Wisconsin used to do this for their holiday cookies.
That first batch of brown butter chocolate chip cookies was a revelation. The dough itself smelled incredible, and the finished cookies? They were chewy, rich, and had this deep, almost toffee-like flavor that regular cookies just can’t touch. I’ve tweaked her recipe over the years, adding a pinch of flaky salt and using a mix of dark and milk chocolate chips, but the heart of it—that beautiful, nutty brown butter—remains the same. Maybe you’ve been there, staring at a recipe and knowing something’s missing. For me, that something was this simple technique. These cookies are now my go-to for fall baking, and I hope they become yours too.
Why You’ll Love This Recipe
These aren’t just your average chocolate chip cookies. They are the result of a simple technique that transforms a classic into something truly special. I’ve tested this recipe more times than I can count, tweaking the flour ratio and chill times to get that perfect balance of a crisp edge and a soft, chewy center.
- Incredible Depth of Flavor: The brown butter adds a nutty, caramelized richness that you just can’t get from regular melted or creamed butter. It’s a game-changer.
- Perfect Fall Texture: These cookies have slightly crispy, lacy edges with a soft, tender center. They are the definition of cozy.
- Simple, Pantry Ingredients: No fancy extracts or hard-to-find flours here. You likely have everything you need already, minus maybe the nuts.
- Make-Ahead Friendly: The dough chills for at least an hour, which means you can prep it the night before and bake fresh cookies whenever a craving hits.
- Unbelievably Delicious: That first bite is pure comfort. The combination of warm brown butter, melted chocolate, and a hint of sea salt is next-level.
What makes this recipe different from the rest? It’s the careful balance of browning the butter just right so it doesn’t burn, and then chilling the dough to let those flavors meld. It’s not just another cookie recipe—it’s the one you’ll reach for all autumn long. It’s comfort food reimagined, with a depth of flavor that feels like a warm hug on a crisp day.
What Ingredients You Will Need
This recipe uses simple, wholesome ingredients to deliver that bold, nutty flavor and satisfying texture. Most of these are pantry staples, but the key is in how you treat the butter.
- 1 cup (2 sticks / 226g) unsalted butter: This is the star. Don’t use salted butter here, as the salt content can be unpredictable. We’ll add our own salt later. I recommend a good quality European-style butter like Kerrygold for an even richer flavor, but any unsalted butter works perfectly.
- 1 ¾ cups (220g) all-purpose flour: Spoon and level your flour for the best results. Scooping directly from the bag can pack in too much flour, leading to dry cookies.
- ½ teaspoon baking soda: This helps the cookies spread just the right amount.
- ½ teaspoon baking powder: This gives the cookies a little lift and helps create that soft center.
- 1 teaspoon kosher salt: I use Diamond Crystal. If you’re using fine table salt, reduce to ½ teaspoon. Salt is crucial to balance the sweetness and enhance the brown butter flavor.
- 1 cup (200g) packed light brown sugar: Brown sugar is what makes these cookies chewy and adds a subtle molasses flavor that pairs beautifully with the brown butter. (adds moisture and chewiness)
- ½ cup (100g) granulated sugar: This helps the cookies spread and gives them those crispy, lacy edges.
- 2 large eggs, room temperature: Room temperature eggs emulsify into the brown butter much better than cold ones, creating a smoother, more stable dough. (use pasteurized eggs if you’re worried about safety)
- 2 teaspoons vanilla extract: Pure vanilla extract is always best. It enhances the toffee-like notes of the brown butter.
- 1 ½ cups (270g) chocolate chips or chunks: I love a mix of 60% dark chocolate and milk chocolate chips. The dark chocolate adds a sophisticated bitterness, while the milk chocolate keeps it kid-friendly. Use good quality chips like Ghirardelli or Guittard.
- 1 cup (120g) chopped pecans or walnuts (optional): For fall, I almost always add toasted pecans. They add the most incredible crunch and a flavor that just screams autumn. Toast them in the oven at 350°F for 5-7 minutes to really bring out their oils.
- Flaky sea salt, for topping (optional but highly recommended): A sprinkle of Maldon sea salt right when the cookies come out of the oven is the secret to making them taste professionally made.
Equipment Needed
You don’t need a lot of fancy gear for these cookies, but a few specific tools make the process much smoother.
- Light-colored saucepan or skillet: This is crucial for browning the butter. A dark pan makes it hard to see the butter change color, and you might end up burning it. A stainless steel or light-colored non-stick pan is perfect.
- Stand mixer or hand mixer: While you can mix the dough by hand with a wooden spoon, a mixer makes creaming the sugars and eggs into the brown butter much easier and faster.
- Large mixing bowls: One for dry ingredients and one for wet.
- Rubber spatula: For scraping down the bowl and folding in the chocolate chips.
- Cookie scoop (1.5 tablespoon size): This ensures all your cookies are the same size and bake evenly. It’s a small investment that pays off in consistency.
- Baking sheets: Line them with parchment paper or a silicone baking mat for easy cleanup and even baking.
- Wire cooling rack: Essential for letting the cookies cool properly so they don’t get soggy on the bottom.
Honestly, if you don’t have a mixer, you can do this by hand. Just make sure the brown butter isn’t too hot when you add the sugars, and be prepared for a bit of a workout. The cookie scoop is the one tool I’d really recommend buying if you bake cookies often—it saves so much time.
Preparation Method
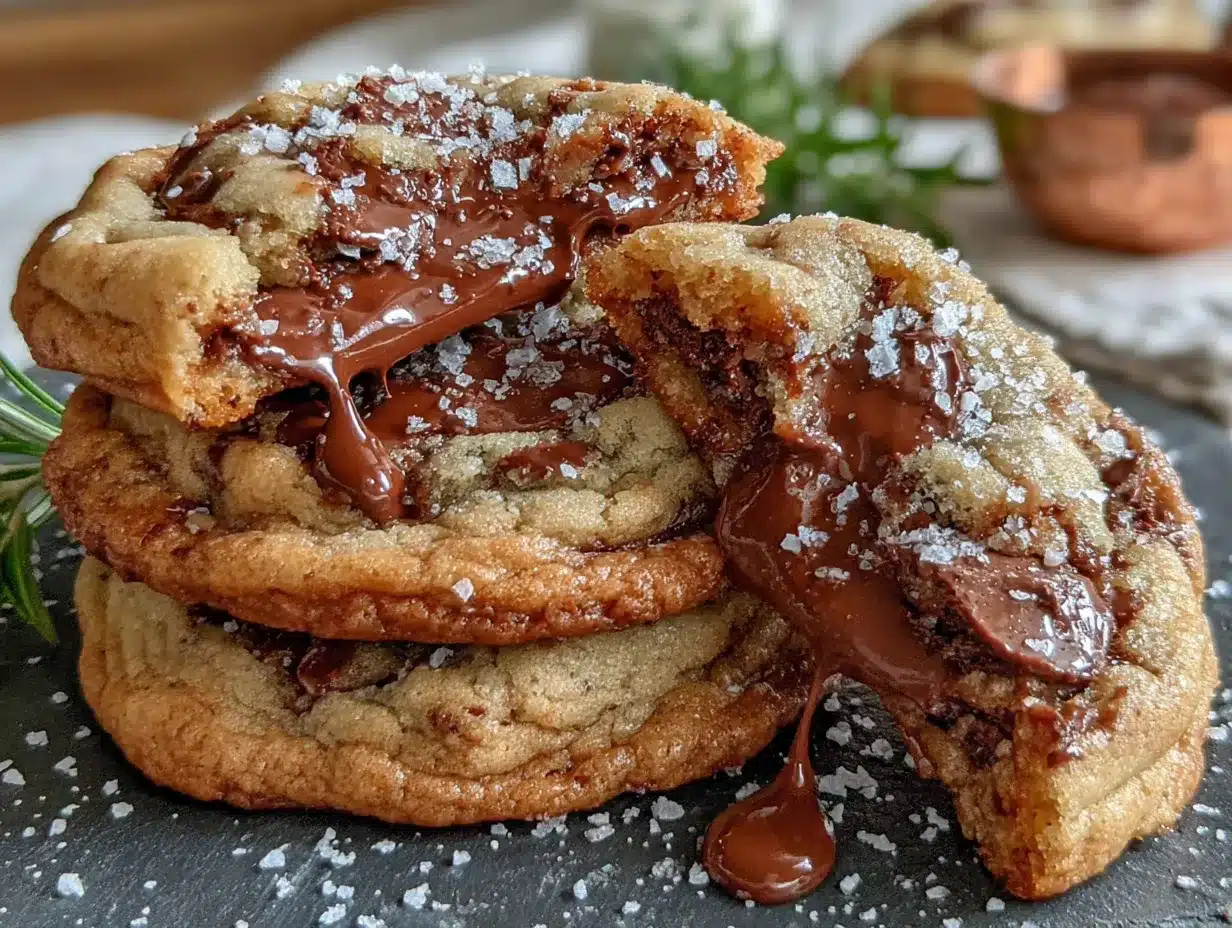
Let’s get baking. The process is straightforward, but the key is to not rush the chilling step. Patience is a virtue, especially in cookie baking.
- Brown the butter: Place the 1 cup of unsalted butter in your light-colored saucepan over medium heat. Let it melt completely, then continue cooking, swirling the pan occasionally. The butter will start to foam and sputter, then the foam will subside. Watch carefully—it will turn from yellow to golden, and then you’ll see little brown specks forming at the bottom. This should take about 5-8 minutes. The moment it smells nutty and looks like a deep amber, remove it from the heat immediately. Pour the brown butter into a large heatproof mixing bowl (this stops the cooking process). Let it cool for 10 minutes. Sensory cue: It should smell like toasted nuts and caramel.
- Mix dry ingredients: In a medium bowl, whisk together the 1 ¾ cups all-purpose flour, ½ teaspoon baking soda, ½ teaspoon baking powder, and 1 teaspoon kosher salt. Set aside.
- Combine sugars and butter: To the slightly cooled brown butter, add the 1 cup packed light brown sugar and ½ cup granulated sugar. Whisk vigorously by hand or use your mixer on medium speed until the mixture is well combined and looks like wet sand. It won’t be fluffy like creamed butter, and that’s perfectly fine.
- Add eggs and vanilla: Add the 2 room-temperature eggs one at a time, mixing well after each addition. Then add the 2 teaspoons vanilla extract and mix until smooth. The mixture should be glossy and smooth.
- Combine wet and dry: Pour the dry ingredients into the wet mixture. Mix on low speed or fold with a rubber spatula until just combined. A few streaks of flour are okay—overmixing will make the cookies tough.
- Fold in the add-ins: Add the 1 ½ cups chocolate chips (or a mix of chips and chunks) and the 1 cup toasted pecans (if using). Fold gently with your spatula until they are evenly distributed.
- Chill the dough: This is the most important step. Cover the bowl with plastic wrap and refrigerate for at least 1 hour, or up to 72 hours. Chilling the dough prevents the cookies from spreading too thin and allows the flavors of the brown butter to deepen. It’s worth the wait, I promise.
- Preheat and prepare: When you’re ready to bake, preheat your oven to 350°F (175°C). Line two baking sheets with parchment paper.
- Scoop and bake: Use your cookie scoop to portion the dough into 1.5-tablespoon balls (about 25g each). Place them 2 inches apart on the prepared baking sheets. Bake for 10-12 minutes, or until the edges are golden brown and the centers still look slightly soft and underdone. Troubleshooting tip: If they spread too much, your dough wasn’t cold enough. Pop the scooped dough back in the fridge for 15 minutes.
- Finish with salt: Right when they come out of the oven, sprinkle a tiny pinch of flaky sea salt on top of each cookie. Let them cool on the baking sheet for 5 minutes—they will continue to set from the residual heat. Then transfer them to a wire rack to cool completely. Or, you know, eat one warm. I won’t tell anyone.
Cooking Tips & Techniques
I’ve made a lot of mistakes with these cookies over the years, so you don’t have to. Here are the most important things I’ve learned.
- Don’t walk away from the browning butter. I cannot stress this enough. It can go from perfectly amber to burnt black in about 30 seconds. The first time I tried this, I got distracted by a phone call and ended up with a pan of acrid, black butter. It was a sad day. Set a timer for 5 minutes and then watch it like a hawk.
- Use a light-colored pan. As I mentioned, this is a game-changer. You need to see the color change clearly. A dark non-stick pan will hide the browning process, and you’ll likely end up with burnt butter.
- Room temperature eggs are non-negotiable here. If you add cold eggs to the warm brown butter mixture, it can seize up and become greasy. If you forget to take them out of the fridge, place them in a bowl of warm water for 5 minutes before you start.
- Chill the dough. Seriously. I know it’s tempting to skip this, especially when you can smell that beautiful dough. But the first time I made these, I was impatient and baked a tray immediately. They turned into flat, greasy puddles. The chill time is not just for flavor; it solidifies the butter so the cookies hold their shape in the oven.
- Underbake them slightly. For the perfect chewy texture, pull the cookies out of the oven when the centers are still a bit soft and puffy. They will continue to bake on the hot sheet pan. Overbaked cookies are crispy all the way through, which is fine, but you lose that wonderful soft center.
Variations & Adaptations
This recipe is a fantastic base for experimentation. Here are a few of my favorite twists.
- Gluten-Free Version: Substitute the all-purpose flour with a good quality 1:1 gluten-free baking flour blend (like Bob’s Red Mill or King Arthur). Make sure it contains xanthan gum. The texture will be slightly more delicate, but they are still delicious. I’ve made this for my gluten-intolerant friends, and they disappear just as fast.
- White Chocolate & Cranberry: Swap the dark/milk chocolate chips for 1 ½ cups of white chocolate chips and ½ cup of dried cranberries (chopped). This is a gorgeous holiday variation that feels very festive.
- Add a Spice Blend: For even more fall flavor, add 1 teaspoon of ground cinnamon, ½ teaspoon of ground ginger, and a pinch of ground cloves to the dry ingredients. This turns them into a kind of snickerdoodle-chocolate chip hybrid, and it is absolutely incredible.
- Make them smaller (or bigger): For mini cookies, use a teaspoon scoop and bake for 7-9 minutes. For giant bakery-style cookies, use a 3-tablespoon scoop and bake for 13-15 minutes. Just adjust your baking time accordingly.
- Chocolate Lover’s Dream: Use all dark chocolate chips, or chop up a high-quality dark chocolate bar. The bitterness of the dark chocolate balances the sweet, nutty brown butter beautifully.
Serving & Storage Suggestions
These cookies are best served warm, with a tall glass of cold milk or a hot cup of coffee. For a truly decadent dessert, serve them with a scoop of vanilla bean ice cream and a drizzle of caramel sauce. They are also perfect for packing in lunchboxes, bringing to a fall potluck, or just sneaking one from the cookie jar at midnight.
Storage: Store the baked cookies in an airtight container at room temperature for up to 5 days. To keep them extra soft, add a slice of white bread to the container—the bread will absorb excess air and release moisture, keeping the cookies soft. Change the bread slice every other day.
Freezing: These cookies freeze like a dream. You can freeze the baked cookies in a freezer-safe bag for up to 3 months. To enjoy, just let them thaw at room temperature for 30 minutes. Even better, you can freeze the raw cookie dough balls. Scoop them onto a baking sheet and freeze until solid, then transfer them to a freezer bag. You can bake them directly from frozen, just add 1-2 minutes to the baking time. This is my favorite trick for having fresh cookies in under 15 minutes.
Reheating: For that just-baked experience, pop a cookie in the microwave for 10-15 seconds. Or, if you’re reheating a few, place them on a baking sheet in a 300°F oven for 3-5 minutes.
Nutritional Information & Benefits
Let’s be real—these are cookies, not a health food. But that doesn’t mean they can’t be part of a balanced, happy life. The brown butter adds a depth of flavor that means you might be satisfied with just one or two, instead of a whole batch.
Estimated Nutritional Information (per cookie, based on 24 cookies):
| Nutrient | Amount |
|---|---|
| Calories | 210 |
| Fat | 12g |
| Saturated Fat | 7g |
| Carbohydrates | 26g |
| Sugar | 17g |
| Protein | 3g |
On the upside, dark chocolate is a good source of antioxidants, and if you add pecans or walnuts, you’re getting healthy fats and a little bit of fiber. The brown butter, while still butter, has a more concentrated flavor, meaning you use the same amount but get more bang for your buck taste-wise. I see these as a treat to be enjoyed mindfully, especially on a crisp fall day with a good book.
Conclusion
These Cozy Brown Butter Chocolate Chip Cookies are more than just a recipe; they are a feeling. They are the smell of autumn in your kitchen, the warmth of a shared treat, and the simple joy of taking a classic and making it a little bit special. The brown butter technique is easy to learn and absolutely transforms the cookie into something deeply satisfying and memorable.
I truly hope you give these a try. Don’t be intimidated by the browning butter step—it’s just a little alchemy that anyone can master. And once you do, you’ll find yourself looking for excuses to make them. Add your own twist, whether it’s a different nut, a new chocolate, or a sprinkle of spice. That’s the beauty of baking.
I’d love to hear how they turn out for you! Drop a comment below and let me know if you tried a variation, or tag me in your photos on social media. Happy fall baking, friend. You’ve got this.
Frequently Asked Questions
Can I use salted butter for this recipe?
I wouldn’t recommend it. The salt content in salted butter varies widely between brands, which can throw off the balance of the recipe. Since we are adding our own salt, it’s best to start with unsalted butter so you have full control over the flavor.
My dough seems very soft and greasy. Did I do something wrong?
Probably not! If your brown butter was still warm when you added the eggs and sugars, the mixture can seem a little loose. This is why chilling the dough is so important. After an hour in the fridge, it will firm up beautifully and be easy to scoop.
Can I skip the chilling step?
Technically, yes. But I wouldn’t. The cookies will spread much thinner and won’t have that perfect chewy center. The chill time also allows the flour to fully hydrate and the brown butter flavor to deepen. If you’re in a huge rush, try chilling the scooped dough balls in the freezer for 20 minutes.
Why did my cookies turn out flat?
This is usually due to one of two things: the dough wasn’t chilled long enough, or the butter was too hot when you mixed it. Make sure you let the brown butter cool for at least 10 minutes before adding the sugars, and always chill the dough.
Can I make the dough ahead of time and bake later?
Absolutely! This is one of the best things about this recipe. You can make the dough and keep it in the fridge for up to 3 days. The flavor actually gets better as it sits. You can also freeze the dough balls for up to 3 months and bake them directly from frozen.
Pin This Recipe!
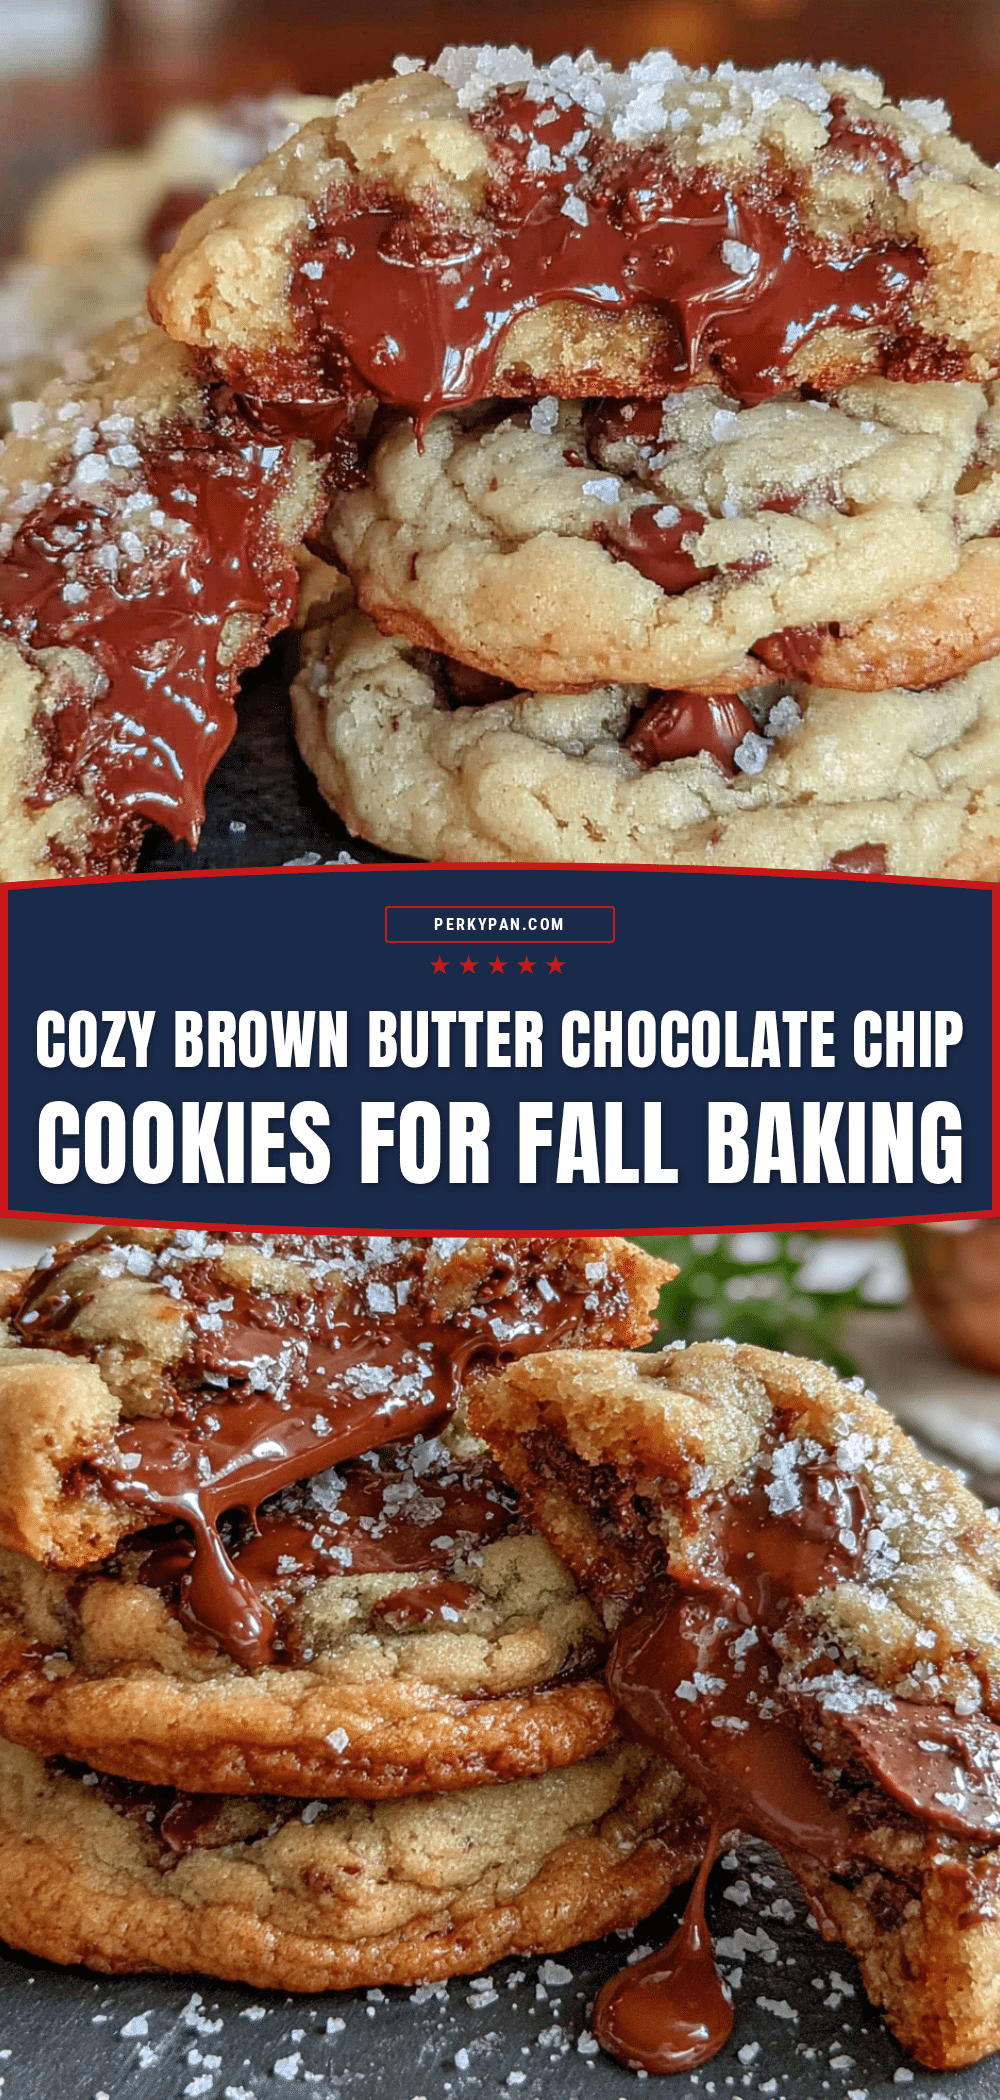
Cozy Brown Butter Chocolate Chip Cookies: Best Fall Baking

These aren’t just your average chocolate chip cookies. The brown butter adds a nutty, caramelized richness that transforms a classic into something truly special, with a perfect balance of a crisp edge and a soft, chewy center.
- Prep Time: 15 minutes
- Cook Time: 12 minutes
- Total Time: 1 hour 27 minutes (includes 1 hour chilling)
- Yield: 24 cookies 1x
- Category: Dessert
- Cuisine: American
Ingredients
- 1 cup (2 sticks / 226g) unsalted butter
- 1 ¾ cups (220g) all-purpose flour
- ½ teaspoon baking soda
- ½ teaspoon baking powder
- 1 teaspoon kosher salt (Diamond Crystal; reduce to ½ teaspoon if using fine table salt)
- 1 cup (200g) packed light brown sugar
- ½ cup (100g) granulated sugar
- 2 large eggs, room temperature
- 2 teaspoons vanilla extract
- 1 ½ cups (270g) chocolate chips or chunks (mix of 60% dark and milk chocolate recommended)
- 1 cup (120g) chopped pecans or walnuts, toasted (optional)
- Flaky sea salt, for topping (optional but highly recommended)
Instructions
- Brown the butter: Place the 1 cup of unsalted butter in a light-colored saucepan over medium heat. Let it melt completely, then continue cooking, swirling the pan occasionally. The butter will start to foam and sputter, then the foam will subside. Watch carefully—it will turn from yellow to golden, and then you’ll see little brown specks forming at the bottom. This should take about 5-8 minutes. The moment it smells nutty and looks like a deep amber, remove it from the heat immediately. Pour the…
- Mix dry ingredients: In a medium bowl, whisk together the 1 ¾ cups all-purpose flour, ½ teaspoon baking soda, ½ teaspoon baking powder, and 1 teaspoon kosher salt. Set aside.
- Combine sugars and butter: To the slightly cooled brown butter, add the 1 cup packed light brown sugar and ½ cup granulated sugar. Whisk vigorously by hand or use your mixer on medium speed until the mixture is well combined and looks like wet sand.
- Add eggs and vanilla: Add the 2 room-temperature eggs one at a time, mixing well after each addition. Then add the 2 teaspoons vanilla extract and mix until smooth. The mixture should be glossy and smooth.
- Combine wet and dry: Pour the dry ingredients into the wet mixture. Mix on low speed or fold with a rubber spatula until just combined. A few streaks of flour are okay—overmixing will make the cookies tough.
- Fold in the add-ins: Add the 1 ½ cups chocolate chips (or a mix of chips and chunks) and the 1 cup toasted pecans (if using). Fold gently with your spatula until they are evenly distributed.
- Chill the dough: Cover the bowl with plastic wrap and refrigerate for at least 1 hour, or up to 72 hours.
- Preheat and prepare: When you’re ready to bake, preheat your oven to 350°F (175°C). Line two baking sheets with parchment paper.
- Scoop and bake: Use a cookie scoop to portion the dough into 1.5-tablespoon balls (about 25g each). Place them 2 inches apart on the prepared baking sheets. Bake for 10-12 minutes, or until the edges are golden brown and the centers still look slightly soft and underdone.
- Finish with salt: Right when they come out of the oven, sprinkle a tiny pinch of flaky sea salt on top of each cookie. Let them cool on the baking sheet for 5 minutes—they will continue to set from the residual heat. Then transfer them to a wire rack to cool completely.
Notes
Don’t walk away from the browning butter; it can go from perfectly amber to burnt in about 30 seconds. Use a light-colored pan to see the color change clearly. Room temperature eggs are non-negotiable to prevent the mixture from seizing. Chilling the dough is crucial to prevent flat cookies and deepen flavor. Underbake slightly for the perfect chewy texture. For gluten-free, substitute with a 1:1 gluten-free baking flour blend containing xanthan gum. Store in an airtight container at room temperature for up to 5 days; add a slice of white bread to keep them soft. Freeze baked cookies for up to 3 months or freeze raw dough balls for up to 3 months (bake from frozen, adding 1-2 minutes).
Nutrition
- Serving Size: 1 cookie
- Calories: 210
- Sugar: 17
- Sodium: 150
- Fat: 12
- Saturated Fat: 7
- Carbohydrates: 26
- Fiber: 1
- Protein: 3
Keywords: brown butter chocolate chip cookies, fall baking, chewy cookies, chocolate chip cookies, easy cookie recipe, homemade cookies


